
Welcome to Modern Agriculture!

Learning how to blow out eggs is a fun and simple craft! When complete, blown eggs work as coop décor, home décor, homemade gifts, table toppers, place-setting holders, and more. Using this simple blown egg tutorial, chicken owners of all ages can learn how to make memorabilia from their flock’s eggs.
Before you get started, you will need to gather a few supplies. Chances are, you probably have all of the supplies you’ll need already sitting in your home.
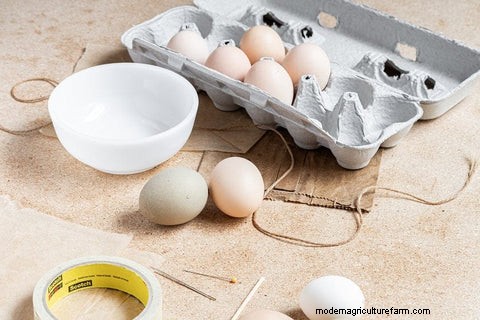
Once you have gathered these supplies, you may also want to collect a few optional items to decorate the blown eggs. Of course, some eggshells are pretty enough when left plain. But, if you are feeling especially crafty, you may decide to spruce them up using some of the items from the following list.
There are several steps to blowing out an egg, but the process is simple and won’t take more than a few minutes to complete. Let’s get started!
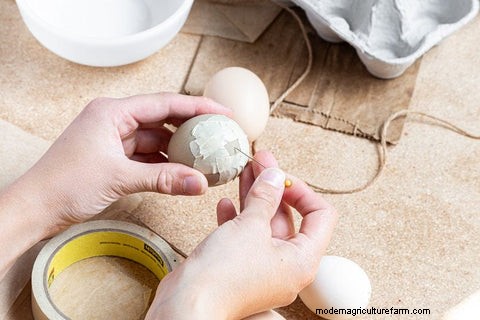
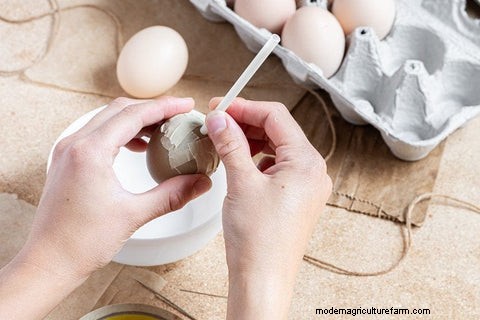
Tip: If the contents don’t come out easily, use a long needle or wire to ‘stir’ the egg through one of the holes. This helps break up the chalazae and yolk.
Some optional tools can make the egg-blowing process easier. For example, when creating holes in the eggshell, you may find it helpful to use an egg-piercing tool, a rotary tool, a small nail and hammer, or a small hand drill. However, these tools will exert stronger pressure on the eggshell, so you will need to be more careful to avoid fully cracking it.
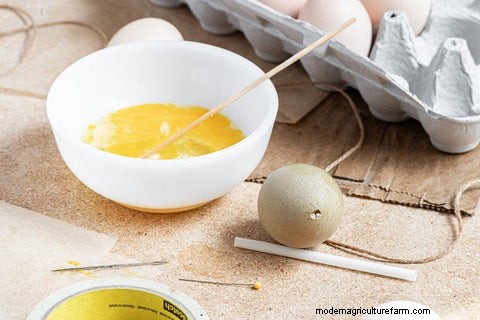
To break up the contents inside the egg, you will need something narrow and long to insert into the holes. You might consider using a long needle, a straightened paper clip, or a thin kabob skewer.
A bulb syringe can also be useful, making it easier to extract the egg's contents. As long as the inner parts of the egg are broken up properly, the bulb syringe may be able to suck the contents out. For this reason, old eggs are easier to blow out than fresh eggs since their contents have thinned down due to evaporation.
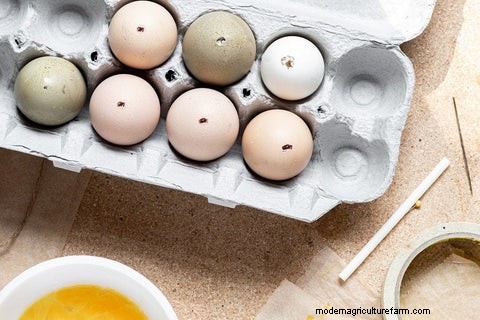
Blowing out eggs is pretty simple and straightforward; however, there are a few tips and tricks that can make the process more successful.
One of the biggest problems to avoid when blowing eggs is cracking the eggshell. You want to break the shell enough to create a small hole, but you don’t want to fracture either end.
To minimize breakage, select good-quality eggs. Eggs with strong, properly formed eggshells are less likely to fracture. You can even candle the eggs you plan to blow out to look for hairline cracks, mottling, or thinness.
The tool you use can also make a difference. A sharp tool used with constant, moderate pressure will be able to make more precise holes. You can also tape around the spot where you want to make the hole to help prevent fracturing in the area.
Blowing out eggs doesn’t have to be a waste! If you properly store the eggs before blowing them and keep your workspace and tools clean, you can use the egg’s contents after removal. You are basically blowing out scrambled egg, so you can easily use the contents in baking or cooking projects!
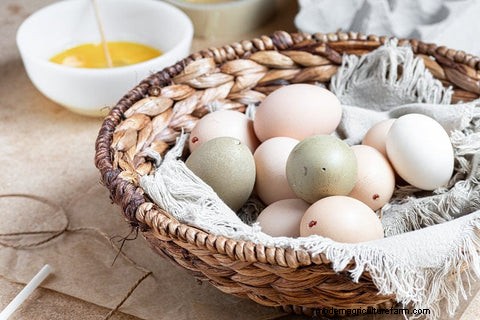
Optionally, you can put sealer on your blown eggs to give them a polished look. Sealers safe for eggshells include Mod Podge, rock sealer, or clear acrylic sealer. Look for these sealers in hardware or craft stores.
You can easily brush the sealer onto the outside of the eggshell, but if you want to preserve and seal the inside of the blown egg you will need to take a few additional steps. First, mix the sealer with equal parts of water. Use an eye dropper or syringe to insert the mixture into the eggshell through one of the holes. Hold your finger over the other hole so the mixture doesn’t drain out immediately.
Place a finger over the second hole and gently shake the egg to coat the interior of the shell with the sealer mixture. Remove your fingers from the holes and gently shake the egg to drain the excess sealer mixture. Place the egg upright to air dry.
If you want blown white eggs to be pure white, you can soak them in a bleach solution. Mix one cup of water with one teaspoon of bleach and submerge the blown eggs in the solution overnight. In the morning, rinse out the eggshells thoroughly with water and allow them to air dry.
Hollow eggs are more fragile than whole eggs, even if you put a sealer on them. To keep your blown eggs safe when they are not on display, keep them in an egg carton and avoid placing anything heavy on top.
Use this fun egg craft as a rainy day project, a classroom craft, a homestead boredom buster, or a fun way to enjoy the fresh eggs from your backyard flock! Here are some other ideas for using your blown eggs:
Learning how to blow out eggs is a fun craft for everyone! All you need are some eggs from your backyard flock and a few basic craft tools. Give this fun craft a try and get creative with your blown eggs!


