
Welcome to Modern Agriculture!


Glen is an exceptional gardener with over 15 years of hands-on experience in garden maintenance, design, and landscaping services. When he’s not working on beautifying a client’s garden, he is busy creating helpful content for this blog.
Latest posts by Glen Chandler (see all)
It’s that time of year again when butternut squash lovers start eyeing their gardens, guessing if their prized veggies are finally ready for picking. The best time to pick butternut squash is before the first frost when the skin turns hard and deep tan. Trust me, there’s nothing like biting into a perfectly ripe squash, knowing it’s just hit that sweet spot of ripeness.
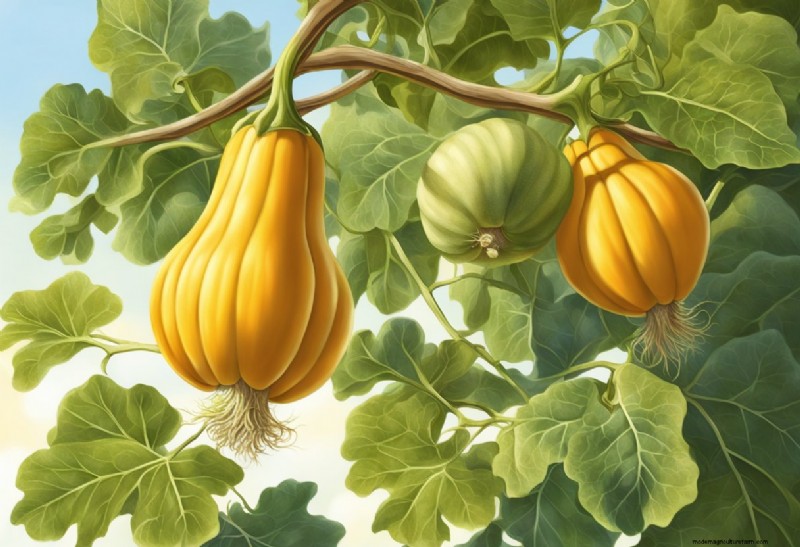
I remember the first time I harvested butternut squash. I learned quickly that you need to pay close attention to the vine and the squash’s color. The green stem hardens and turns corky when it’s ready, almost like the winning clue in a mystery novel.
💥 Look for the tan color and hard skin to know your squash is ready.
Another crucial tip is curing them for about a week in a warm, dry area to seal any cuts and scratches. This not only extends the shelf life but also enhances the flavor. So, grab your shears and get ready to transform your garden’s bounty into delicious fall dishes.
Before planting butternut squash, choose the best spot and prepare the soil. This will ensure healthy plants and a bountiful harvest.
Finding the right place for butternut squash is essential. These plants love full sun and need at least 6-8 hours of sunlight each day. They enjoy warm temperatures and thrive in climates with long growing seasons.
In gardens with limited space, consider vertical gardening by using trellises. This saves space and helps keep the plants off the ground, reducing problems with pests and moisture. Make sure to place the trellises sturdy enough to support the heavy fruits.
💥 Important: Butternut squash needs about three feet of space between plants for proper growth.
Keep the garden area free from weeds, as they can compete for nutrients. Mulching around the plants also helps in maintaining soil moisture and reducing weed growth.
Healthy soil is the foundation of successful butternut squash growing. Start with well-drained, loamy soil rich in organic matter. Sandy soil can also work if it’s well-amended with compost.
💥 Fertilizer: Use a balanced fertilizer, such as 10-10-10, before planting to support growth.
Test the soil pH, aiming for a range between 6.0 and 6.8. Add lime to raise pH if necessary. Mix compost or aged manure into the soil to enhance its nutrient content and structure.
When it comes to watering, keep the soil consistently moist. Deep watering helps encourage the roots to grow deeper, making the plant more resilient. Be mindful not to overwater, as soggy soil can lead to root rot.
🚰 Water Requirements:
Consistent moisture, deep watering once a week
Getting the timing right for planting, watering, and recognizing growth stages are crucial steps. Additionally, managing pests is key to ensuring a healthy butternut squash crop.
Planting butternut squash starts with choosing the right seeds. I always pick seeds that are specifically labeled for the growing region to ensure success. This squash loves warm soil, ideally around 70°F.
I plant seeds about an inch deep and space them 3 feet apart. Creating small mounds, or hills, for each plant helps with drainage and also provides a bit of warmth. My experience shows that direct seeding works better than transplanting, as squash plants don’t like root disturbances.
🚰 Water Requirements
Butternut squash needs about an inch of water per week. During hot summer days, I water more frequently, ensuring the soil stays moist but not waterlogged.
Avoid wetting the leaves, as this can lead to fungal issues. Mulching with straw helps retain moisture and keeps weeds at bay. As the vines start to grow, some pruning might be necessary to keep the plant manageable.
Butternut squash thrives in warm weather. They typically mature about 95 days after planting. Here are the key indicators that the squash is ready to pick:
💥 Quick Answer
The skin turns a deep tan color and feels hard. The vine’s stem becomes brown and cork-like.
An old trick I use is tapping the squash. If it sounds hollow, it’s ripe. Look out for the first frost – you should harvest all squash before it hits.
Pests like aphids and squash bugs can wreak havoc on butternut squash plants. I keep a close watch for these pests and employ organic methods to control them. Here’s what I usually do:
Diseases such as powdery mildew can be an issue if leaves get too wet. Ensuring proper spacing between plants for airflow and avoiding overhead watering mitigates this problem. Rotating crops each year can also help reduce disease occurrence.
Harvesting butternut squash at the right time ensures maximum flavor and storage life. Careful cutting and proper handling are crucial to avoid damage.
To know when to pick butternut squash, look for several signs. The color should be a deep tan or beige, indicating ripeness. The stem should be dry and starting to shrivel.
💥 The skin should be hard and tough to pierce with a fingernail.
Also, harvest before the first frost to prevent damage. I usually check the weather forecast around harvest time and keep an eye out for any signs of frost.
When harvesting butternut squash, use a sharp knife or garden shears to cut the stem about 1-2 inches above the squash. This helps avoid damaging the fruit.
It’s best to cut in the morning after the dew has dried but before the sun is too harsh. This way, the stem stays intact and doesn’t crack or split.
✂️ Keep your tools clean to avoid any infections or rot in the squash.
After cutting, let the squash dry in the sun for a few hours to cure the skin. Store in a cool, dry, and well-ventilated area for best results.
Storing butternut squash properly allows it to last for months, keeping it fresh and full of flavor. Key steps include curing, maintaining the right storage conditions, and spotting any signs of rot or damage early.
Curing butternut squash is simple yet crucial. First, check for any scratches or damage to the rind. Cure the squash for 1 to 2 weeks at a temperature between 70 and 80 degrees Fahrenheit.
Place the squash in a warm, well-ventilated area. This might be a screened-in porch, garage, or shed that’s not accessible to critters. During curing, the squash’s skin hardens, boosting its shelf life and flavor.
After curing, move the squash to a cooler location. Ideal storage is between 50 to 55 degrees Fahrenheit with relative humidity of 60-70%.
A root cellar is perfect if you have one. Otherwise, a cool, dark pantry or a basement works well. Ensure there’s good air circulation and keep the squash off the ground by placing them on a rack. You can even freeze cooked squash by cutting it into cubes and storing it in a freezer-safe bag.
Regularly check stored squash for soft spots or signs of rot. Unblemished, tan-colored squash with intact stems are less likely to develop issues.
If you notice brown or soft areas, remove the affected squash to prevent rot from spreading. Keep them dry, as moisture can encourage rotting. Ensure your storage area remains free from pests and maintains steady temperatures. If any squash feels light or hollow, it may be starting to spoil and should be used immediately.
By spotting problems early, you can enjoy your butternut squash for months without loss of quality.


