Jump to How-To
Considering starting a garden soon? Whether you have a large yard or a postage stamp of grass a raised bed garden may be just what you need!
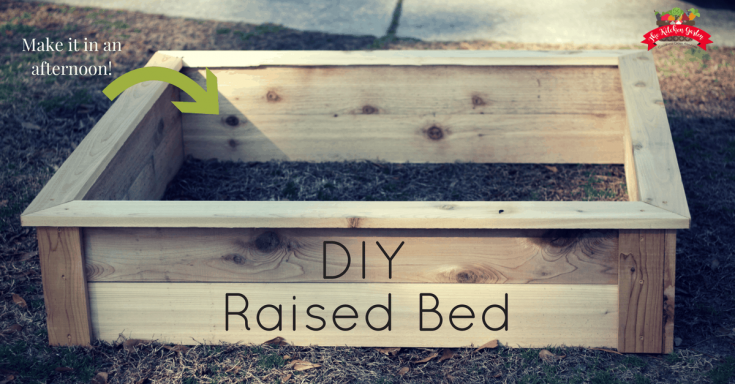
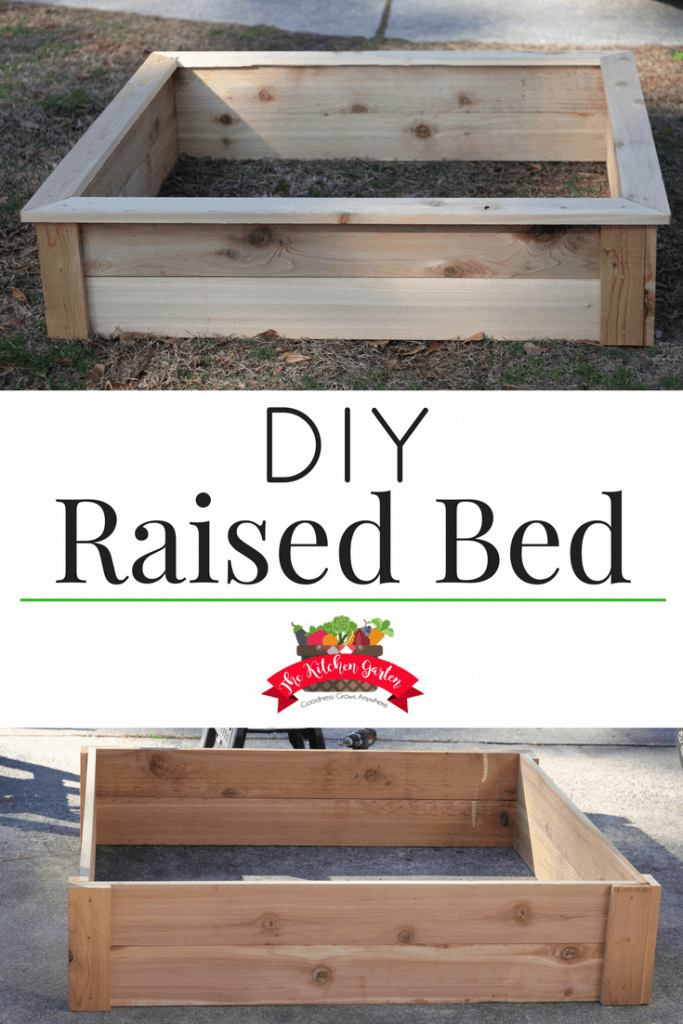
Learn how to build a beautiful raised garden bed in just an afternoon, and you’ll be growing good food in it for years to come!
Why use a raised garden bed?
DIY raised garden beds are kind of my jam. Ever since we switched from row gardening to square foot gardening in raised beds, my joy of gardening has increased exponentially. Check out my earlier post if you need concrete reasons to make the switch.
This post may contain affiliate links, which simply means I may earn a commission off of links at no extra cost to you. Thank you for supporting my site!
Over the years, gardening has gotten easier (thanks to raised beds), and my husband’s handiness has also grown by leaps and bounds. Knowing how to build raised garden beds has helped us garden on a budget, and hopefully it will help you as well!
How to Build a DIY Raised Garden Bed
When we first got married, he hadn’t had much opportunity to build or work with wood, and I have been happy to provide him with plenty of projects over the years. (See our coldframe and raised bed fence.) He groans every time I show him something I like on Pinterest, but secretly, he loves it.
He’s become so handy and many of these projects I throw at him are good excuses to purchase new tools. So, it’s really a win for both of us. And this bed in particular was a favorite of his!
While our first few raised garden beds were very basic, 2×8’s held together at the corners with 4×4’s, I designed this 4’x4′ DIY Raised Bed to have a more polished look, perfect for any backyard. (Here’s the link if you’d like the tutorial for the basic garden bed.
And while we used treated wood in our original garden beds, this time we made the leap to cedar for its durability and aesthetic appeal (cypress will also work). If you want to create this same bed with treated lumber, you certainly can, and there will be a cost savings. (See the bottom of my post for why we are building “nicer” beds now.)
Raised Bed Garden Modifications
While I designed the bed to have a nice edge around the top for a more finished look, this is definitely optional. You can choose to leave this part off. And as I mentioned above, swapping out treated wood for the cedar is an option, but it may not have the same durability.
*Update: Now that this bed has been in place for several years, the only change I would make from the original design would be to not have mitered corners on the top. These tend to separate and be areas of weakness. The top is tempting to sit on while gardening in the bed, so flat corners work best.
Other than that, this cedar raised garden bed is still going strong!
Cedar Garden Bed Materials
- 1x6x8 cedar boards (4)
- 1x4x8 cedar board (1)
- 1x4x10′ cedar boards (2)
- 1 5/8″ exterior tan screws (48)
- Table saw (or one able to cut angles)
- Carpenter’s pencil
- Drill (Here’s my husband’s favorite Bosch drill)
- Square Tool
How to Build a Raised Garden Bed
- Begin by prepping your work area; get your saw and wood ready. Begin by cutting the boards for the sides of the bed. You’ll need 8- 1×6 boards cut into 4-foot lengths. Two 1×6 boards on top of each other will be a complete side. Set the boards aside.
- Take your 1x4x8 and cut it into 1 foot lengths. You’ll use two of these cut boards for each corner of your bed. Set aside.
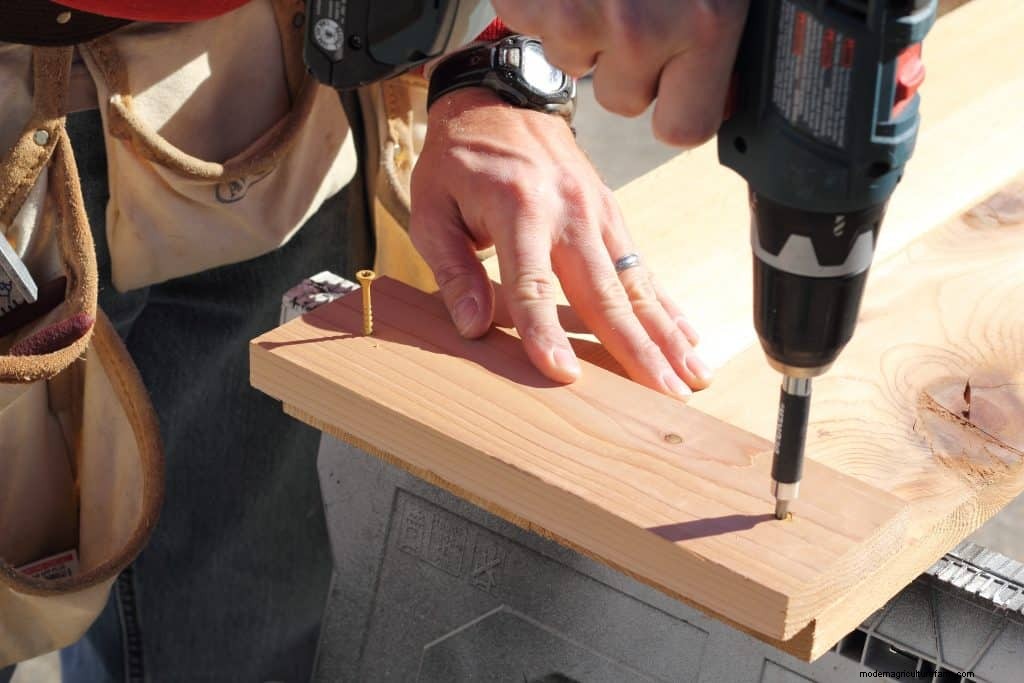
- Now put together the first side of your bed. Take two 1×6 boards and place them flush beside each other. Be sure the ends line up. Take one 1x4x1 board and place it at the end of your 1×6 boards. With your square, measure the thickness of your 1×6 boards. I know they say 1″, but in reality, they’re a little less. Our boards were about 3/4″. Whatever your thickness measurement is, that’s how much overhang you want to create with your 1×4. Having this overhang will give your next bed side the perfect spot to connect. Once you have your 1×4 in place with appropriate overhang, screw in place with galvanized screws.
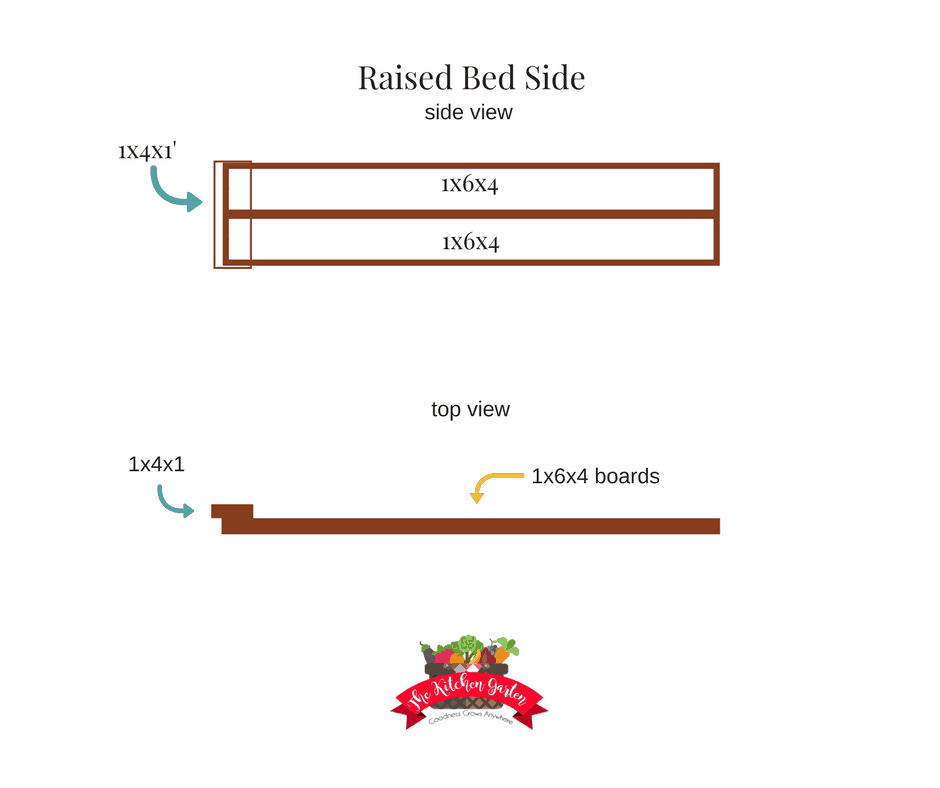
- Repeat this process for making each side of your bed, keeping the overhang you’ve created on the same end each time. Here’s a diagram of what the sides should look like.
- Once your sides are complete, begin connecting them. To do this, place the end of the raised bed-side which doesn’t have the 1×4 attached against the overhang of another side. See image below. Screw the boards into place using galvanized screws. Repeat this process until the four sides of your bed are connected.

- Take your last 4-1×4 pieces and begin adhering them to the corners of your bed. Each side has one 1×4 piece already, so take one of the remaining pieces and place it on the opposite side of the corner. Screw the 1×4 piece into place. (Notice how the tan screws blend in well with the cedar? Win!)

- If you’d like to keep your bed simple, you can stop building at this point. For the finished edge on the top, you’ll want to decide how much overhang you’d like on the interior of your bed space, then use your square tool to determine where to cut the 45 degree angles for the corners. Your 1x4x10 boards can be cut in half, with each half being used for one side of the bed. Lay your 1×4 pieces on the top of your bed; use your square tool to determine where to cut your 45 degree angle and mark with a pencil. Do this for both ends, then cut with your saw. Attach the pieces to your bed with screws, using several along the length of the board. Repeat for all four sides.

- And now you’re ready to place and plant! Your bed is finished and should be durable and ready to withstand hot summers and cold winters!
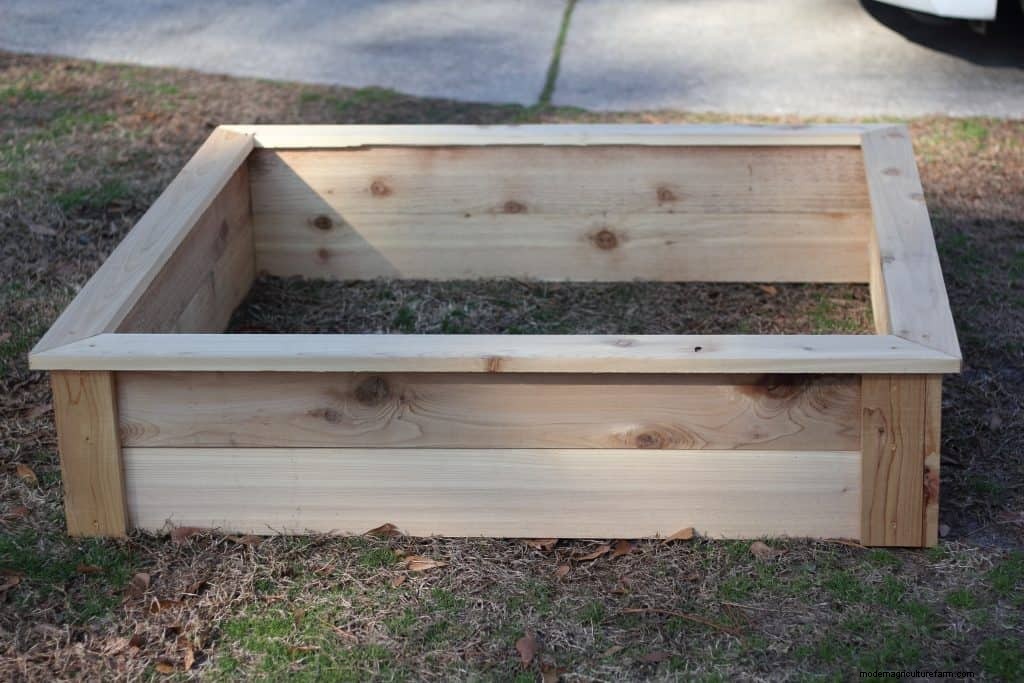
I hope you found this tutorial helpful! If you happen to be handy, or know someone who is, then definitely put this beautiful cedar bed together. It only takes a few hours, and your labor should last for years. Have a great week and happy gardening!
Other Garden DIY’s
- How to Test Old Seeds
- DIY Potting Soil Recipe
- How to Winterize the Garden
- Know where to put your garden by doing a Sun Map of your Yard
Continue to Content
Prep Time
20 minutes
Active Time
1 hour 30 minutes
Total Time
1 hour 50 minutes
Difficulty
Moderate
Materials
-
1x6x8 cedar boards (4)
-
1x4x8 cedar board (1)
-
1x4x10' cedar boards (2)
-
1 5/8" exterior tan screws (48)
-
Tools
-
Table saw (or one able to cut angles)
-
Carpenter's pencil
-
Drill (Here's my husband's favorite Bosch drill)
-
Square Tool
Instructions
- Begin by prepping your work area; get your saw and wood ready. Begin by cutting the boards for the sides of the bed. You'll need 8- 1x6 boards cut into 4-foot lengths. Two 1x6 boards on top of each other will be a complete side. Set the boards aside.
- Take your 1x4x8 and cut it into 1 foot lengths. You'll use two of these cut boards for each corner of your bed. Set aside.
- Now put together the first side of your bed. Take two 1x6 boards and place them flush beside each other. Be sure the ends line up. Take one 1x4x1 board and place it at the end of your 1x6 boards. With your square, measure the thickness of your 1x6 boards. I know they say 1", but in reality, they're a little less. Our boards were about 3/4". Whatever your thickness measurement is, that's how much overhang you want to create with your 1x4. Having this overhang will give your next bed side the perfect spot to connect. Once you have your 1x4 in place with appropriate overhang, screw in place with galvanized screws.
- Repeat this process for making each side of your bed, keeping the overhang you've created on the same end each time. Here's a diagram of what the sides should look like.
- Once your sides are complete, begin connecting them. To do this, place the end of the raised bed-side which doesn't have the 1x4 attached against the overhang of another side. See image below. Screw the boards into place using galvanized screws. Repeat this process until the four sides of your bed are connected.
- Take your last 4-1x4 pieces and begin adhering them to the corners of your bed. Each side has one 1x4 piece already, so take one of the remaining pieces and place it on the opposite side of the corner. Screw the 1x4 piece into place.
- If you'd like to keep your bed simple, you can stop building at this point. For the finished edge on the top, you'll want to decide how much overhang you'd like on the interior of your bed space, then use your square tool to determine where to cut the 45 degree angles for the corners. Your 1x4x10 boards can be cut in half, with each half being used for one side of the bed. Lay your 1x4 pieces on the top of your bed; use your square tool to determine where to cut your 45 degree angle and mark with a pencil. Do this for both ends, then cut with your saw. Attach the pieces to your bed with screws, using several along the length of the board. Repeat for all four sides.
- And now you're ready to place and plant! Your bed is finished and should be durable and ready to withstand hot summers and cold winters!
Notes
Treated lumber can be used in place of the cedar, as can cypress.
Recommended Products
As an Amazon Associate and member of other affiliate programs, I earn from qualifying purchases with no added cost to you. Thank you!
-
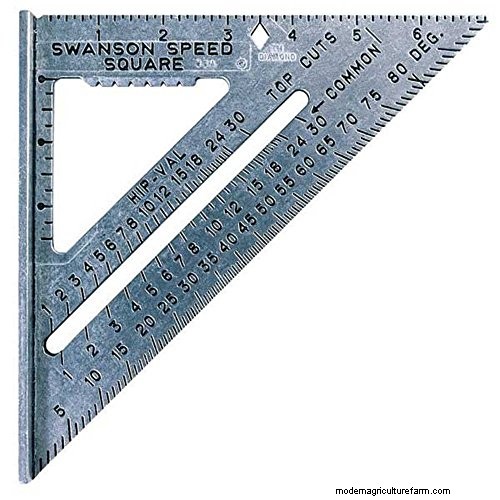 SWANSON Tool Co S0101 7 Inch Speed Square, Blue
-
 Bosch 18V Compact 1/2" Drill/Driver Kit with (2) 1.5 Ah Slim Pack Batteries GSR18V-190B22
-
 IRWIN Carpenter Pencil, Medium Lead, 6-Piece (66400)