
Welcome to Modern Agriculture!

Spreaders are used to evenly distribute fertilizer and grass seed across your lawn. There are two types: drop and broadcast, also known as a rotary spreader. There are two types of broadcast spreaders: walk-behind and hand-held. All spreaders have a hopper to hold the product and an adjustable opening to control the volume of fertilizer or seed being distributed. Are you asking yourself, what kind of fertilizer spreader should I use? Selecting the right spreader for you depends on your lawn and preferences.
Drop spreaders are very accurate as they distribute even rows of fertilizer and grass seed exactly where you want it. It’s important that you overlap wheel marks to ensure the entire lawn has been covered. The rate at which you walk directly impacts how much product is distributed.
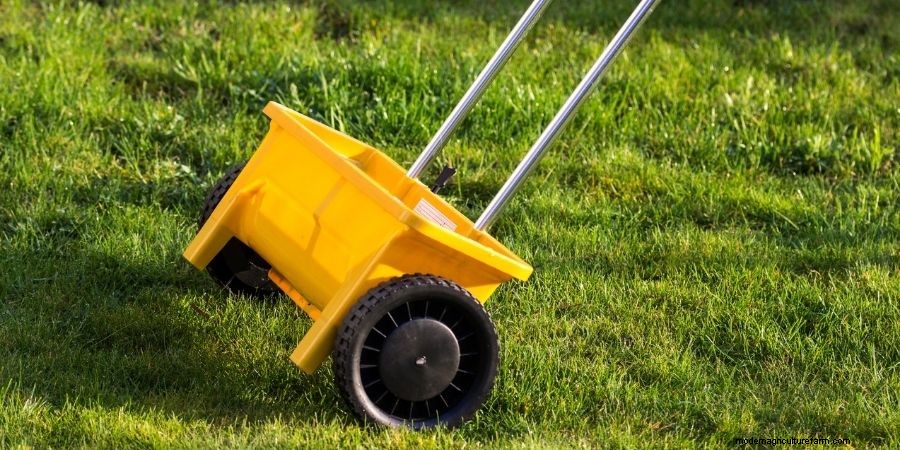
Drop spreaders cover a smaller area of lawn per pass compared to broadcast spreaders, which means it’ll take a bit more time to fertilize your lawn.
Broadcast spreaders distribute fertilizer and grass seed in a fan-like pattern in all directions and cover a wider area per pass than drop spreaders. The rate you walk and the spreader’s hole size impact how much product is distributed. Broadcast spreaders naturally distribute less product toward the edge of their broadcast range. Check the spreader manual for tips on how far various types of fertilizers are thrown. Like drop spreaders, make sure to overlap passes so you don’t end up with stripes.
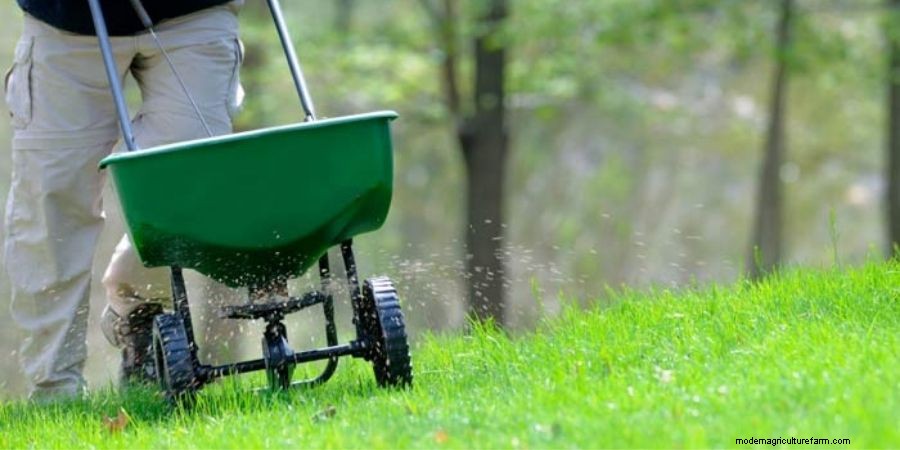
Product can be distributed where you don’t want it when using a broadcast spreader, such as in gardens or on driveways, walks, and paths. This is a problem if you’re applying an herbicide, which would be detrimental if it got into your flower bed. This isn’t a concern when using Milorganite, as it can be used on lawns, flowers, shrubs, and vegetables. Make sure to clean up any product from hard surfaces so it doesn’t end up in waterways.
Most homeowners don’t want to calibrate their spreader to discover the correct setting. You just want the setting number, right? Unfortunately, each spreader is slightly different and so are you.
Use spreader settings and application rates as guides. Many variables impact your spreader’s setting to reach optimal application rates, including the type, age, and condition of your spreader, as well as the rate at which you walk. The best way to ensure you’re applying the proper amount of Milorganite is to calibrate your spreader. Below are six easy steps you can follow.
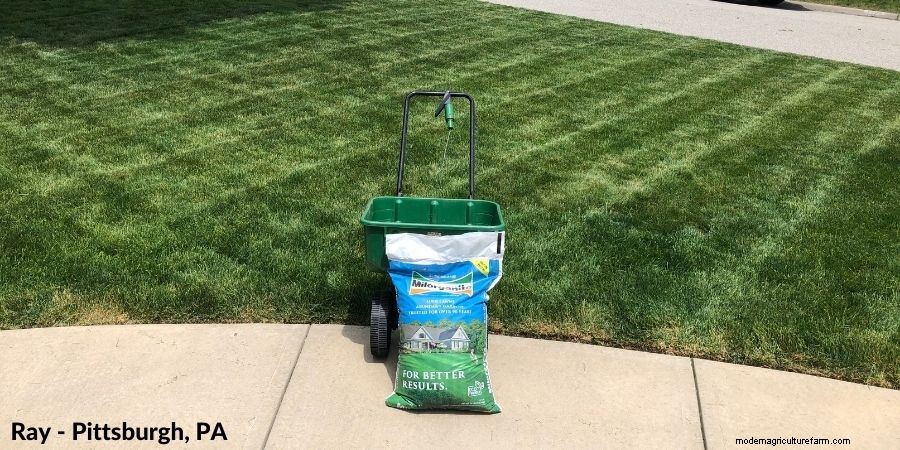
Milorganite is very forgiving compared to synthetic fertilizers or those that contain herbicides. It won’t burn your lawn, so you don’t have to worry much about over-application. Milorganite can be used throughout your yard—on lawns, shrubs, trees, flowers, and vegetables—so you don’t have to worry about accidentally damaging surrounding plants while fertilizing your lawn. This is particularly nice when using a broadcast spreader.
We have spreader settings for a number of popular spreaders on our website. If your spreader isn’t listed, it’ll only a few minutes using six easy steps, to calibrate your spreader.
Here’s how:
After you calibrated your spreader for fertilizing with Milorganite, write down the setting, and don’t lose it! You shouldn’t have to calibrate your spreader again


