
Welcome to Modern Agriculture!

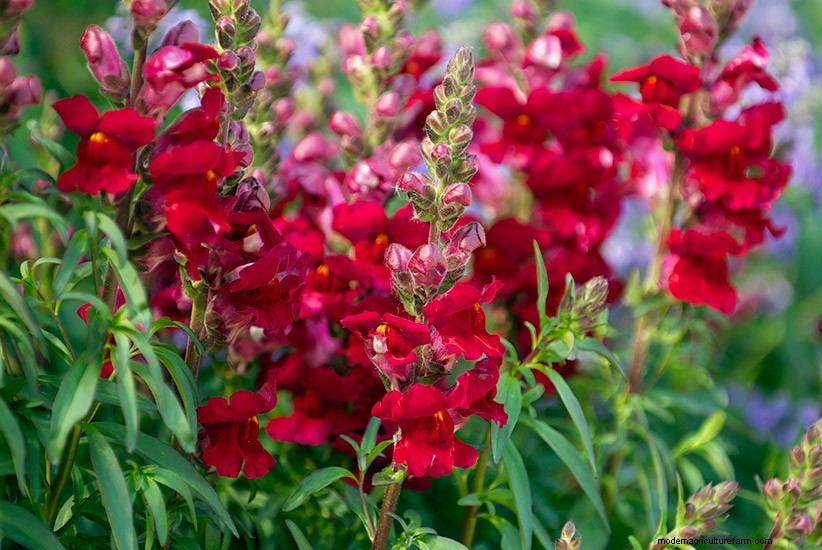
Most annuals bloom for a long time with a lot of resilience toward changing weather conditions and with minimal work from you — that’s why they’re so lovable, right? But even though all of that is true, it’s still really important to make sure you get them off to the right start so they do look their best all season long. Here are three simple tips to help your annuals thrive.
You Might Also Like:
How to Grow Better Gerbera Daisies
Best Plants for Container Gardens
Upcycled Design Ideas for Your Garden
Easy Flowers to Grow
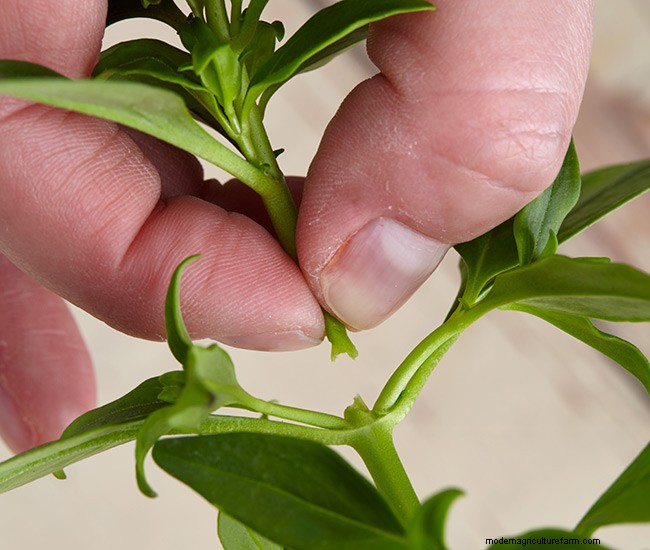
Before planting, pinch or snip the growing tip of the plant back to a leaf axil, just like you see on the snapdragon (Antirrhinum hybrid) above. This will encourage new, compact growth. And removing flowers allows the plant to put energy into growing big and full first before focusing on those repeating blooms.

After you remove the plant from its nursery pot, gently pull apart the roots. A root ball left in a tight coil won’t be able to spread into the surrounding soil to find nutrients and moisture and may stunt the overall growth.
You Might Also Like:
Container Plants That Don't Need Deadheading
How to Use Fertilizer in the Garden
Budget-Friendly Garden Border
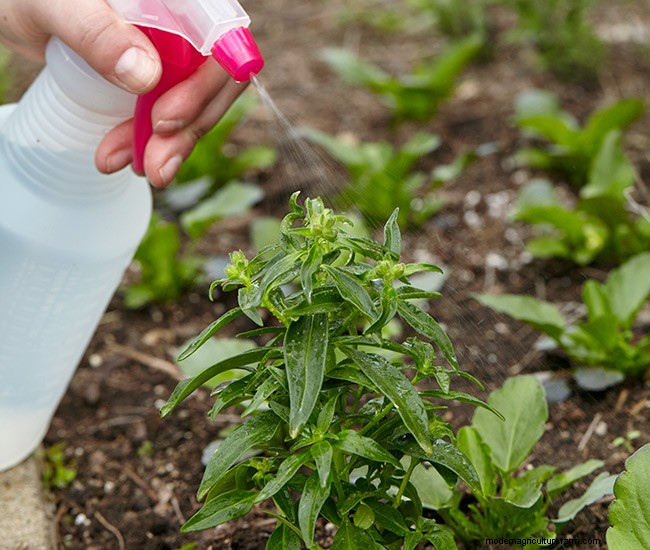
To foliar feed, spray diluted liquid fertilizer directly on annuals’ leaves every three weeks during the growing season. (Do this on cloudy days or in the evening, so it doesn’t burn leaves.)
Foliar feeding works faster than root feeding because it puts the nutrients where the plants can use them immediately. Organic fertilizers, such as fish emulsion and kelp, aren’t as likely to burn leaves as their synthetic counterparts are.


