Welcome to Modern Agriculture!

Shallots, the understated alliums that bridge garlic and onions, offer a delicate, creamy flavor that enriches any dish. Their compact size and easy cultivation make them a favorite for home gardeners and chefs alike.
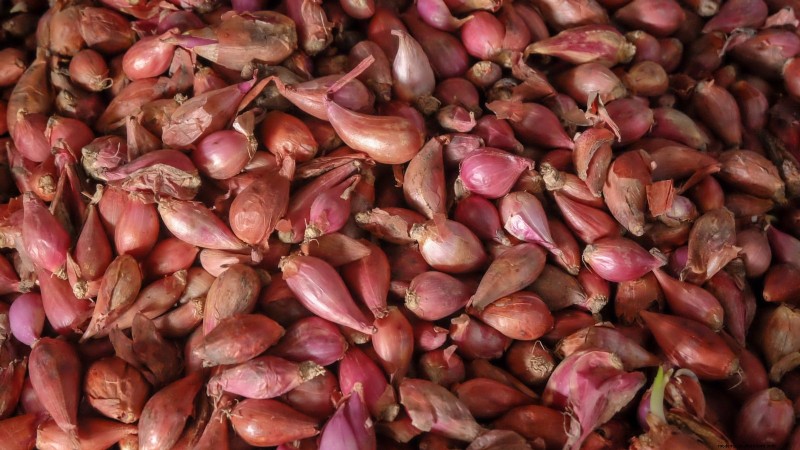
These small bulbs belong to the onion cultivar group, sharing cultivation requirements with onions rather than garlic. The most common varieties are French red, Jersey, and banana (Echalion). French red shallots are prized for their versatile, mild flavor and are the most widely sold in grocery stores.
While you can plant a store‑bought bulb, it is not recommended. Retail bulbs often contain growth regulators and lack the certification that comes with garden‑ready sets.
Shallots thrive in full sun—at least six hours of direct light daily—and require well‑draining, loamy soil with a neutral pH (6.5–7.0). Prepare the bed by loosening the top foot of soil with a fork, incorporating compost, and ensuring the mix remains light and fluffy.
Mark rows about one foot apart, spacing bulbs six inches within each row. Plant bulbs with roots facing down, 1–2 inches deep. Water immediately after planting. If you have started seeds indoors, transplant seedlings using the same spacing guidelines.
For direct‑seed sowing, place seeds ½ inch apart at a depth of ¼ inch, keeping soil moist until germination (typically 7–14 days). Thin seedlings to maintain a 4‑inch spacing.
When planting in fall, cover bulbs with a couple of inches of soil and add four inches of mulch for winter protection. Remove excess mulch in late winter to allow shoots to emerge.
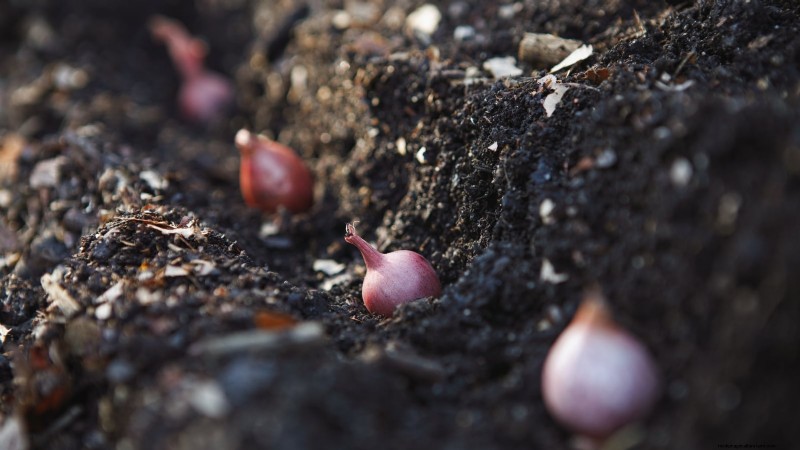
Shallots can be started from certified sets or from seed. Sets offer a head start, multiplying into several bulbs, while seed provides cost savings and full control over plant health.
Planting timing depends on USDA Hardiness Zone:
Set bulbs into the ground 2–3 weeks before the last frost or as soon as the soil can be worked. Expect harvest in late summer—100 to 120 days after planting, depending on variety.
Spring crops usually yield more uniform, milder shallots because of consistent weather conditions.
Plant a couple of weeks after the first frost (often October or November; earlier in cooler regions). Harvest will again occur 100–120 days later, typically in early summer.
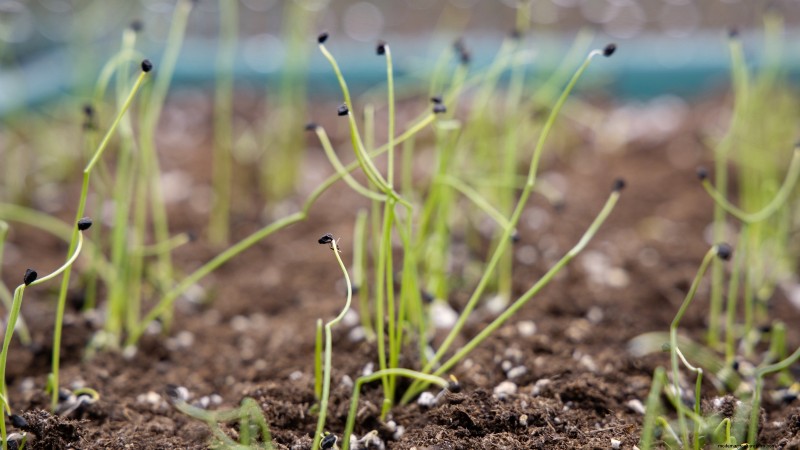
Seed starts are economical and let you monitor plant health from the outset. For spring planting, begin indoors 8–10 weeks before the last frost. Use a high‑quality seed‑starting mix, sow 4–5 seeds per cell, and cover lightly.
After germination—usually after 7–10 days—thin seedlings to three per cell. Transplant seedlings outdoors two weeks before the last frost date.
‘Zebrune’ shallot seeds are favored for their high germination rate and versatility in the kitchen. They can be directly sown outdoors once the soil has warmed in April or May, or in late summer for a fall crop.
For seed starts in the fall, sow outdoors a few weeks before the first frost and transplant after the frost has passed.
Starting from seed requires more planning and labor but guarantees disease‑free plants and the flexibility to experiment with different cultivars.
Whether you choose sets or seed, proper timing, location, and spacing will reward you with a flavorful shallot harvest. Happy gardening!
View at BotanicalInterests.com