Welcome to Modern Agriculture!

In my house, we seem to need an endless supply of onions. While buying onions at the grocery store or farmer’s market doesn’t cost us as much as purchasing fresh herbs or vine-ripened tomatoes, growing your own onions can cut down on food costs simply for the sheer volume of onions households like ours consume (the average American eats 20 pounds of onions a year!). It also gives us a chance to ensure they are grown without the use of synthetic chemical fertilizers, fungicides, or herbicides. While growing onions isn’t a complicated process (you’ll find details on how to do it here), curing onions properly after harvest is essential for ensuring you can enjoy the harvest for months to come.
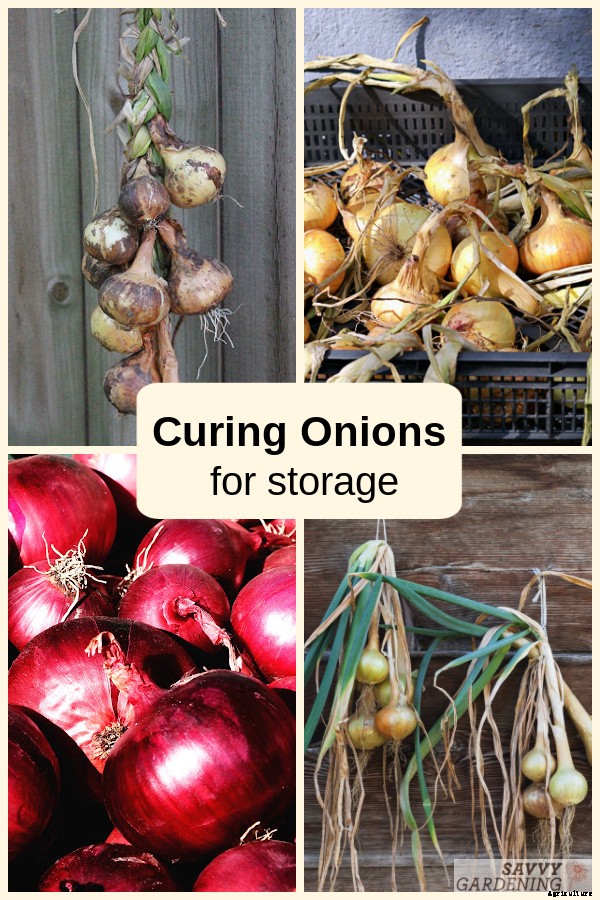
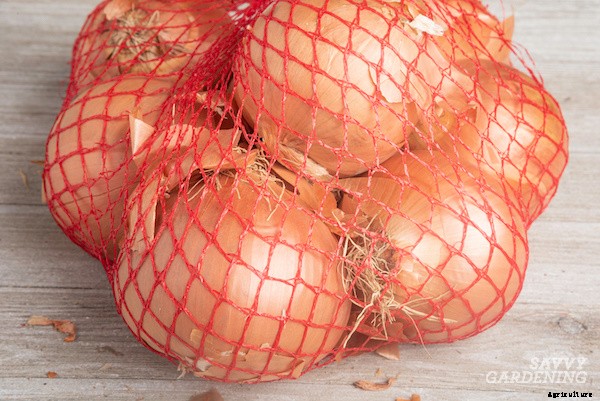
If you plan to store the pungent bulbs for winter use, curing onions is a necessary step in the process. Without proper curing, onion bulbs turn soft and mushy. Their dry, fully cured skins protect them from desiccation and keep pathogens from entering the bulb, causing rot, and developing a foul smell. Curing onions also allows you to store them at room temperature, rather than having to keep them in the fridge. Fully cured onions kept on a counter in a cool, dark room or hung in mesh onion bags have the greatest storage life. You’ll learn more about these and other storage techniques later in this article.
For gardeners who plan to eat their onions within a few weeks of harvest, refrigerator storage is fine. This is also true for onions harvested before they are fully mature.
Before I offer more information on the steps needed for curing onions, let’s talk about how a properly timed harvest influences the curing process.

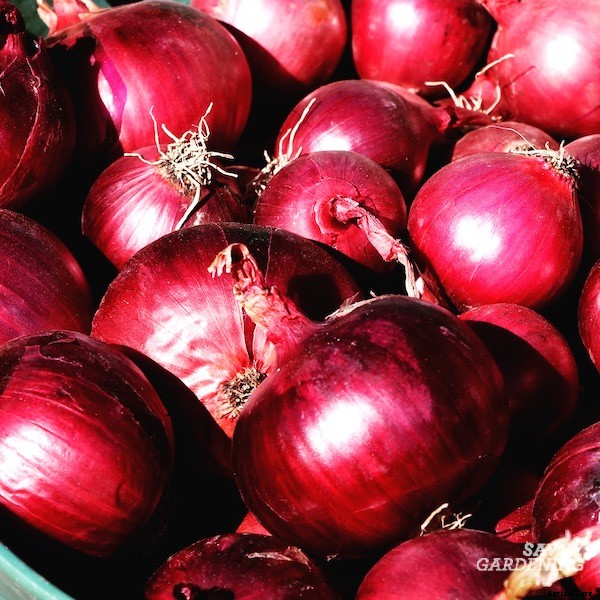
Onions are edible at all stages of maturity. When they’re young, harvested onions are called scallions or green onions. As they age, the bulbs fatten up and their skin toughens, but onions don’t have to be officially “ripe” in order for us to enjoy a harvest. However, if you plan to store your onions for winter use, wait until the bulbs have fully matured, about a third of the foliage has browned, and the necks have bent and fallen over completely. In my Pennsylvania garden, this typically occurs around the end of July or early August.
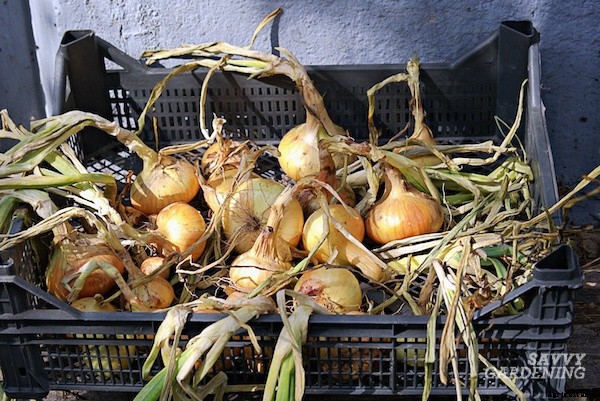
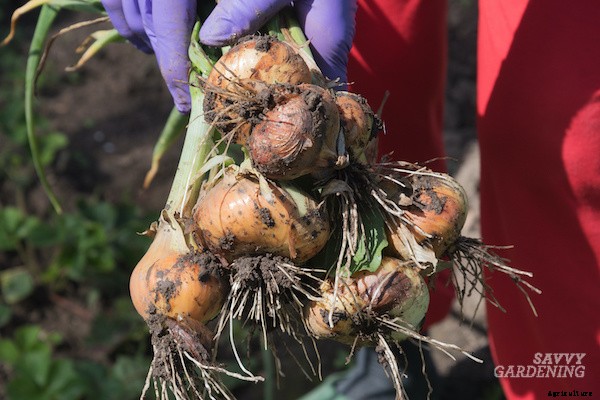
Once a third of the tops have turned brown and the stems have toppled over, stop watering the onion patch for 3-6 days to dry the skins out a bit. If possible, wait for a few additional days if you happen to get rain during that period. After that, pull the onions out of the soil and begin the curing process.
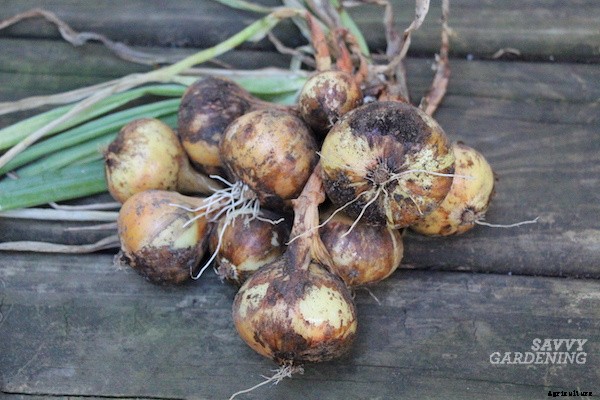
After the onions are harvested, use your fingers or a very soft mushroom or surgical brush to remove any excess soil. Do not wash or rinse them. Leave the little roots protruding from the bottom of the onion intact. Do not cut them off at this stage as doing so could promote rot. Place the bulbs in a warm, dry, well-ventilated location, spreading them out so they don’t touch. I line mine up on upside down plastic nursery flats in our attached garage. My mother uses old window screens elevated on bricks and a friend built drying screens from hardware cloth stapled to a simple wooden frame (like this one).
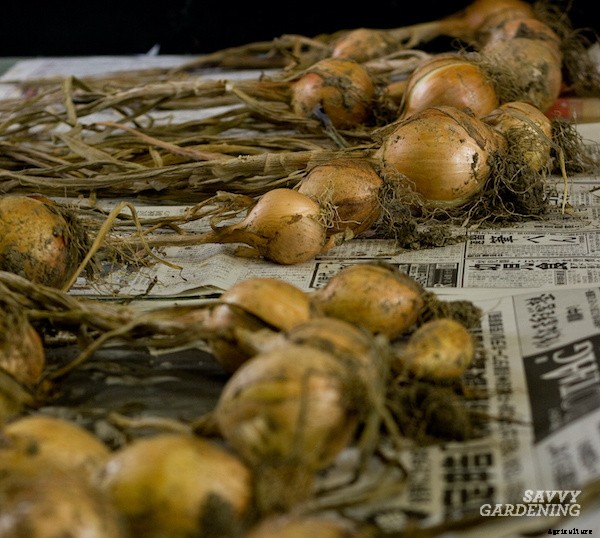
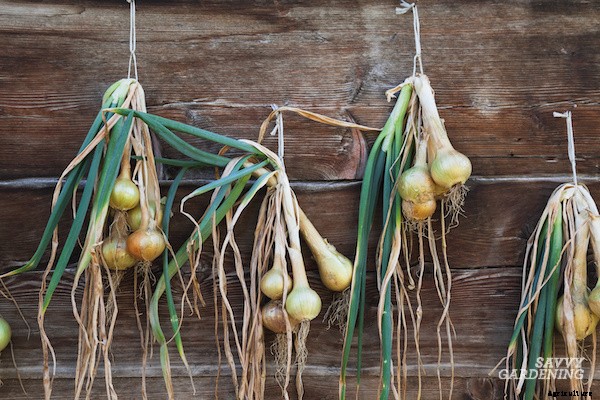
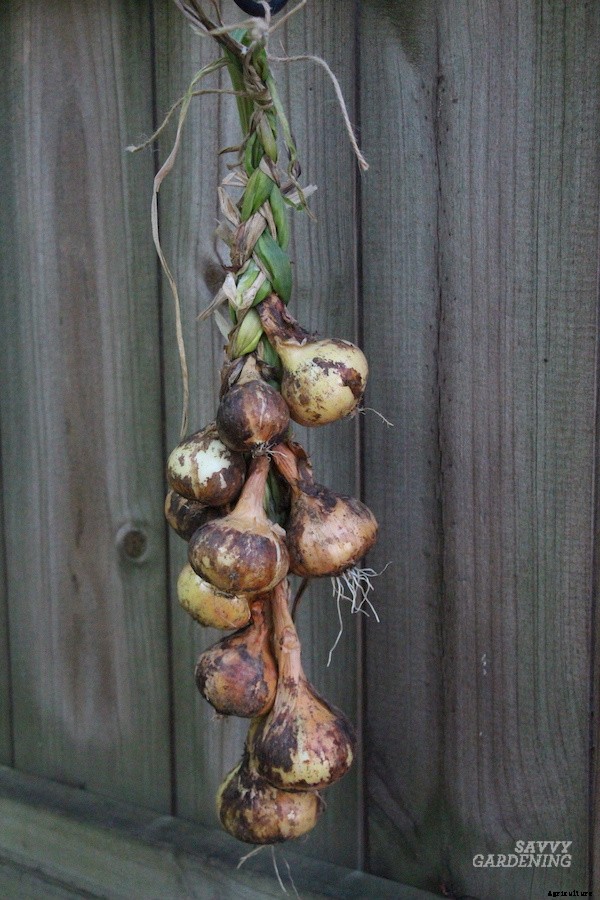
If you don’t have something elevated to place them on, you can also lay them out on newspaper or even hang them in small bunches to cure. No matter what you use, the idea is to encourage good air circulation around the entire bulb. The idea is to dry out and toughen the skins without drying out the onion’s interior.
Allow the onions to rest in this way for two or three weeks. Admittedly, I sometimes lose track of time and it turns into four weeks, which has never caused issues for me. During this time, the skins harden, and the remaining leaf-tops dry and shrivel. This is the most important stage of curing onions. Don’t allow the bulbs to get wet and turn them over once or twice during the process if possible. After the curing process ends, it’s time to put the bulbs into storage.
Even if you’ve done a good job of properly curing your onions, it’s still essential that the bulbs are stored properly. Before storing your cured onions, use your hands or a sharp scissors to remove any remaining dried foliage. Chances are, it will crumble right off. But if it doesn’t, trim the browned leaves off with a scissors, leaving about 1 to 2 inches of the “stump” intact. You can also cut off any dried-up roots if you’d like. Most often, I’m able to break them off easily with my fingers or they fall off on their own as I move the onions into storage.
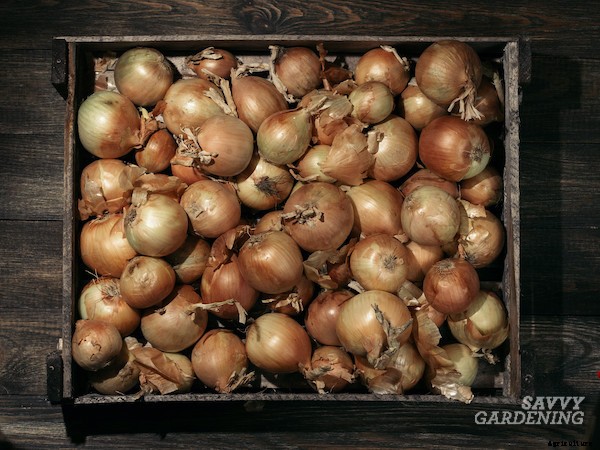
From there, you have a few options when it comes to onion storage.
Any cured onions that show signs of mold or soft spots, or are sprouting, should be used immediately. If one onion in the box or bag rots, it will quickly spread and ruin your crop.
Regardless of what you use to hold the onions, select a spot with decent air circulation to house them for the coming months. Keep the bags, bins, or boxes away from walls to encourage good air movement. A basement or a garage will work just fine. The ideal temperature for storage is between 45 and 55°F, though controlling that precisely is difficult in a home environment. Do not keep onions in plastic bags.
If the bulbs are exposed to light for a long period of time, they might sprout new green leaves. A dark, dry, well-ventilated location is best. Keep them out of direct sunlight and away from heat sources.
As you can see, properly curing onions means you can enjoy the homegrown harvest all winter long. If you want to learn more about how to grow big onions, please visit this article in which I discuss short-day vs long-day onion varieties and how to encourage larger bulbs to develop.

For more on growing members of the onion family, check out the following articles:
Pin it!