Welcome to Modern Agriculture!

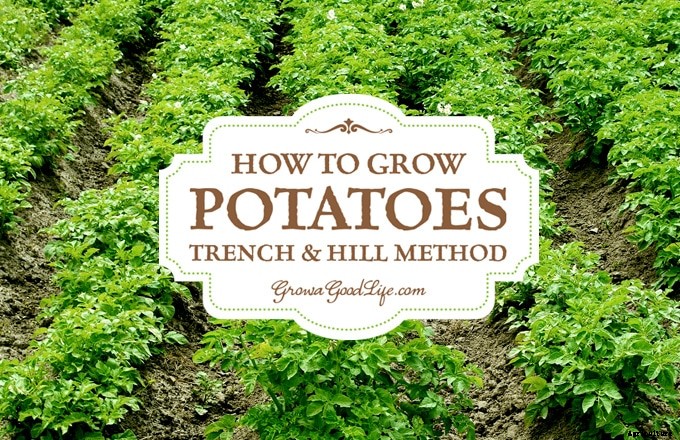
What could be more satisfying than the flavor of freshly dug potatoes lifted straight from your own garden? Learn how to grow potatoes using the traditional trench and hill method.
You can’t beat the flavor of freshly dug potatoes from your own garden. Potatoes are a staple crop that can feed you almost all year because they store well in a root cellar or cool basement.
One of the methods of planting potatoes is the trench and hill method. This involves digging trenches, piling the soil in between the trenches, planting the seed potatoes, and hilling the potato plants as they grow.
This is the traditional method of growing potatoes that farmers have used for centuries only scaled down for the backyard garden. The hilling method is ideal if you have good-quality soil and a large garden space.
After you have sourced your seed potatoes, figured our when to plant, and prepared the potato seeds for planting, you are ready to dig your trenches.
Remove all weeds, measure out your rows, and dig trenches about 4-6 inches deep and two feet apart. Mound up your soil in between the rows. You will be using this soil to hill your potatoes later.
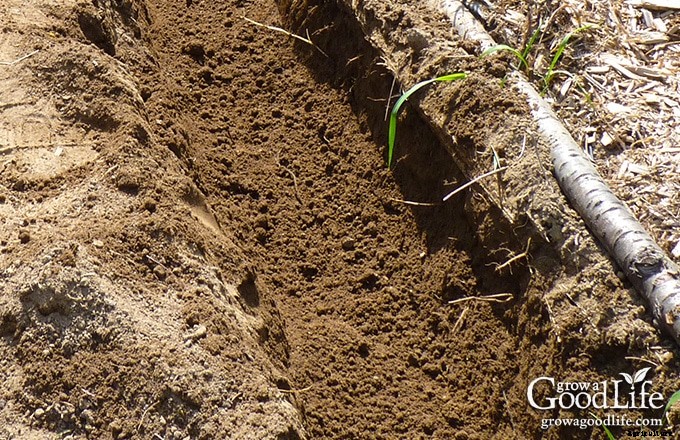
Once the trench is dug, add some finished compost and an organic fertilizer to the bottom of the trench and work it into the soil.
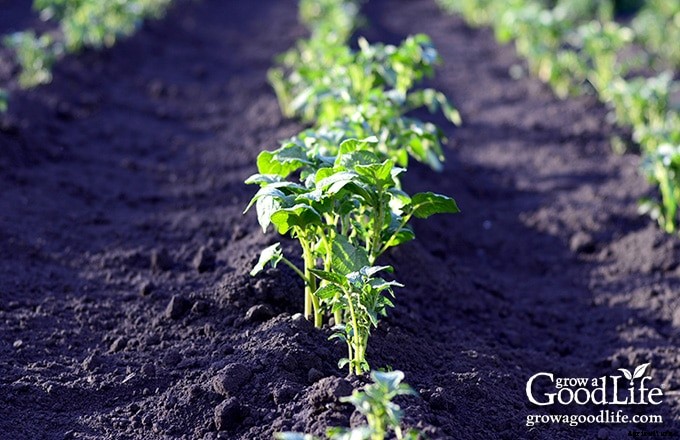
Place your potato seeds about 12-inches apart and cover with just 4 inches of soil. Water the newly planted potato bed very well. Your potato plants should emerge from the soil in about two weeks. It may take longer if the soil is still cold.
As the potatoes grow, pull the soil from the mounds in between the trenches to cover the new growth.
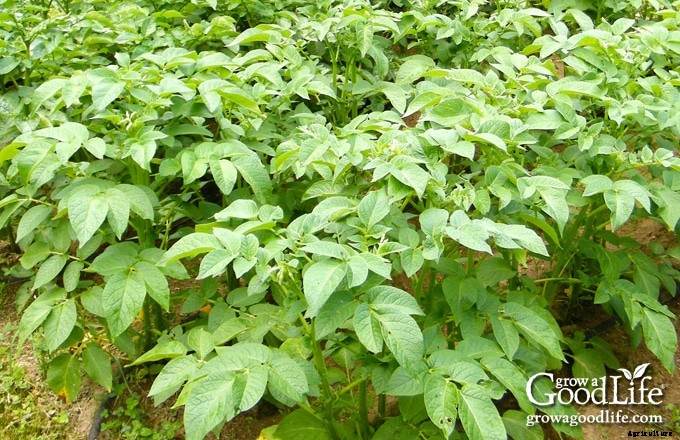
When the plants are 6-8 inches tall, begin hilling the potatoes by gently mounding the soil from the center of your rows around the stems of the plant. Mound up the soil around the plant until just the top few leaves show above the soil.
Two weeks later, hill up the soil again when the plants grow another 6-8 inches. Repeat the process of hilling and building up the soil as the plants continue to grow until there is about 12-18-inches of soil around the plant.
Mulch thickly with straw or shredded leaves to keep the soil cool, weed-free, and to cover any tubers that grow close to the surface to prevent them from turning green.
Baby potatoes are delicious. Once the potato plants bloom, you can begin harvesting potatoes as needed for meals. Dig carefully beneath the soil and pull out what you need. Try not to damage too many roots so the plant can continue growing. If you are growing potatoes for storage, allow the tubers to remain in the ground to mature fully.

I enjoyed a great harvest for my first attempt at growing potatoes. Although the potato crop I grew using the trench and hilling method was successful, I didn’t like the extra labor involved in hilling, the messy appearance of the garden, and the wasted space in between the rows. The following year, I tried growing potatoes using the John Jeavons’ Grow Biointensive method. Visit this article to learn another way to grow potatoes: Planting Potatoes the Biointensive Way.
You will find everything you need to start growing potatoes in my PDF eBook, Grow a Good Life Guide to Growing Potatoes. Whether you are striving for a few gourmet fingerling potatoes or a large crop for winter food storage, this guide will show how you can grow your own, organic, homegrown potatoes. Click here to learn more.