Welcome to Modern Agriculture!

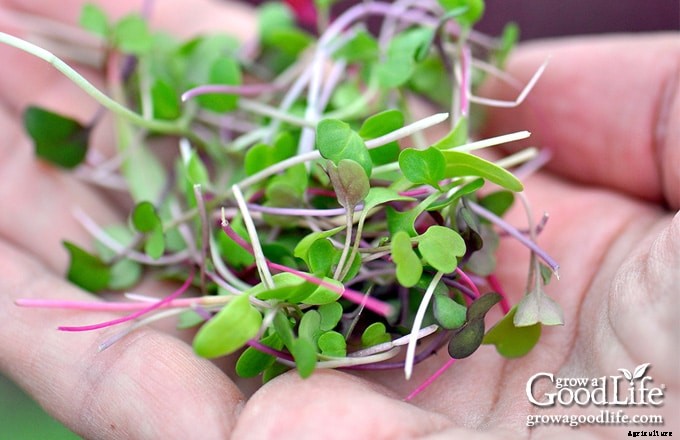
Microgreens are young edible vegetables and herbs harvested within weeks of sprouting. The tender greens are very flavorful and nutrient dense.
Use these tips and discover how easy it is to grow microgreens indoors so you can have a continual harvest of fresh, healthy greens.
The term “microgreens” is a generic term used to describe any edible green that is still in the immature state of growth.
Microgreens are greens harvested young for their stems and a few sets of leaves to add fresh flavor, texture, and color to a variety of foods, including salads, stir fry, sandwich toppings, and as an edible garnish.
If you enjoy growing food indoors, microgreens are a very rewarding crop to sow. They are easy to grow, and provide a quick harvest of nutrient dense greens that add a fresh burst of flavor to meals.
The cost for growing microgreens is minimal. There is very little investment of seeds, time, and space. So experiment and plant a variety of vegetables and herb seeds to get a wide range of flavor to help you discover the flavors you like best.
The faster the seeds germinate, the quicker you will have microgreens on your plate. Many plant varieties germinate so rapidly that you can enjoy fresh microgreens in only a week after planting. Others take a little longer to grow.
Below are some common microgreens to start with:
Arugula microgreens have a peppery flavor and crunchy texture making them useful in both raw green salads or cooked recipes. Baby arugula leaves pair well with beef recipes, like meatloaf or as part of a micro salad for steak. Immature arugula leaves are ready to harvest in 10-14 days.
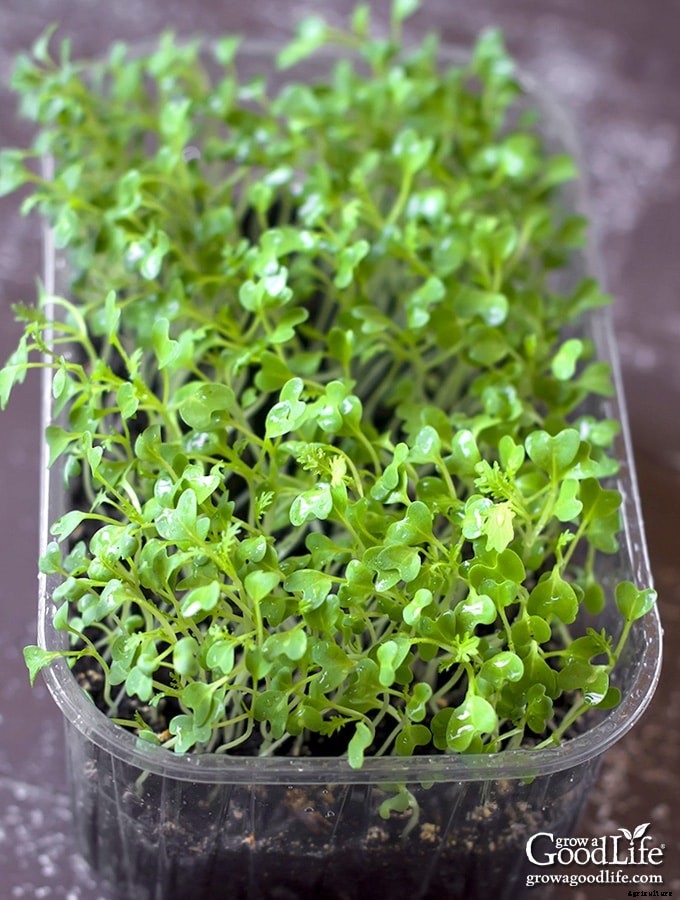
Broccoli microgreens are ready to harvest in about 10 days. The flavor of immature broccoli leaves is much like cabbage, and they are touted as having the most health benefits of all microgreens.
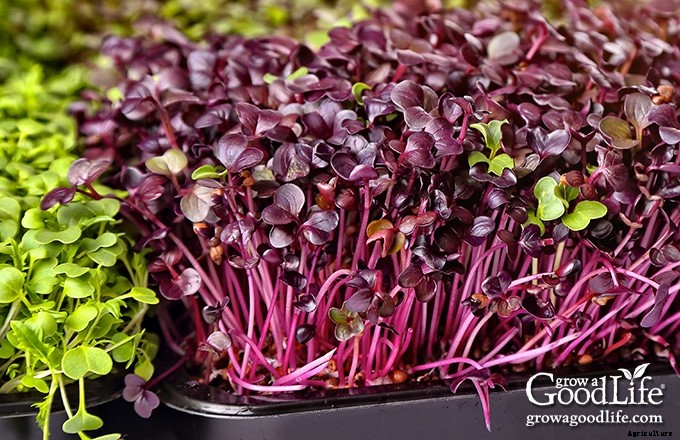
Cabbage microgreens will add a pop of color along with crunch to a fresh green salad. Select any variety of cabbage seeds to use for microgreens growing. The immature leaves will be glossy and stem colors can be red, purple, or pink, depending on variety grown.
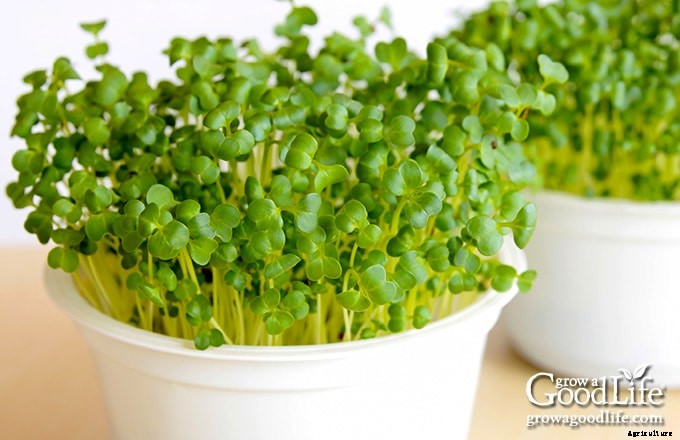
Radish microgreens are some of the quickest and easiest to grow. The seeds are large, easy to handle and fast to germinate. A tray of radish microgreens will be ready to eat in 7 days. These tiny greens add crunch to salads and sandwiches.
Kohlrabi microgreens taste like mild, sweet cabbage, not like mature kohlrabi. These seeds are fast to germinate, and the colorful, tiny leaves make a great addition to egg recipes, stir fry, and green salads.
Also consider your favorite salad green mixes, herbs, Asian greens, sunflower, and pea microgreens.
Use traditional seed flats or any shallow containers that you have on-hand. I like using recycled yogurt containers, produce trays, and bakery and berry containers from the grocery store.
Whatever container you choose, wash them with warm soapy water and rinse well. Poke holes in the bottom and be sure to place these containers in a seedling flat or tray to catch excess water and keep the humidity level up.
Pre-moisten the potting mix before filling your containers. Use a clean bucket or bowl and mix in a little warm water into the soil. You will want the soil mix slightly damp, but not soaking wet.
Place enough damp potting soil in the containers to fill it two-thirds full. Use your hands to level the soil, but don’t press soil or compact it too tightly. Prepare separate containers for each seed variety, unless the tray is large. Large trays can be divided in half and used for two different microgreen varieties.
Sprinkle the microgreen seeds evenly as across the top of the soil. The seeds should be scattered thickly with very little space between them.
Add a thin layer of potting soil on top of seeds. Gently press seeds into potting soil and mist the surface with warm water.
Cover the tray with the humidity dome to lock in moisture, and place in a warm, bright location away from direct sunlight.
Check the trays daily to ensure they have enough moisture. Seeing condensation on the inside of the humidity dome is a good sign of plenty of moisture. If there is no visible condensation, remove the dome, mist the soil with warm water, and re-cover.
Once the seeds sprout, remove the humidity dome, and place the microgreens under grow lights or in a sunny location where they will receive 4-6 hours of direct sunlight every day. Check the trays daily and water if necessary. The soil should be moist but not soggy.
Your microgreens will be ready to harvest around 2 to 3-weeks after planting. The first leaves to emerge from the soil are called cotyledons. They are also known as seed leaves because they nourish the plant until the true leaves grow.
The second set of leaves that unfurl are the plants’ “true leaves.” Once the second set of leaves form, it is time to harvest the microgreens. Once the true leaves appear, snip the stem just above the soil line and enjoy immediately for the best flavor.