
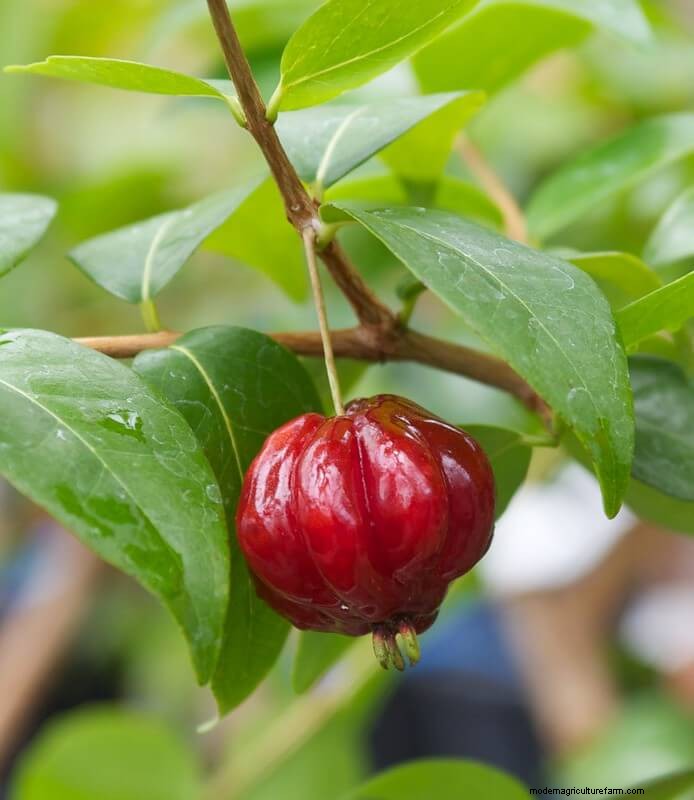
Welcome to Modern Agriculture!

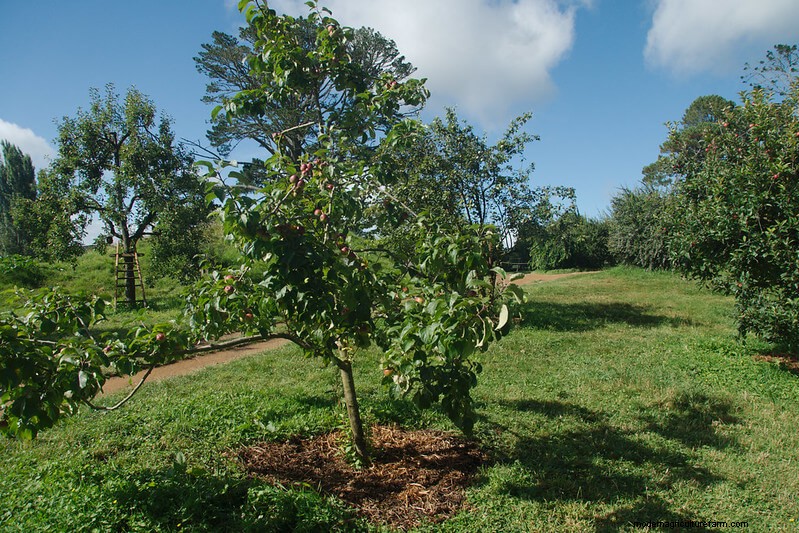
Do you have an orchard or a beautiful fruit tree you would like to see produce more fruit? Are you interested in growing more fruit varieties but not necessarily planting more trees? And would you like to produce fruit quicker on younger trees?
If the answer was yes to any of the above, you might want to look into fruit tree grafting.
Grafting is the process of joining two different plants together to grow as one. It is accomplished by joining an upper section of one plant with the lower section of another.
Grafting is extremely common when managing and growing fruit trees because it is a fast and reliable way to propagate fruit. Grafting can allow multiple varieties to grow from a single tree, as well as getting younger trees to produce fruit faster.
Before we continue, we need to cover some basic grafting terms.
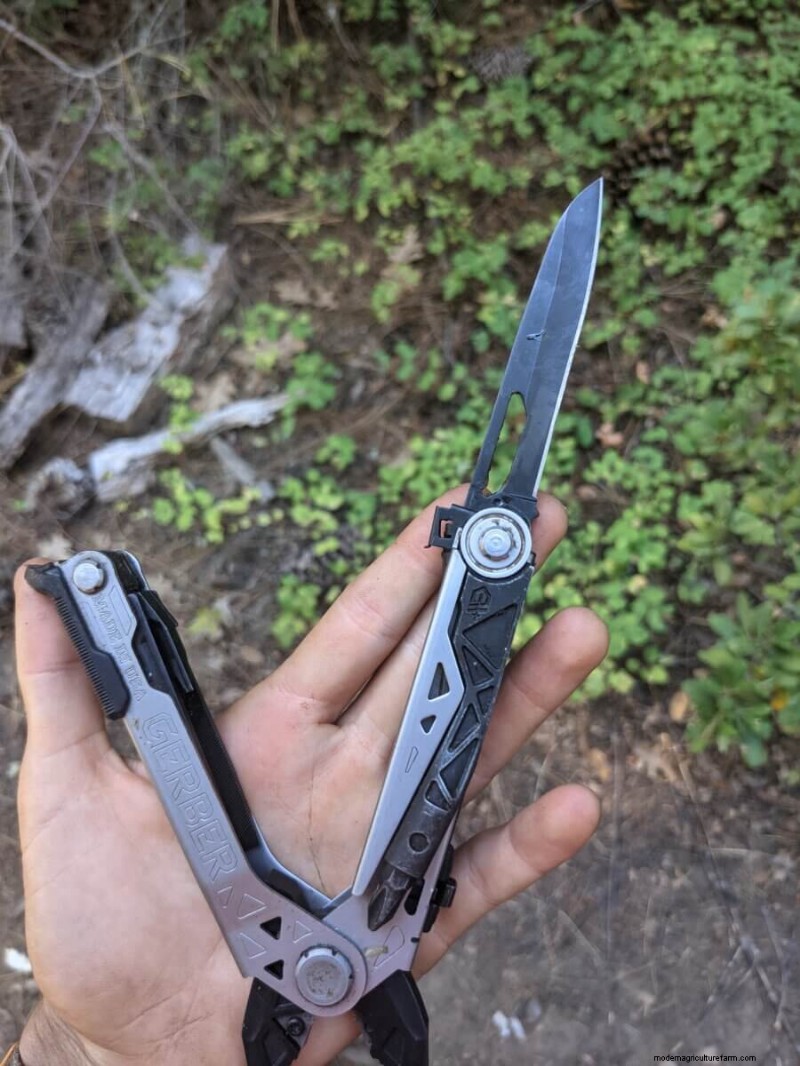
What do you need to successfully graft? Of course, there are tools made with the specific intention of grafting, but grafting can be accomplished with basic items found in the kitchen.
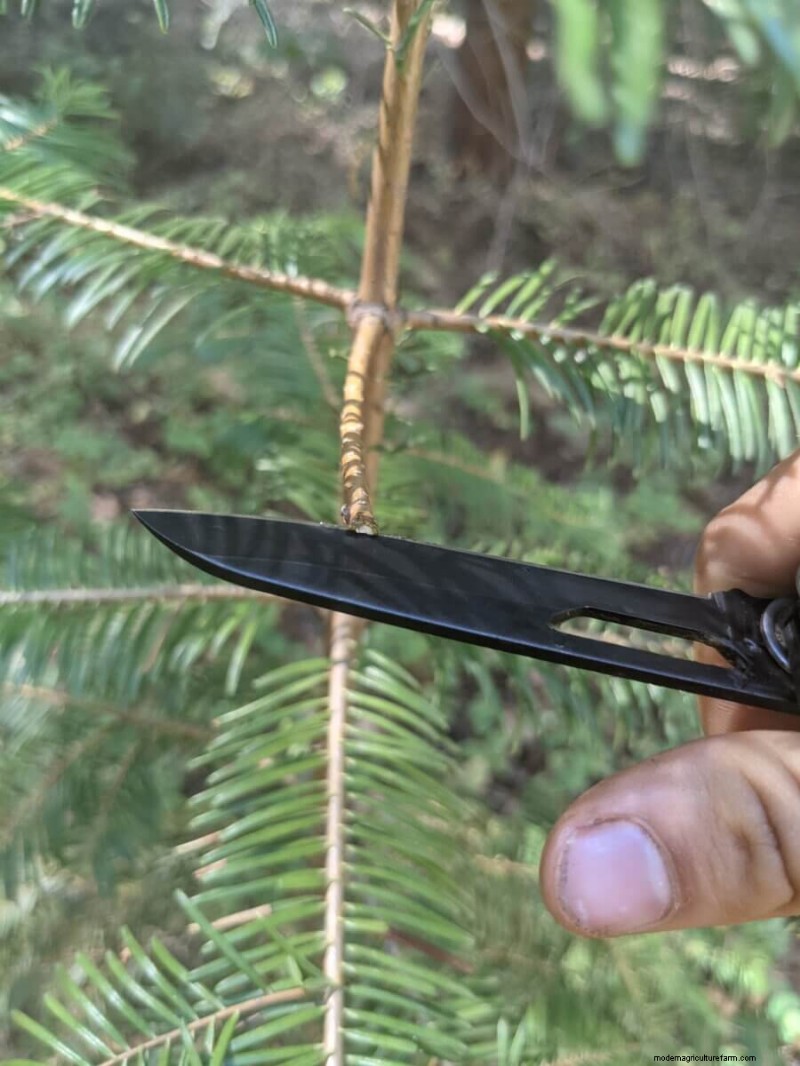
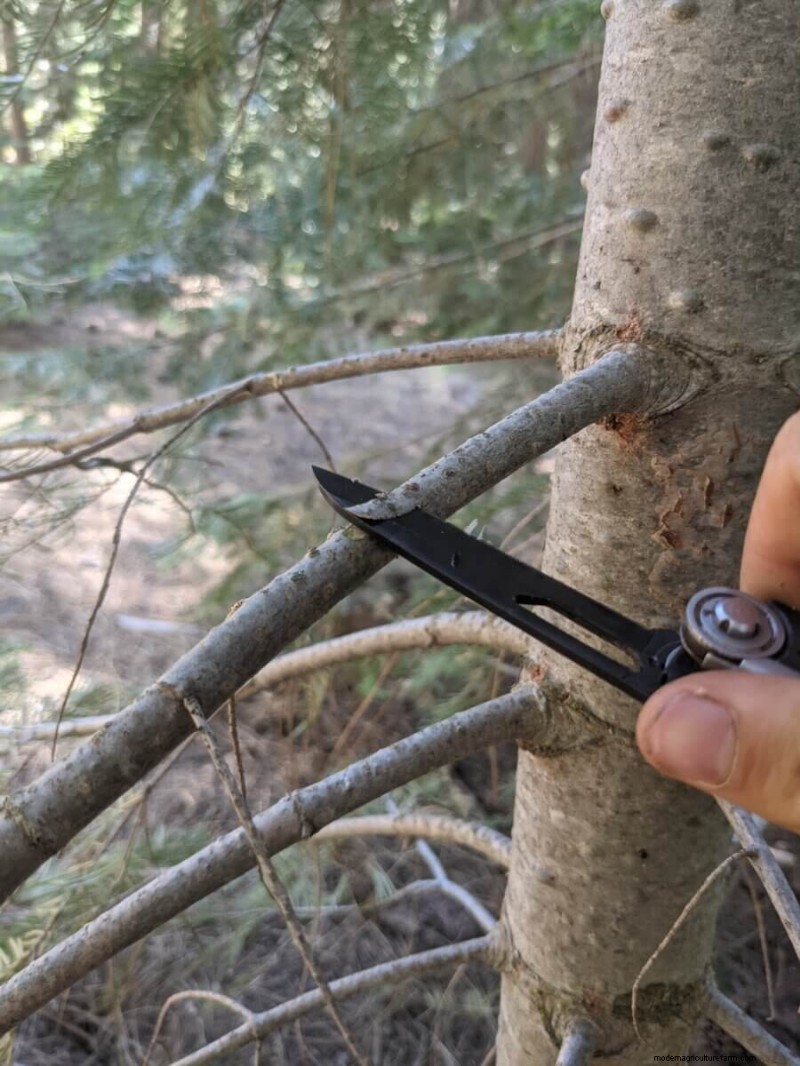
The best knife design to create grafts is a single-sided, sharp, non-serrated blade.
Any type of pruning tool can work for grafting. The size of the pruners may differ depending on the relative size of what you are attempting to graft.
After the scion has been successfully inserted into the graft point, it needs to be bandaged to help hold it in place and allow it to successfully heal, keeping out excess moisture and bacteria or infection.
This is a perfect material to bandage your graft. When selecting the bandaging material, anything plastic (waterproof) can work, and it’s ideal to use something clear or see-through so you can see what’s going on under the bandage without removing it. Plastic bags can be used as well. The bottom line is, it doesn’t have to be fancy or top-quality material to work.
If you find yourself having difficulty tying off your bandage, you can use tape to hold it. Tape is not a 100% necessary material to have, but can be helpful.
Any type of rubbing alcohol or antibacterial soap. Disinfectant is for cleaning the knife blade before and after cutting your scion and rootstock (and any additional graft cuttings you make) so infection is less likely and will not spread.
This is not a mandatory material but can be helpful and important if you are grafting in an area with direct sunlight exposure. Any type of paper or cloth bag can be used to help reduce sun exposure.
When choosing a rootstock and scion to graft, there are a few factors one may want to consider.
Rootstocks are generally chosen for their vigor, disease resistance, and hardiness. Different rootstocks will produce different qualities, so when deciding on a rootstock, consider what qualities you would like to promote. Some rootstocks grow dwarf trees that are easier to harvest in the long term due to the short stature of the tree. Other rootstocks are chosen for their resistance to damp conditions. Most often, however, rootstocks are chosen with the specific purpose of being compatible with pre-existing soil conditions in your area.
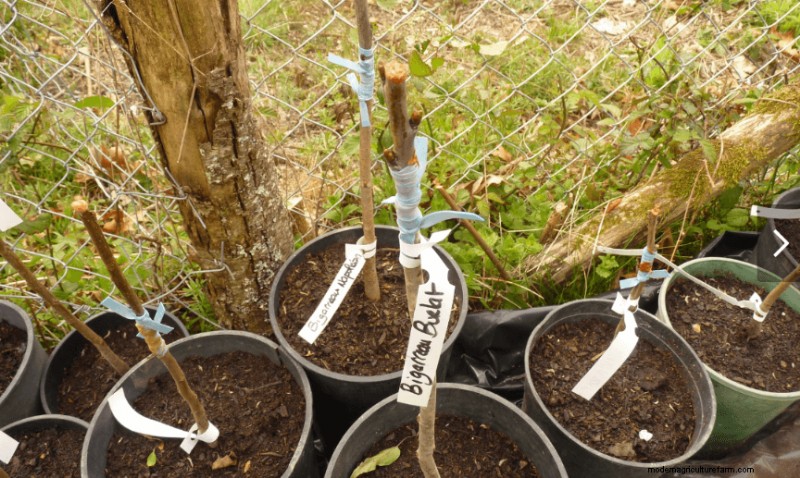
Scionwood/scions are often selected with intentions of promoting specific varieties or selecting a tree that is a vigorous fruit producer. Scionwood may also be selected for the purpose of cloning a fruit tree.
It is extremely important to ensure the scion and rootstock that you wish to graft are compatible. Oftentimes, grafting varieties of the same species will be suitable, but when trying to graft different species, compatibility issues can ensue. With the infinite possibilities of grafting, it would be impossible to include here which species are compatible for grafting and which are not. So when you are making your rootstock and scion choices, be sure you research whether what you are trying to accomplish is possible.
If you find no prior research or answers on compatibility for your grafting choices, try it anyway. Grafting experiments can be beautiful, interesting, and fun.
Related Post: 15 Weird and Wonderful Tropical Fruit Trees for Tropical Homesteads
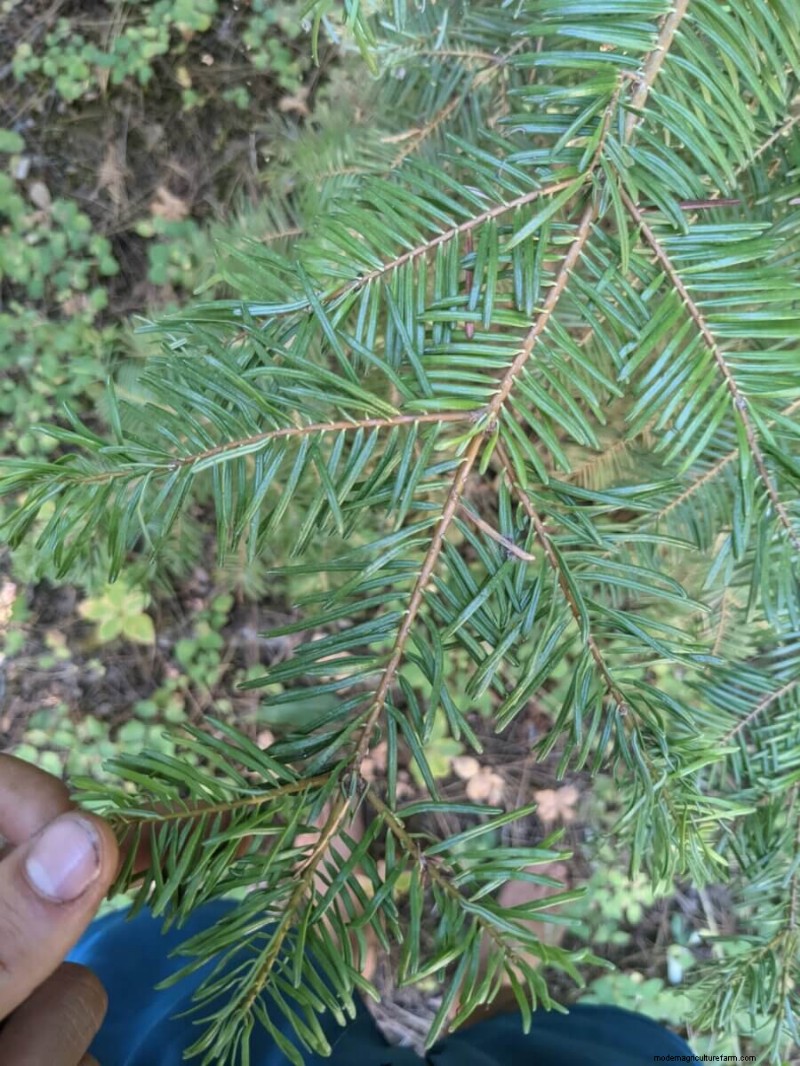
There are many grafting techniques. Here we will be covering the three most common (and simple to accomplish), but before we dive into them, the appropriate practice for harvesting and collecting scions needs to be explained.
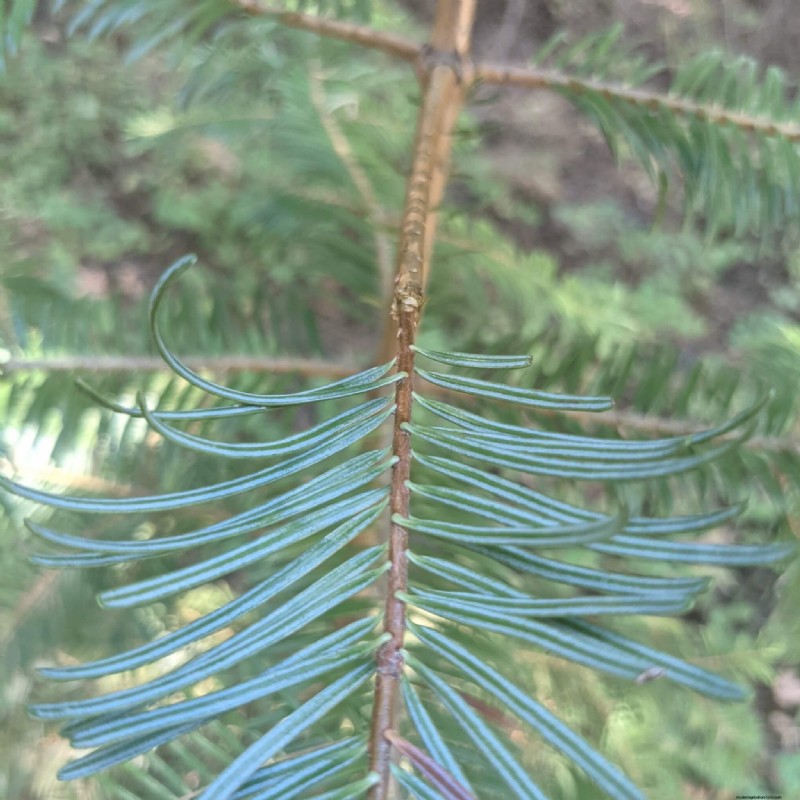
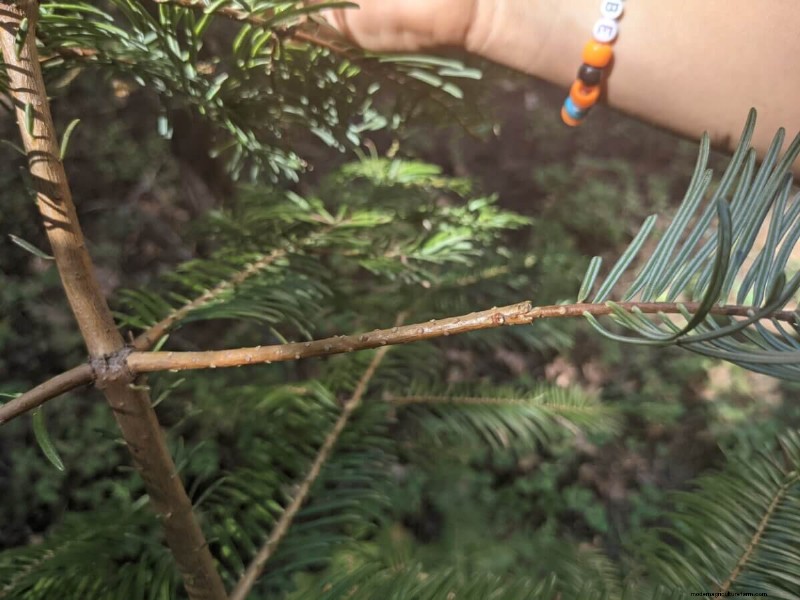
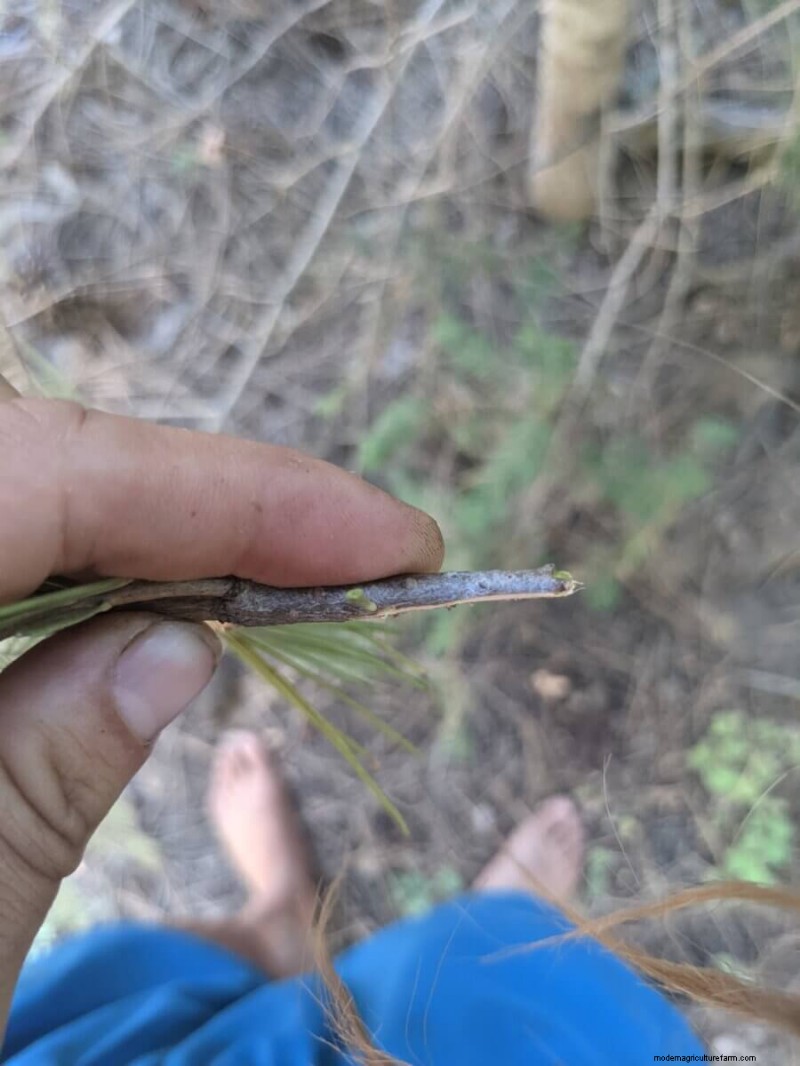
Scions are typically taken from the tips of young branches with dormant or swelling buds. It is important to harvest scions from the tips of young branches. Younger branches have more resilience and the capability to adapt to a stressful environment (after all, being cut off the mother tree and transported to a foreign tree can be quite intense — imagine how you would feel). Also, younger branches are more flexible and have less chance of snapping or collecting additional wounds through the transport process. Knowing where you intend to graft the scion before selecting it is important. It allows you to know what size and width would be appropriate for your graft. In general, scion width should be similar, if not slightly smaller, than the section of rootstock you intend to graft it to. When cutting your scion, make sure you make a clean, smooth cut (ragged scion ends aren’t good for successful grafts).
This is the most common grafting technique as it allows one to be less picky about the relative sizes of scions. You can use this method to graft onto side branches or graft directly onto the top of the rootstock.
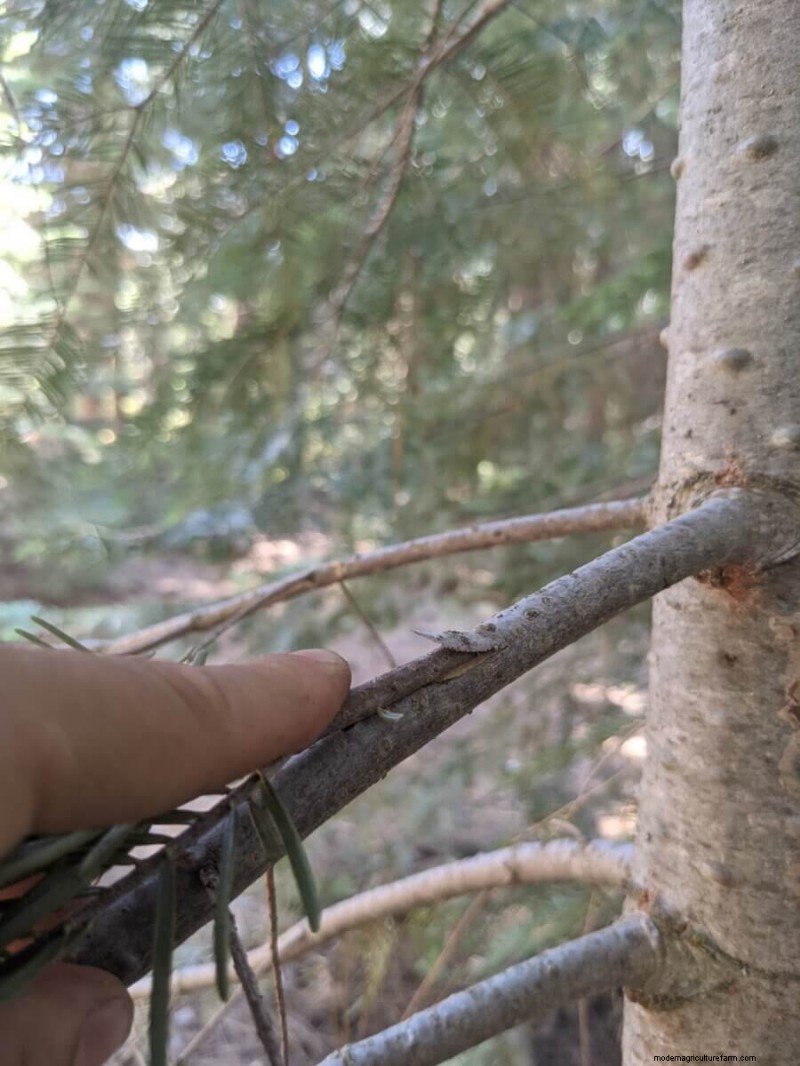
(Note: It is extremely unusual to be grafting fir or pine — I did not have a fruit tree available when doing this demonstration so bear with me.)

This is a similar method to cleft grafting, but instead of being grafted to the end of a branch or the top of the rootstock, the graft is made in the side of a branch. It’s a personal preference for which method you use, but sometimes this method is selected because it can be strategically grafted where there are leaves above the graft point (to help allow additional shade for more sensitive graft species).
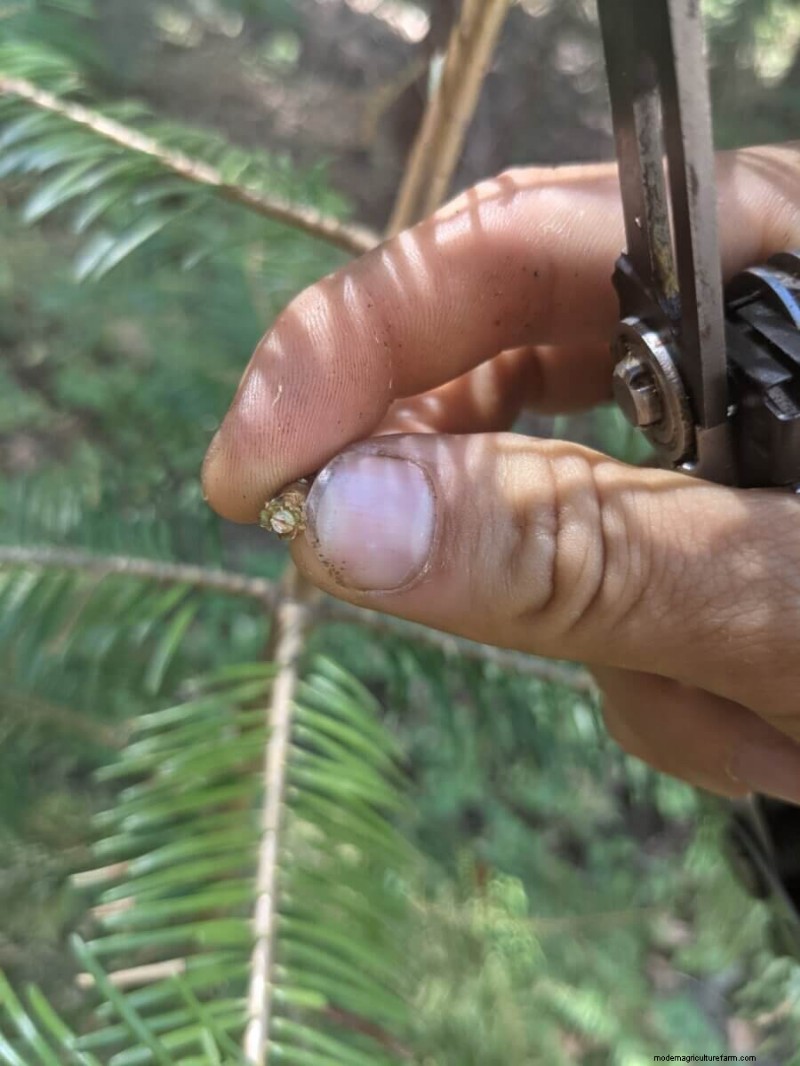
This technique uses buds to graft instead of scions. The scion bud is grafted directly to a point in the rootstock where a bud was already present. This method is usually quicker to accomplish, and easier for beginners.
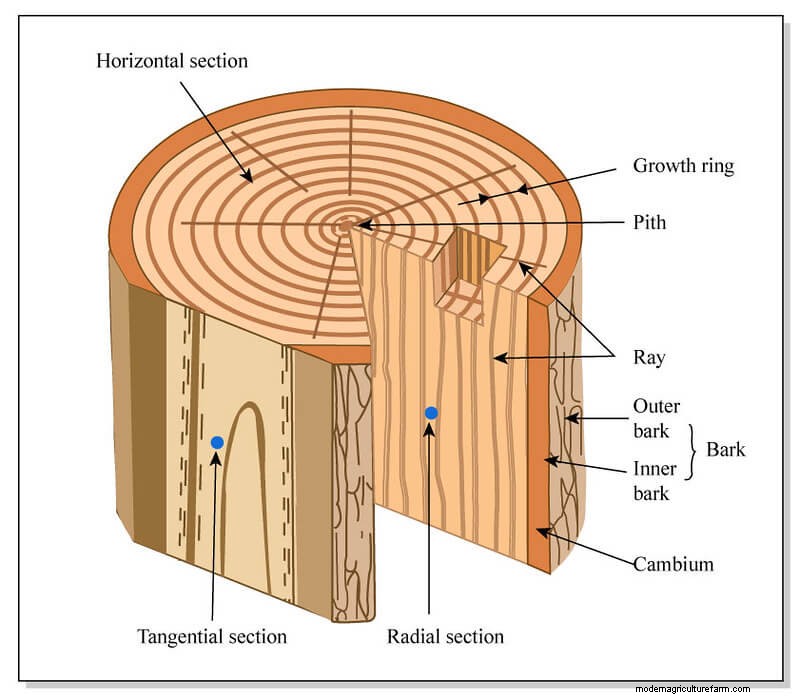
Good cambium alignment and pressure between the scionwood and rootstock (this is to ensure successful healing and help the rootstock and scionwood take to one another). After the graft is complete, check the bandage within 12 to 24 hours to see if there is humidity/fog/dew collecting within the bandage. They are a sign the graft is healing.
Selecting a younger rootstock and pairing it with a scion from an older tree can allow for earlier production of fruit. For example, a seedling avocado tree may take 10 or more years to produce fruit, whereas a grafted avocado tree may be producing fruit at the 2- to 3-year mark, or simply, whenever the rootstock is physically capable of supporting fruit production. This essentially allows one to skip the juvenile growth phase of a fruit tree.
Selecting scionwood from a tree that is known to have excessive fruit production can ensure production.
Selecting a rootstock that has good compatibility with the soil type and conditions present, can ensure a strong, rigorous tree in the long term.
Peeling back the bark to expose the cambium can be difficult, as slicing too deep will kill the scion, and cutting too shallow will do the same. Aligning the rootstock and scionwood appropriately can take time, patience, and a few adjustments to get it right. Wrapping the bandage around the grafting point after this step can throw off the alignment, as you’re moving the two around to try and bandage correctly. Sometimes this step sets you back to realigning the scion with the rootstock. I actually find it to be the most difficult of the entire process.
Short-term aftercare involves monitoring of the graft location, prevention of excess movement and exposure to extreme weather conditions, and keeping the rootstock well watered. If the grafting location is in direct sun exposure, shade cloth or paper bag keeps the scion from drying out. If the scion dries due to excess sun exposure or lack of watering to the rootstock, your graft will not take. In addition, long-term aftercare is needed to ensure the removal of suckers and shoots that begin growing below the grafting point. These are offshoots of the rootstock and can often out-compete the scionwood.
Fruit tree grafting can be successfully accomplished with limited experience, patience, and basic kitchen items. If you’re looking to increase your fruit production, encourage fruit growth on younger rootstocks, produce more fruit varieties, or simply try something new and exciting, grafting could be a lovely endeavor.


