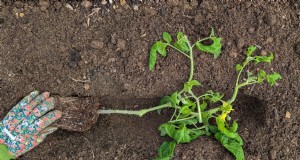
The use of hydroponic gardening is an effective method for cultivating plants; yet, yellowing leaves may indicate that there are underlying problems. Nutrient imbalances, environmental stress, or pests often cause this issue.
Hydroponics, in contrast to gardens grown in soil, is dependent on the correct distribution of nutrients; therefore, it is essential to solve any issues as soon as they arise. Organic treatments and DIY remedies can restore plant health without the use of harsh chemicals. You will be able to bring your plants back to life and prevent further problems if you first determine the underlying cause and then implement specific measures. Let’s investigate 15 causes of yellowing leaves in hydroponics and their organic fixes.
Yellow Leaves in Hydroponics: 15 Common Causes and Organic Solutions
1. Nutrient Deficiency: The Most Common Culprit
The presence of yellowing leaves, particularly older ones, is frequently indicative of a nitrogen deficit. The formation of chlorophyll requires large amounts of nitrogen. To increase the levels of nitrogen, use organic methods like compost tea or diluted fish emulsion.
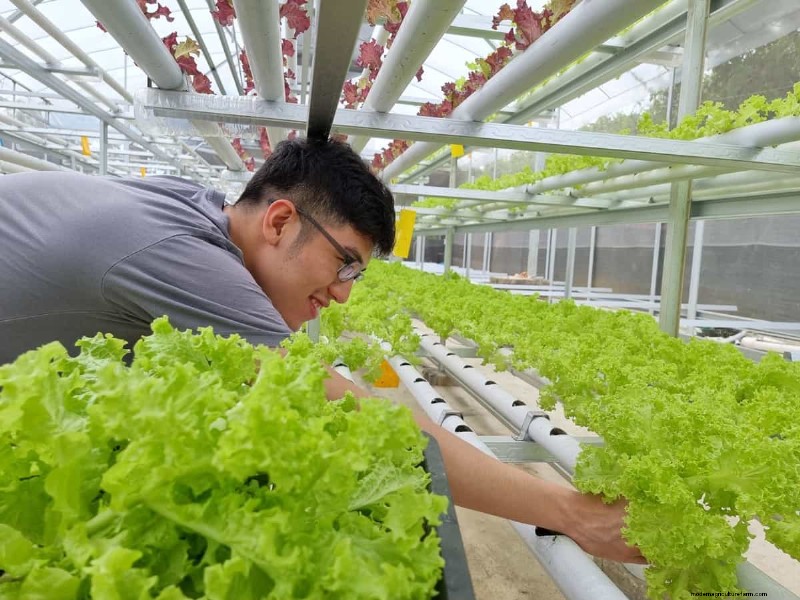
In the case of younger leaves that are becoming yellow, magnesium or iron deficits should be considered. This can be accomplished by applying a foliar spray of Epsom salt at a rate of one tablespoon per gallon of water. To prevent underfeeding, you should always check the balance of your nutrient solution.
Related Symptoms | Organic Treatments | Prevention Tips | Additional Notes | Purple stemsBone meal for phosphorusRotate nutrient solutionsAvoid mixing incompatibleStunted growthKelp extract for potassiumTest water quality monthlyCheck for secondaryCurling leaf edgesDolomite lime for calciumUse filtered waterdeficienciesBrown leaf tipsBanana peel soakAdjust light intensitySlow fruit developmentComposted manure teaBalance N-P-K ratiosUniform yellowingAlfalfa mealRegular root inspections
2. pH Imbalance: The Silent Growth Disruptor
When it comes to nutrient absorption, hydroponic systems require a pH that is steady (often between 5.5 and 6.5). When the pH of the soil is too high or too low, plants are unable to absorb nutrients, which results in yellowing.
Use strips or a meter to do pH tests once a week. Vinegar, which has a lower pH, and baking soda, which has a higher pH, are both organic possibilities as well. Small adjustments (0.1–0.2 increments) can prevent shock. Maintaining a constant pH level ensures that nutrients are always available.
pH Range | Common Issues | Natural Adjuster | Critical Threshold | 5.0–5.5Aluminum toxicityCrushed eggshellsAvoid below 5.06.5–7.0Iron lockoutCitric acid solutionMonitor copper interactions7.5+Calcium precipitationPine needle mulchFlush system if persistent4.5–5.0Manganese excessChalk (calcium carbonate)Test water source pH6.0–6.3Optimal micronutrient uptakeNone neededMaintain weekly5.5–6.0Balanced macronutrient absorptionRoutine checks
3. Overwatering or Poor Oxygenation: Root Suffocation
Roots in hydroponics require oxygen just as much as they require water. If you overwater your plants or clog your irrigation system, the roots will become yellow and mushy.
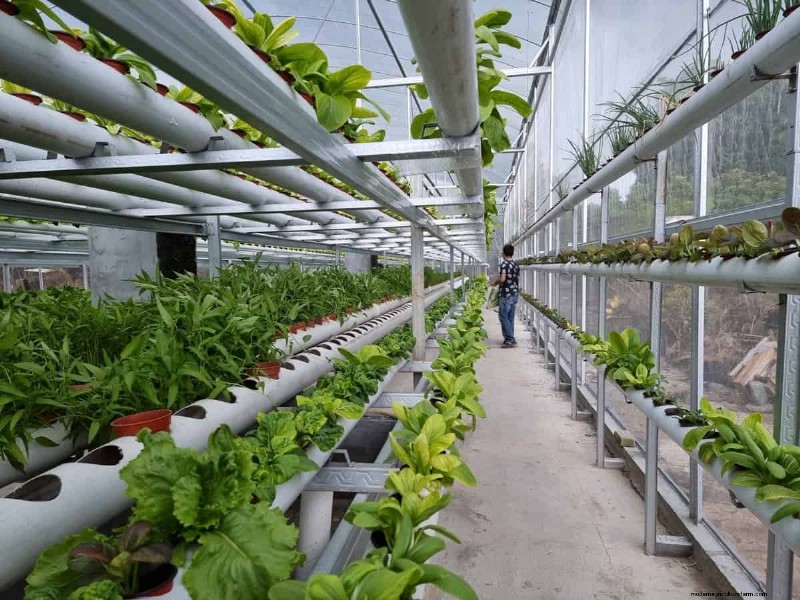
To raise the amount of oxygen in the reservoir, add an airstone. Remove any decaying roots and refresh any water that has become stagnant. It is important to make sure that the water level in DWC systems allows for a portion of the root zone to remain dry. In the event that the roots become darker, you should take immediate action.
Symptoms | Immediate Actions | Long-Term Fixes | Tool Needed | Mushy rootsTrim with sterilized scissorsInstall air pumpHydrogen peroxide (3%)Foul odorReplace 50% of reservoir waterAdd beneficial bacteriaAquarium air stoneWilting despite wetnessIncrease airflowUse breathable grow mediumFan or ventilation systemSlow growthCheck water temperatureInsulate reservoirThermometerLeaf dropReduce light intensityOptimize nutrient strengthLux meterBrown root tipsFlush systemAdjust EC levelsTDS meter
4. Light Burn: Too Much of a Good Thing
Excessive light intensity or proximity can bleach leaves, leading to yellow or white patches. If you want to avoid burning, either increase the wattage of your grow lights or raise them. Utilize a lux meter to get an accurate reading (the majority of plants require 20,000–50,000 lux).
Turn plants over on a regular basis to provide even exposure. If you are growing your plants indoors, get LED lights that have adjustable settings so that they can simulate the natural solar cycles. Monitor leaf color daily to catch early signs of stress.
Light Issues | Symptoms | Adjustment Methods | Prevention Tips | Intense HID bulbsWhite leaf centersSwitch to LED panelsUse diffusers for even spreadLow-hanging LEDsCrispy leaf edgesRaise lights 6–12 inchesCheck manufacturer guidelinesExtended light cyclesYellowing mid-sectionReduce photoperiod to 16/8Match light cycles to speciesReflected glareSpeckled discolorationPaint walls matte whiteAvoid reflective surfacesUV exposureBrown leaf tipsAdd UV-blocking filmLimit supplemental UV lightInconsistent light anglesUneven growth patternsRotate plants every 3 daysUse oscillating fans
5. Pests and Insects: Hidden Leaf Destroyers
Through the process of sucking sap, spider mites, aphids, and fungus gnats weaken plants, resulting in yellow patches or curling. Spray the leaves with insecticide soap or neem oil, equal to two teaspoons per quart of water.
Aphids can be controlled by introducing beneficial predators like ladybugs. Isolate plants that are infected to stop the spread of the disease. It is important to inspect the undersides of the leaves on a regular basis.
Pest Types | Distinct Damage | Organic Treatments | Monitoring Strategy | ThripsSilvery streaksBlue sticky trapsTap leaves over white paperWhitefliesSticky honeydew residueNasturtium trap cropsYellow sticky cardsScale insectsWaxy bumps on stemsRub with alcohol-soaked swabCheck new growth weeklyFungus gnatsRoot damage in DWC systemsSand layer on reservoirAvoid overwatering seedlingsLeaf minersSerpentine trailsNeem cake soil drenchRemove affected leavesMealybugsCotton-like clustersDiatomaceous earth dustingInspect nodes and crevices
6. Root Rot: A Fungal Threat
Excessive watering or inadequate cleanliness typically cause root rot, which manifests as rough-smelling and slimy roots. Remove the damaged roots using sanitized scissors.
Hydrogen peroxide in a solution of three percent or chamomile tea can be used to disinfect the system in order to combat fungus. Don’t bring back plants until the system has been thoroughly cleaned. Through the maintenance of appropriate oxygen levels and the avoidance of soggy circumstances, new breakouts can be prevented.
Root Conditions | Disinfection Methods | Recovery Aid | System Checks | Brown, mushy roots3% H₂O₂ flush (1:4 ratio)Beneficial bacteria (Bacillus)Test dissolved oxygen levelsFungal webbingChamomile tea soakAir pump with diffuserClean reservoir walls weeklySlimy residueCitric acid rinseCharcoal filter in waterReplace grow mediumHollow root structuresCopper sulfate solutionReduce nutrient strengthCheck water temperatureBrittle black rootsComplete system sterilizationReintroduce plants slowlyInstall UV sterilizerSour odorVinegar pH correctionAdd silica supplementsMonitor EC levels daily
7. Calcium Deficiency: Blossom End Rot’s Partner
Yellow spots around the leaf edges and weak stems are indicative of a lack of calcium in the plant. A solution that is high in calcium can be made by soaking crushed eggshells in water for one to two weeks.
Or, you may add a little bit of milk to the reservoir; the calcium and proteins in milk are beneficial to the recuperation process. Calcium uptake is slowed down in dry conditions, so it is important to maintain a stable pH level.
Calcium Source | Application Rate | Absorption Aid | Complementary Nutrient | Bone meal1 tbsp per gallonFoliar spray at lights offBoron (borax solution)Dolomite lime½ cup per 5 gallonsMaintain 6.0–6.5 pHMagnesium (Epsom salt)Gypsum2 tbsp per gallonAerate root zoneSulfur (elemental powder)Seaweed extract1 tsp per quartMist undersides of leavesZinc (kelp meal)Calcified seaweedFollow package instructionsAvoid temperature extremesMolybdenum (compost tea)Calcium nitrate¼ tsp per gallonFlush system before usePhosphorus (fish bone meal)
8. Iron Deficiency: New Growth Suffers First
Newly emerging leaves that turn yellow and have green veins indicate an iron deficit. The nutrient solution should be infused with chelated iron, which can be obtained from organic sources.
You may also make a foliar spray out of spinach or nettle leaves by blending them together. As saturated roots prevent iron absorption, it is important to avoid overwatering. Test your water; a high pH can prevent iron from being absorbed, even if it is there.
Iron Supplement | Preparation Method | Application Timing | pH Compatibility | Chelated iron (Fe-EDDHA)Mix 1 tsp per gallonEvening applicationWorks at pH 7.0–8.0Spirulina powderSteep 1 tbsp in warm waterMist every 3 daysOptimal at 6.0–6.5Iron-rich compostSteep 1 cup in 5 gallonsWeekly feedingsAvoid below 5.5Soybean meal½ cup per reservoirDuring vegetative stageRequires acidic conditionsBlood meal1 tbsp per gallonPre-bloom phaseNeutral to slightly acidicIron oxideDissolve in vinegarEmergency correctionLowers pH temporarily
9. Temperature Stress: Too Hot or Cold
Temperatures that are too high interfere with photosynthesis. The leaves will turn yellow if the roots are too cold (below 60°F) or overheated (over 85°F). Monitor the temperatures of the root zone and the air with a thermometer.
When it is cold outside, insulate reservoirs, and when it is hot outside, shade plants. Fans increase airflow, which in turn reduces heat stress and the accumulation of humidity.
Temperature Ranges | Plant Response | Immediate Fixes | Long-Term Solution | 50–59°F (Root Zone)Slow metabolismWarm water circulationInsulated reservoir jacket90–95°F (Foliage)Leaf scorchShade cloth (30% density)Install evaporative cooler65–75°F (Optimal)Vigorous growthMaintain consistencyAutomated climate control45–55°F (Night)Stunted growthHeat mats for seedlingsGreenhouse heating system100°F+ (Heatwave)Rapid wiltingEmergency mistingReflective roof coating35–45°F (Cold Stress)Purple leaf undersidesGradual acclimatizationGrow cold-tolerant varieties
10. Transplant Shock: Sudden Environmental Changes
The introduction of seedlings into a hydroponic system can strain plants, resulting in the yellowing of their leaves. Exposing plants to system conditions over a period of five to seven days should gradually harden them off.
When transferring, you should avoid disturbing the roots. Make use of a nutrition solution that is half-strength and gentle until the plants have adjusted. They recuperate without suffering any long-term damage thanks to patience.
Shock Stage | Visible Signs | Recovery Steps | Stress Reducers | Initial transplantDrooping leavesMist roots with waterHumidity dome24–48 hours post-moveLeaf curlingReduce light intensityAloe vera gel root dip3–5 daysYellowing tipsGradual nutrient increaseVitamin B1 supplement1 week+Stunted growthFoliar feed with seaweedAvoid physical disturbancesRoot adaptation phaseSparse new growthTop-feed with compost teaMaintain stable EC levelsFull recoveryNew leaf formationResume full nutrient regimenPrune damaged foliage
11. Light Deprivation: Not Enough Photosynthesis
Lack of light slows down growth and causes yellowing. Depending on the species, make sure that plants receive between 12 and 16 hours of light each day.
Optimal light distribution can be achieved by using reflective surfaces, such as aluminum foil. Replace old bulbs that have lost their brightness over time. When employing natural light, cut plants that are nearby to lessen the amount of shade.
Light Deficiency Symptoms | Light Requirements | Enhancement Methods | Tool Recommendations | Elongated stems14–16 hours/dayInstall side-mounted LEDsPAR meterPale green leaves20,000–30,000 luxUse reflective Mylar wallsLight mover systemSlow internodal growth8–10 hours/day (short-day)Adjust light spectrum to 6500KTimers with battery backupUniform yellowing12/12 cycle for floweringAdd far-red LED stripsQuantum sensorLeaf drop18 hours (autoflowers)Supplement with CO₂Reflector shadesNo new growth6–8 hours (hardening)Gradual reduction in lightDimmable LED controllers
12. Potassium Deficiency: Weak Stems and Yellow Edges
Leaves that are older and have yellow edges and brown patches are indicative of a lack of potassium. Soaking banana peels in water for 1-3 days makes potassium-rich fertilizer.
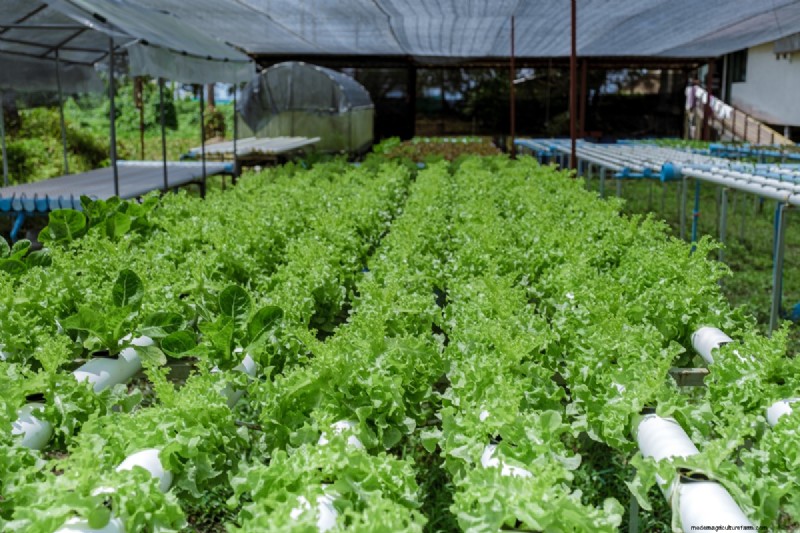
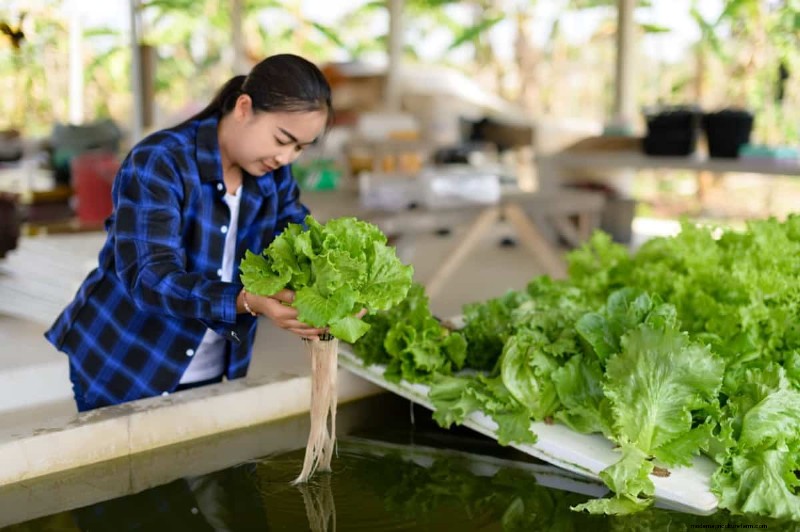
Hydroponics System growing vegetables, Salad in a garden in Thailand, salad growing in a PVC pipe Organic Lettuces Grown In An Outdoors Hydroponics System. Koh Kood Thailand.
Wood ash, when used sparingly, can also increase levels. A surplus of nitrogen can compete with potassium for uptake; thus, it should be avoided. Modify your nutrient mix such that the macronutrients are in balance.
Potassium Source | Preparation | Application Rates | Synergy Nutrient | Banana peel teaFerment 3 days1 cup per gallonPhosphorus (bone meal)Kelp mealCold-water steep2 tbsp per gallonNitrogen (alfalfa meal)Granite dustMix into reservoir½ cup per 10 gallonsSilica (rice hull ash)Potato peel infusionBoil and strain1 quart per reservoirCalcium (eggshell tea)Sulfate of potashDissolve directly1 tsp per 5 gallonsMagnesium (Epsom salt)Composted citrus rindsSteep 1 week1:10 dilutionBoron (borax solution)
13. Algae Growth: Competing for Nutrients
This leads to plant starvation, as algae in reservoirs absorb nutrients and clog systems. Utilize a flush of hydrogen peroxide, which should be one-fourth of a cup for every gallon of water.
To prevent regrowth, the reservoir should be shielded from light. To thrive, algae requires light. Consistently scrub the containers and replace the opaque covers.
Algae Types | Growth Conditions | Eradication Methods | Preventive Measures | Green water algaelight, stagnant waterUV sterilizerOpaque reservoir coversBlack beard algaeLow flow, high ironHydrogen peroxide spot treatmentInstall air stonesBlue-green algae (cyanobacteria)High nitrogen, warm tempsPartial system bleachMaintain 6.0–6.5 pHRed slime algaeSilica-rich waterManual scrubbingUse reverse osmosis waterFungal slimeOrganic debris buildupEnzyme cleaner flushMonthly deep cleaningDiatomsSilica and phosphate excessCopper sulfate solutionFilter intake screens
14. Salt Buildup: Toxic Residue from Hard Water
White crusts on roots or containers are an indication of salt accumulation, which prevents the plant from absorbing nutrients. Every two to three weeks, flush the system with water that has a pH balance.
If the water from your tap is hard, you should use filtered water. It is necessary to completely refill the nutrient solution in DWC systems to reset the mineral levels.
Salt Sources | Detection Methods | Flushing Protocol | Water Quality Tips | Calcium carbonateWhite residue on reservoir2-hour flush with RO waterTest TDS before refillSodium chlorideLeaf tip burn3x system volume flushUse dechlorinated waterMagnesium sulfateCrusty root ballsVinegar rinse (1:10 ratio)Monitor EC weeklyPotassium nitrateBrown algae bloomsCharcoal filter treatmentAvoid tap water with >200 ppmIron oxideOrange stainsCitric acid descalingInstall water softenerCopper saltsBlue-green depositsChelator additiveTest for heavy metals
15. Natural Aging: When Leaves Yellow Naturally
When plants reach maturity, the older leaves gradually turn yellow and fall off. Pruning them typically shifts energy to develop new growth.
Aged plants have a lower nutritional requirement; hence, it is important to avoid over-fertilizing them. Maintaining optimal conditions to sustain the surviving foliage should be your primary focus.
Aging Stages | Pruning Strategy | Nutrient Adjustments | End-of-Life Care | Early maturityRemove 20% oldest leavesReduce nitrogen by 30%Increase phosphorus slightlyPeak fruitingTrim shaded inner growthBalance N-P-K 1-2-2 ratioBoost potassium for ripeningSenescence phaseAggressive defoliationSwitch to bloom formulaFlush system every 2 weeksPost-harvestRemove all foliageMinimal nutrients (EC 0.5)Dry roots before storagePerennial regrowthSelective pruningHigh phosphorus for rootsCool temperatures for dormancyTerminal stageHarvest remaining produceStop all nutrients 1 week priorDocument growth cycle notes
Conclusion
If you address yellowing leaves in hydroponics right away, you can correct them. Routine checks on pH, nutrients, light, and root health can prevent most problems.
Solutions that are both safe and effective can be found in organic therapies such as neem oil, compost tea, and common household materials such as eggshells and Epsom salt. Adapt your system to the plant’s needs, and don’t hesitate to prune damaged foliage. When you have patience and pay attention to your hydroponic garden, it will flourish and produce growth that is both vibrant and healthy.