
Welcome to Modern Agriculture!

Growing sesame plants isn’t difficult and the beautiful plants not only produce edible sesame seeds, but also attract bees to your garden. Sesame is a heat-loving crop, but one that you can also grow in colder climates. You’ll enjoy months of eye-catching bell-shaped flowers which mature into the seed-packed pods. In this article you’ll learn everything you need to know to plant, grow, and harvest your own sesame seeds.
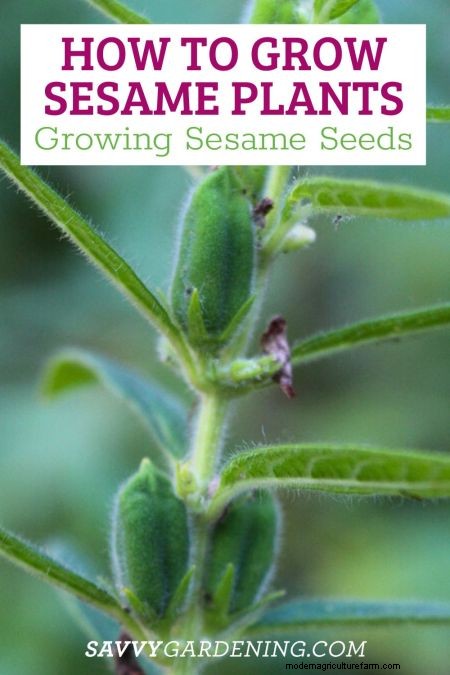
Sesame (Sesamum indicum), a drought tolerant annual plant from India, is grown for its tiny edible seeds. Those seeds, which may be light or dark in color, have a high oil content, and have been cultivated for thousands of years for oil and tahini, as well as countless other dishes. Thomas Jefferson even grew sesame at Monticello to make an oil for salads, but he also appreciated the beauty of the plants. Sesame is extremely ornamental, growing 3 to 6 feet tall when given ideal growing conditions. The graceful plants have narrow, lance shaped leaves and tubular pink flowers. Blooming begins in mid-summer with the flowers produced all along the stem from the bottom up. Each bloom matures into a seed capsule that is packed with tiny sesame seeds. Expect maturity to take between 90 and 120 days, depending on the cultivar and your climate.
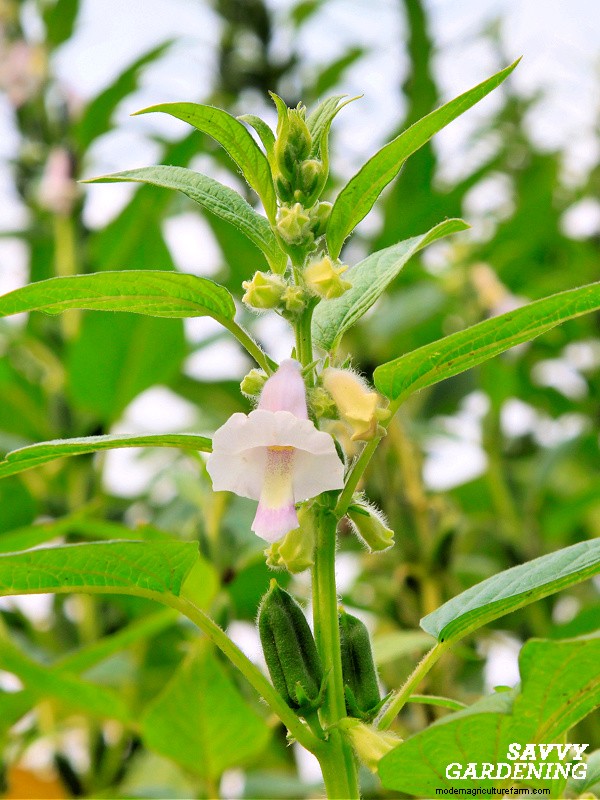 Tall sesame plants have pink bell-shaped flowers that attract bees and other pollinators.
Sesame plants are beautiful garden plants attracting bumble bees and other pollinators to your garden. The bell-shaped flowers reach peak bloom in July and August and are lovely in both vegetable gardens and flower gardens. You can even try growing sesame plants in large containers or fabric planters.
Golden sesame and black sesame are the most common varieties offered in seed catalogs. Golden sesame seeds have a mild flavor, and good crunch. Black sesame seeds are more nutritious, thanks to their intact hull, and have a stronger flavor.
There are two methods for growing sesame seed plants. The first is to direct sow the seeds outdoors and the second is to give them a head start inside. The method you choose depends on your location and climate. Here’s more information on both options.
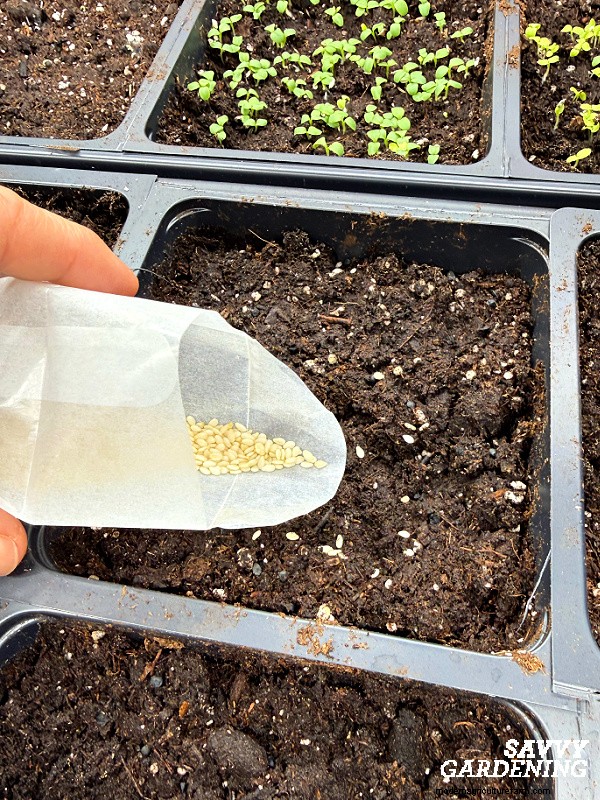 Because I live in a cold climate, I start sesame seeds indoors 4 to 6 weeks before the last frost date.
Gardeners in zone 7 and warmer have long enough growing seasons that they can direct sow sesame seeds outdoors. Don’t plant too early though, as this tender crop needs warm temperatures. Wait until the soil has warmed to 70 degrees F (21 degrees C) which will be a few weeks after the last frost date. To raise soil temperatures, lay black plastic mulch over the seeding bed at least a week before planting.
Prepare the site by loosening the soil and adding a half inch of compost or rotted manure. Plant the seeds a quarter to a half inch deep and 3 inches apart, eventually thinning to 6 inches. Maintain a lightly damp soil until the seeds sprout. I find a long-handled watering wand makes it easy to create a gentle shower of water so the seeds don’t get washed away. Set up a mini hoop tunnel covered with clear plastic or lightweight row cover overtop the bed if the spring weather is unsettled. Monitor soil moisture, watering to keep the soil lightly damp for good germination.
Gardeners with shorter growing seasons, zone 6 and colder, benefit from starting sesame seeds indoors 4 to 6 weeks before the last frost date. This is so the seedlings can size up before they’re transplanted outdoors.
Sow seeds into soil blocks or cell packs, planting them a quarter inch deep. The ideal germination temperature for sesame is between 70 and 85 degrees F (21 and 29 degrees C) and using a seedling heat mat is an easy way to reach those temperatures. Germination takes 10-14 days. I keep my seedlings under grow lights turned on for 16 to 18 hours daily. This ensures they have the light they need for robust growth. If you don’t have a lot of indoor space, a tabletop grow light is very handy. Water the seedlings carefully to keep the growing mix lightly damp, but not wet.
When the garden soil has warmed to 70 degrees F (21 degrees C), harden off and transplant the seedlings into garden beds or large pots. Plant each seedling 6 inches apart, and space rows 2 feet apart.
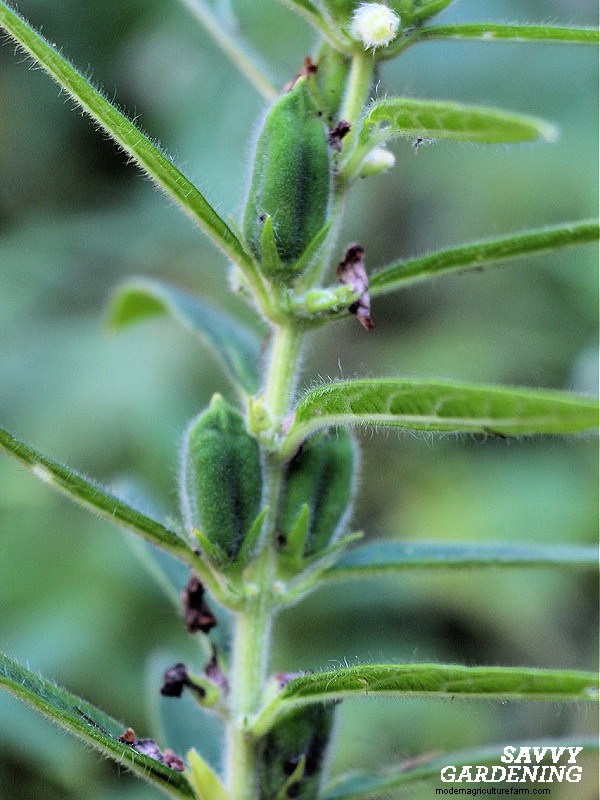 As they grow, the pods of indeterminate sesame plants ripen from the bottom up.
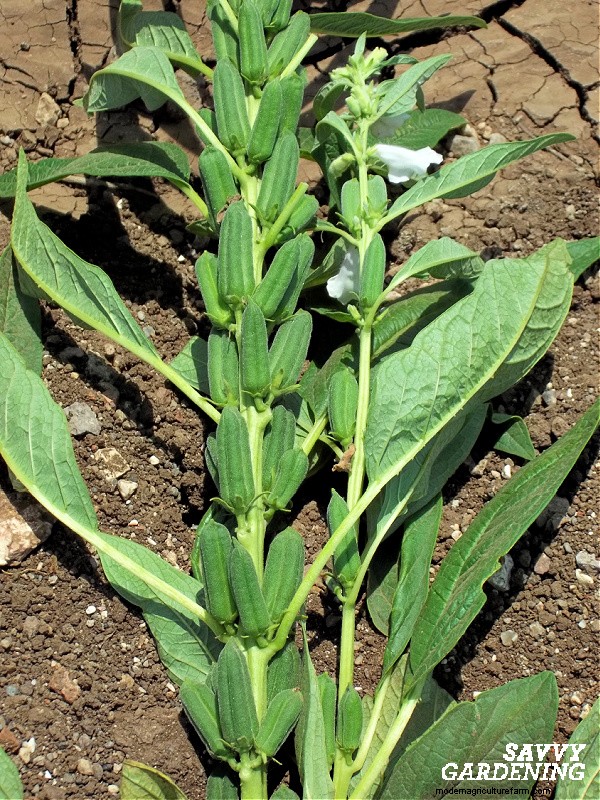 If cold weather threatens, harvest sesame plants and lay them flat in a dry well-ventilated site to finish maturing the pods.
As summer winds down, you’ll notice the seed capsules maturing on the plants from the bottom up. Sesame is indeterminate so the tops of the plants continue to grow until hard frost. If temperatures dip, cover the plants with row cover or plastic sheeting.
When the pods are fully ripe, they will split and the seeds fall out. The goal is to gather the seeds before this happens so monitor the plants beginning in late summer. Collect seed pods as they turn brown and then harvest the whole plant before frost or cold weather arrives. Do this by cutting the stalks at the bottom of the plants and laying them flat on screens, cardboard, or a clean tarp in a warm, dry, well-ventilated spot. If you hang the plants upside down, the seeds will fall as the capsules shatter scattering everywhere.
As the pods dry and crack open, extract the seeds into a clean container. You can eat them at this stage in your favorite recipes, storing the dry seeds in jars in a cool, dark place. Or toast the seeds before storage to intensify the nutty flavor.
Aphids are the most common issue when growing sesame plants. These small sap-sucking insects cause leaf and bud distortion and damage. Dislodge aphids with a hard jet of water from your hose or a hand mister, or use an insecticidal soap. Other insect pests that targeted sesame plants include thrips, cutworms, and grasshoppers.
For more information on growing fun food plants, check out these articles:


