
Welcome to Modern Agriculture!

As an Amazon Associate, GrowJourney earns from qualifying purchases. Read more: terms of service.
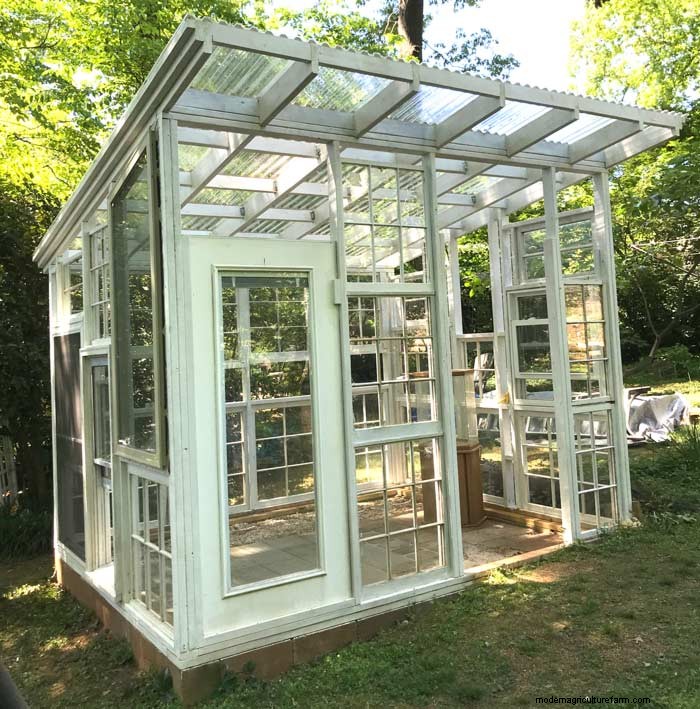
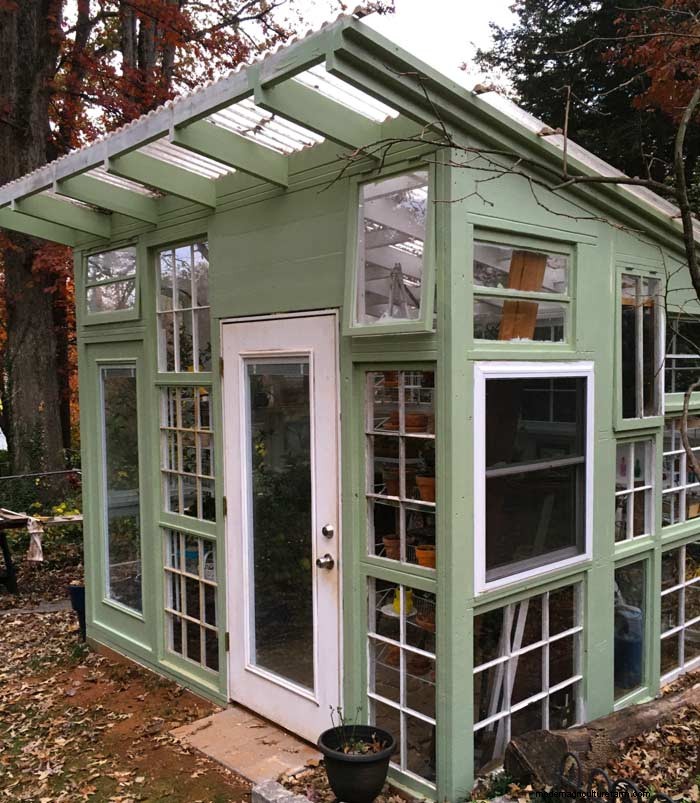
This article explains how to construct a budget-friendly hobby greenhouse using upcycled windows—ideal for seed starting, potted plants, and more!
• I. Quick greenhouse intro – basic types explained
• II. Interview with Joan & Tony, DIY greenhouse builders
• III. Materials list – what you’ll need
• IV. Step‑by‑step photo guide
A greenhouse is a dedicated structure where plants are cultivated. Unlike a conservatory, it is usually a separate building, not attached to a home.
While many imagine a simple glass frame, there are numerous designs ranging from simple DIY kits to professional installations.
Each type can be customized to fit your space, budget, and aesthetic. In this guide, we focus on a cold or cool greenhouse built with reclaimed windows.
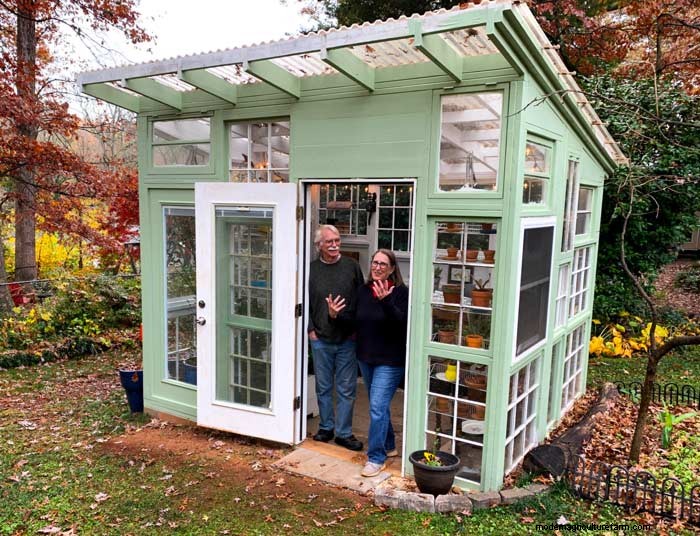
Living in Greenville, SC (Zone 8a), Joan and Tony needed a permanent shelter for their potted citrus plants that outgrew the porch and were vulnerable to cold weather. The pandemic offered a perfect project to undertake together.
After studying videos and reading The Greenhouse Expert by Dr. D. G. Hessayon, they created a custom design that matched their yard’s slope, budget, and specific plant needs.
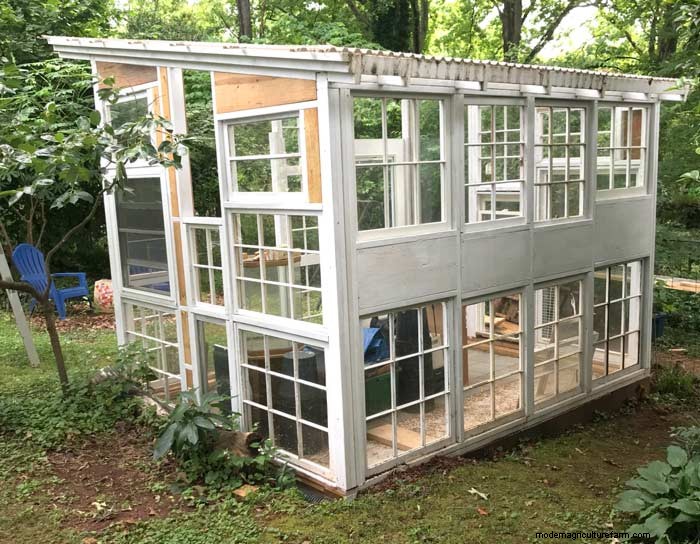
Recycled windows were the longest haul, sourced from multiple locations over several years. Once collected, construction could be completed within a few weeks.
Most lumber was donated by a friend; new items included clear polycarbonate roofing, wood screws, concrete for footers, and automatic window openers that activate around 70°F (24°C). A fan in one window provided additional ventilation.
Under $1,500, a realistic expectation for a DIY build of comparable quality. A new greenhouse kit could range from $2,000 to $5,000.
Basic hand‑sawing, drilling, and framing skills are sufficient. Working with a partner accelerates progress and reduces frustration.
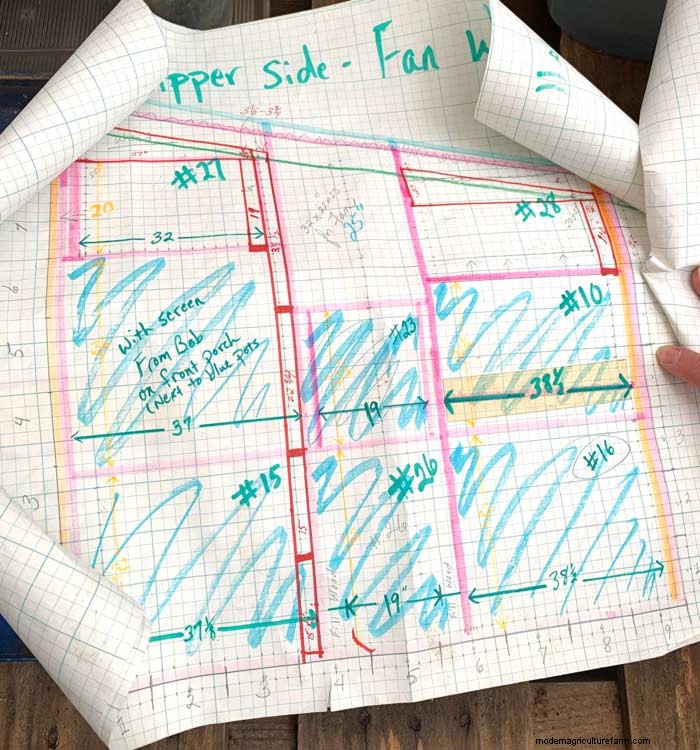
Key steps: research, plan with scaled drawings, measure and label each window, assemble framing on a spare room floor, and install foundation. Using graph paper ensured precise placement of irregular window sizes.
On freezing nights, the greenhouse stayed 5–10 °F warmer than the outside without supplemental heat, thanks to the polycarbonate roof and well‑sealed windows. A small space heater can keep temperatures above freezing when needed.
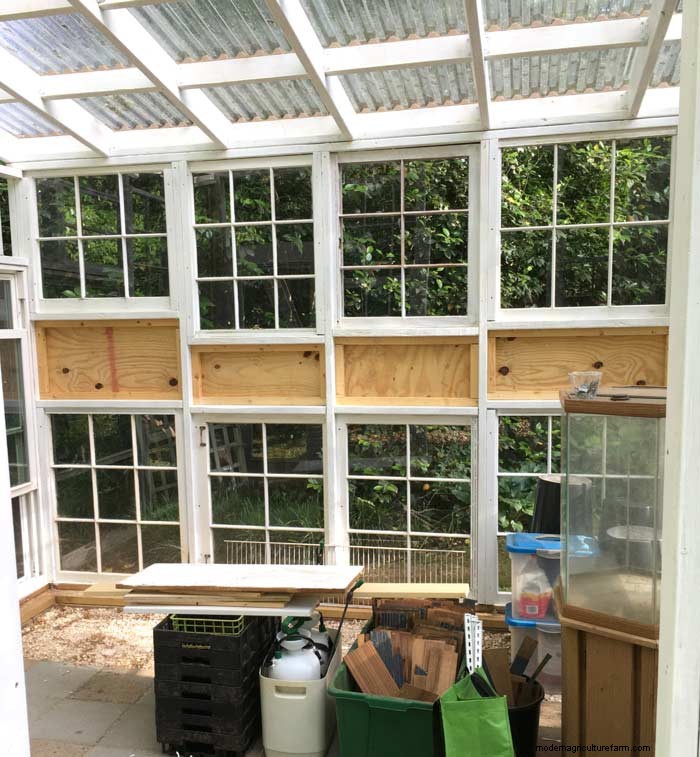
They now house citrus, other plants, a terrarium, and seedling starts. An LED light will supplement natural light during low‑sun months.
The same reclaimed‑window concept scales up or down. For a quicker build, standard plexiglass or polycarbonate panels can replace custom window framing.
They would have pursued free windows from local replacement contractors, potentially reducing costs.
Creativity and patience outweigh budget or experience. Even without a truck, a one‑day U‑Haul can transport all necessary materials.
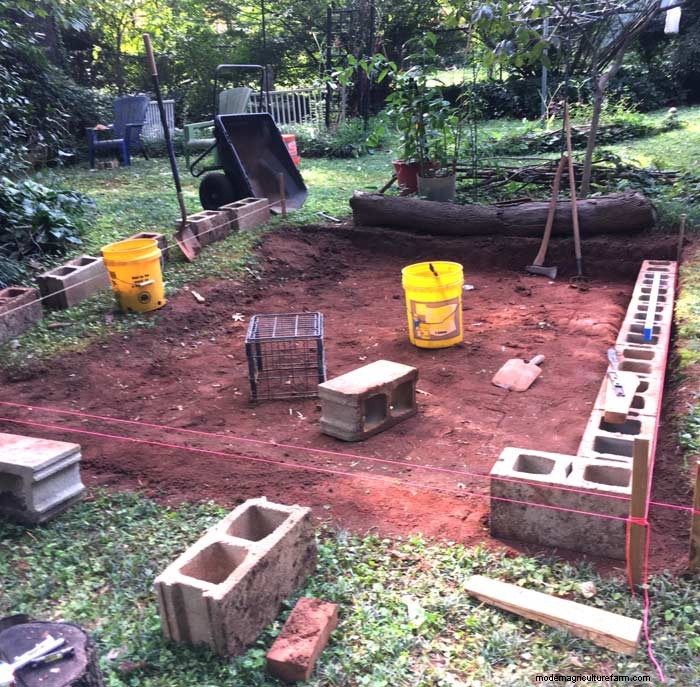
Begin with a square foundation; a string line helps keep corners true.

Outline the foundation progressively, compacting the ground with a block.

Ensure the foundation height is level—critical for later framing.
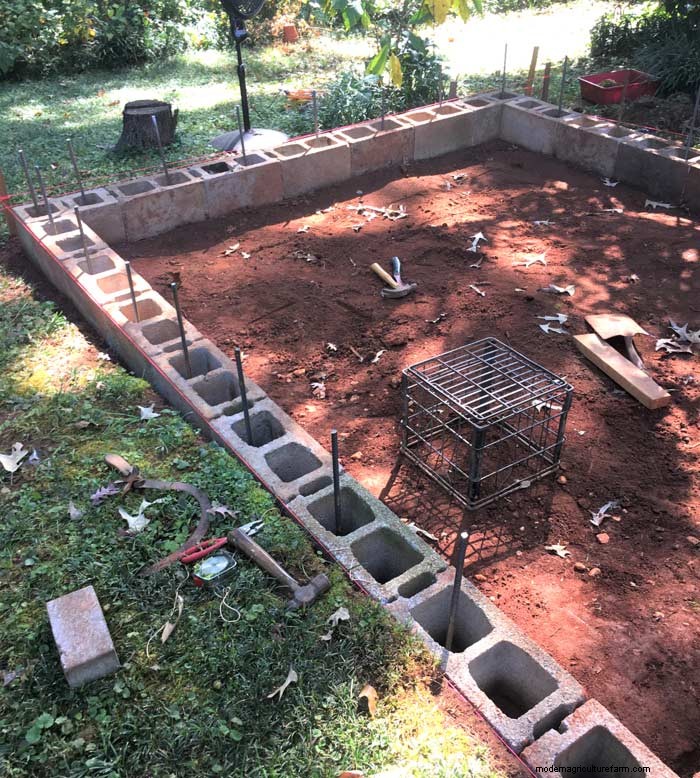
Insert rebar into each concrete block, driving it below the block edge.
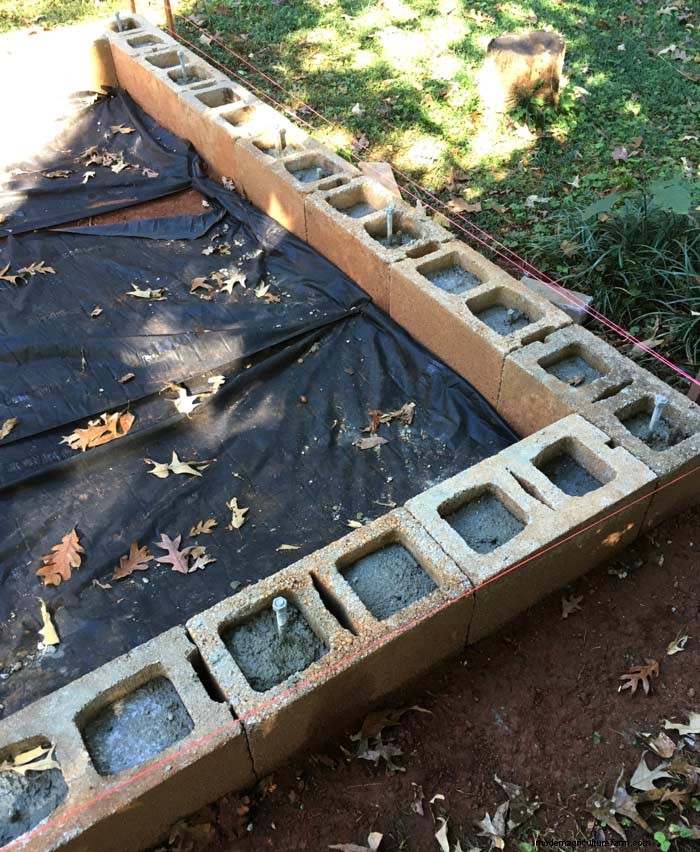
Pour concrete and secure j‑bolts to attach the wood framing.
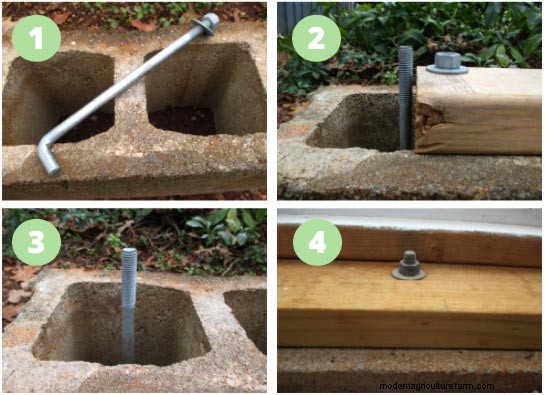
Close‑up of j‑bolt installation—ensures a strong connection between wood and concrete.
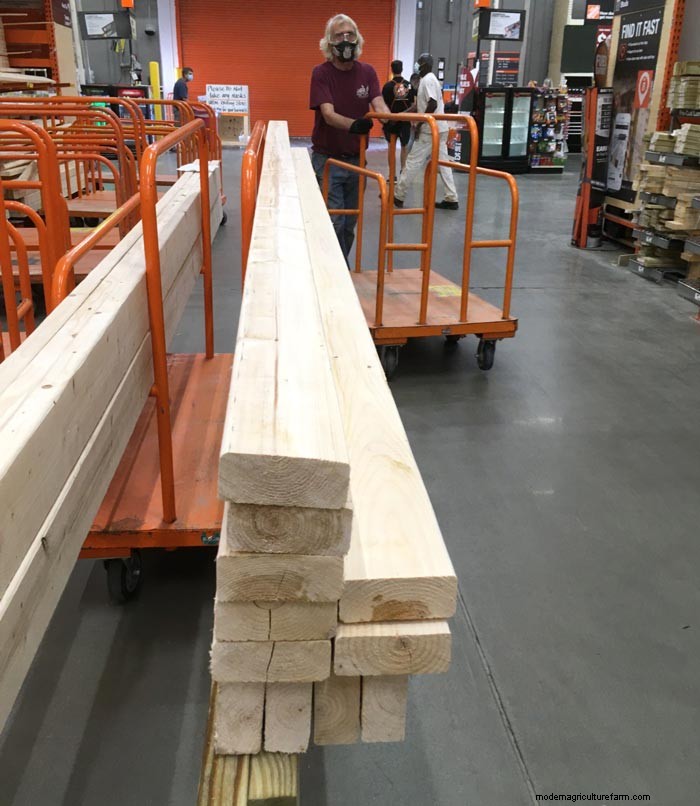
Gather all lumber based on your drawings; planning reduces waste.
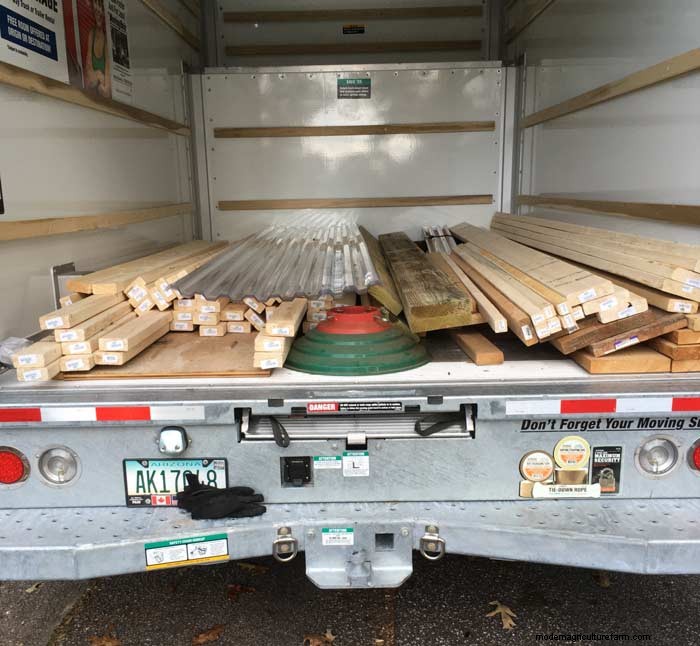
No truck? Rent a U‑Haul for a day to bring in extra materials.
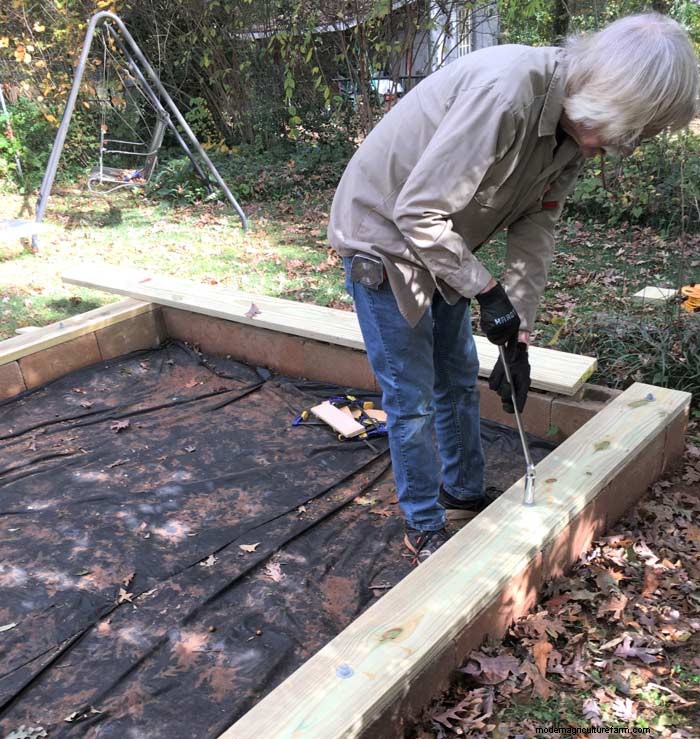
Attach the sill plate to the j‑bolts using washers and nuts.
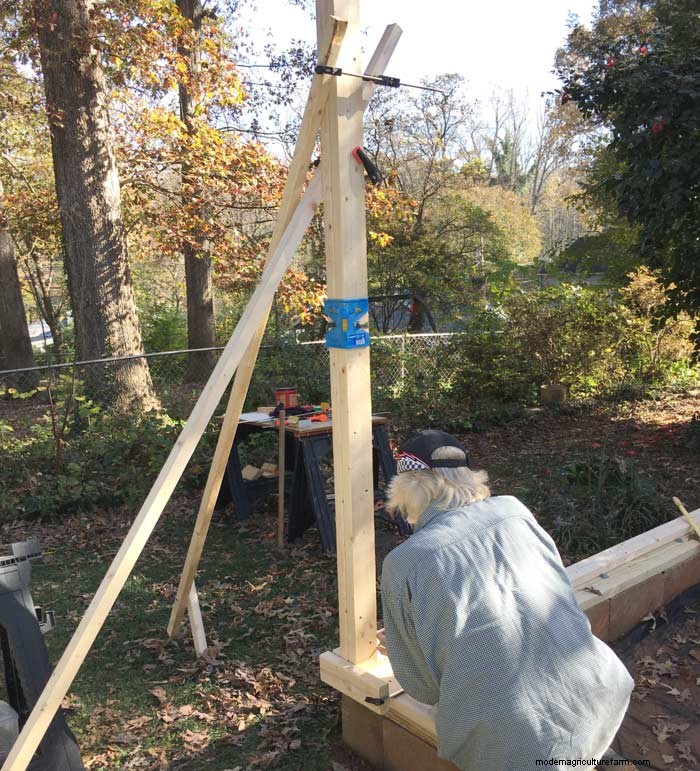
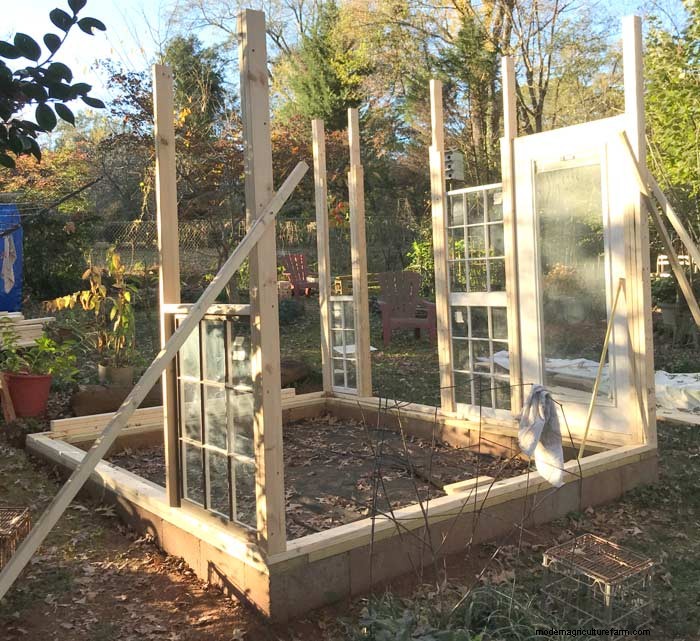
Begin wall framing; a post level helps keep corners vertical.
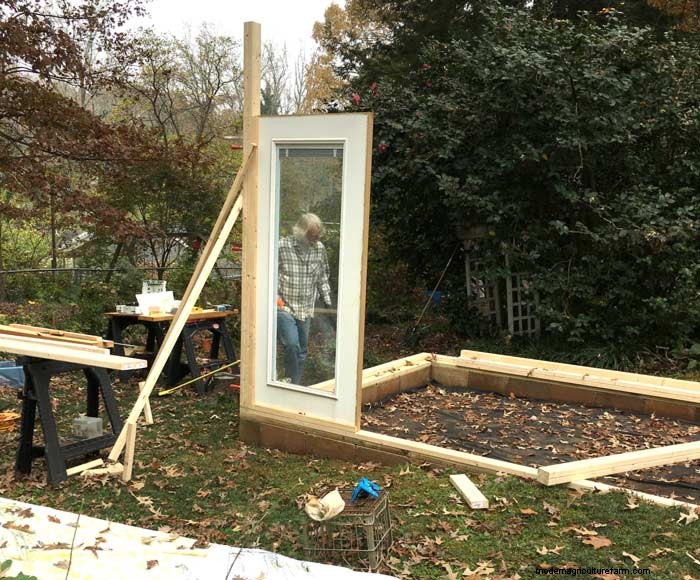
Install the first glass section—an old French door half.
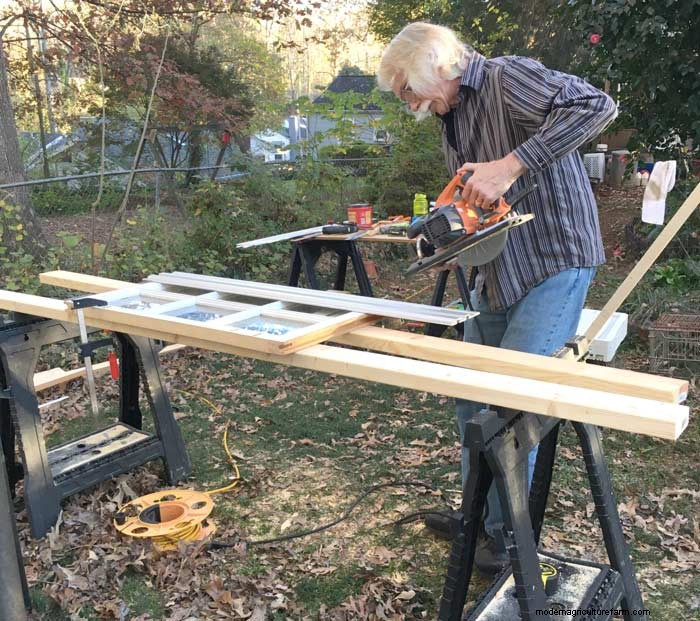
Trim window edges for a snug fit; a track saw eases the process.
Frame the remaining windows—clamps and a rubber mallet prove handy.
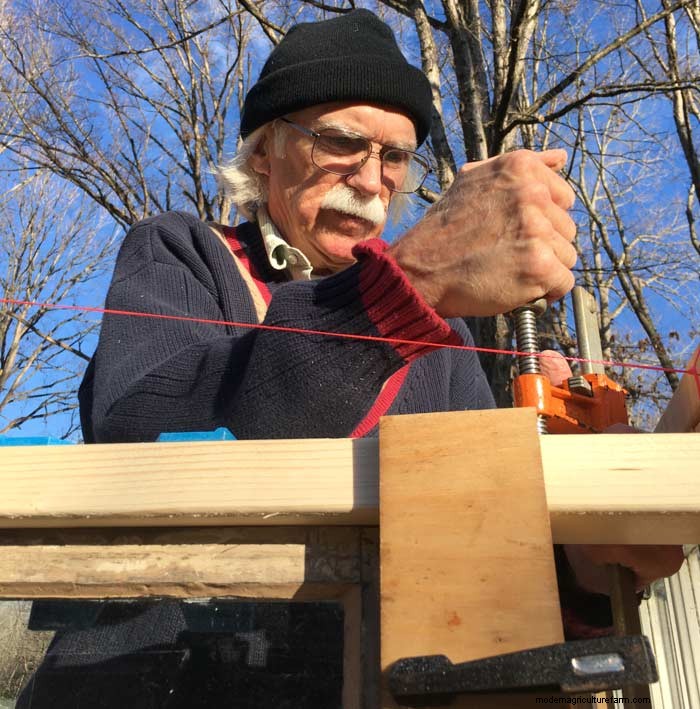
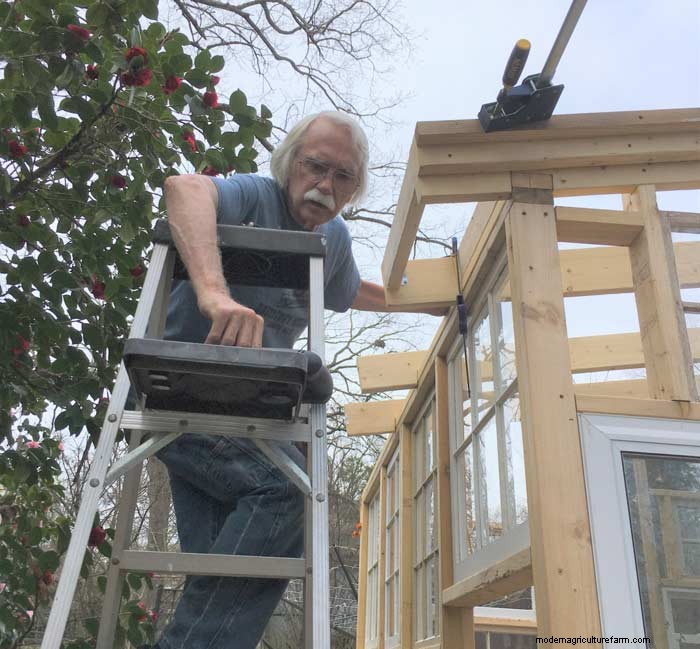
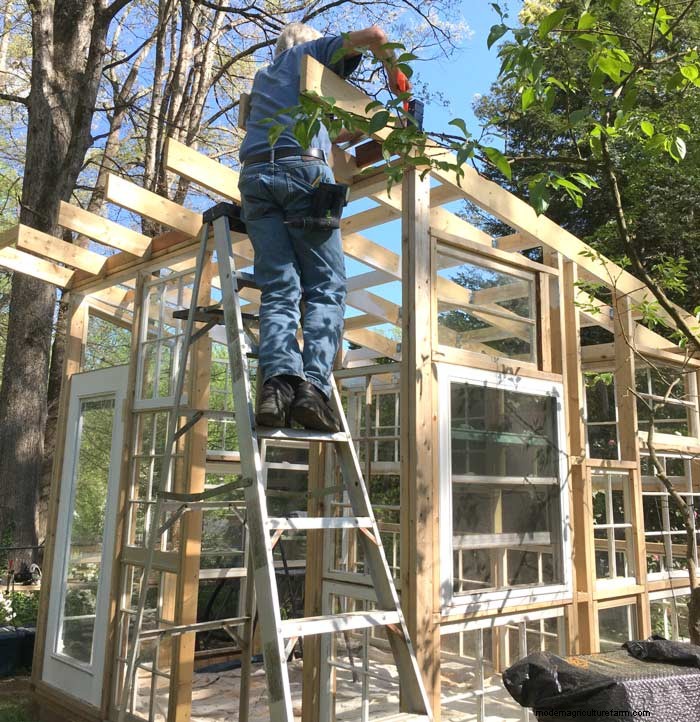
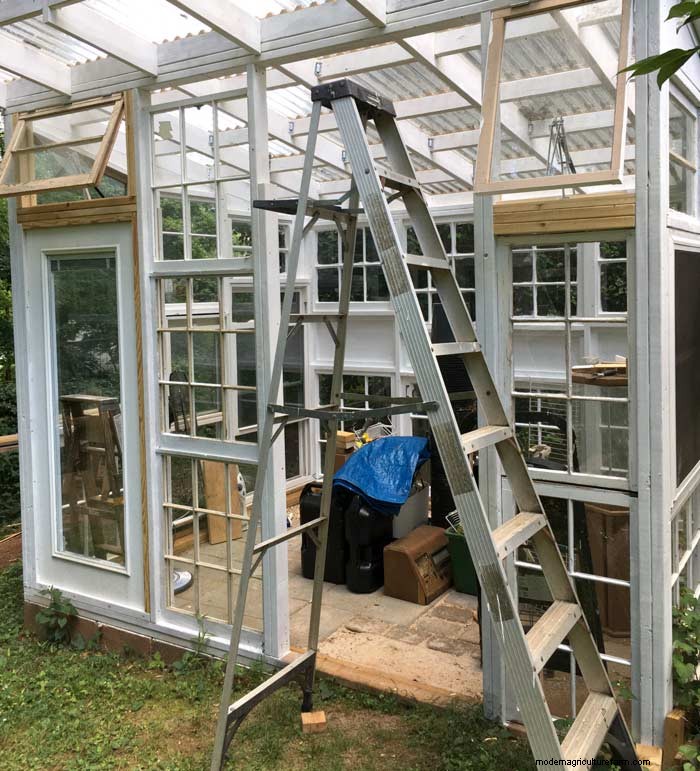
Construct roof framing; the red line marks the slope for cross‑beams.
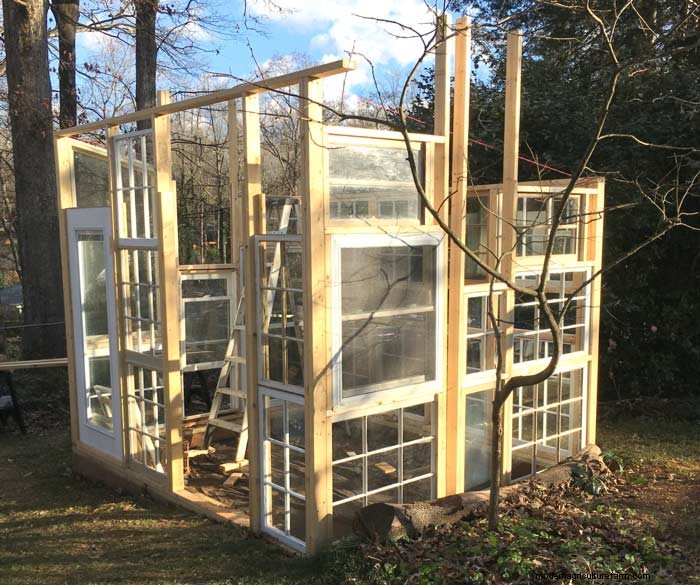
Attach vertical beams to start the roof skeleton.
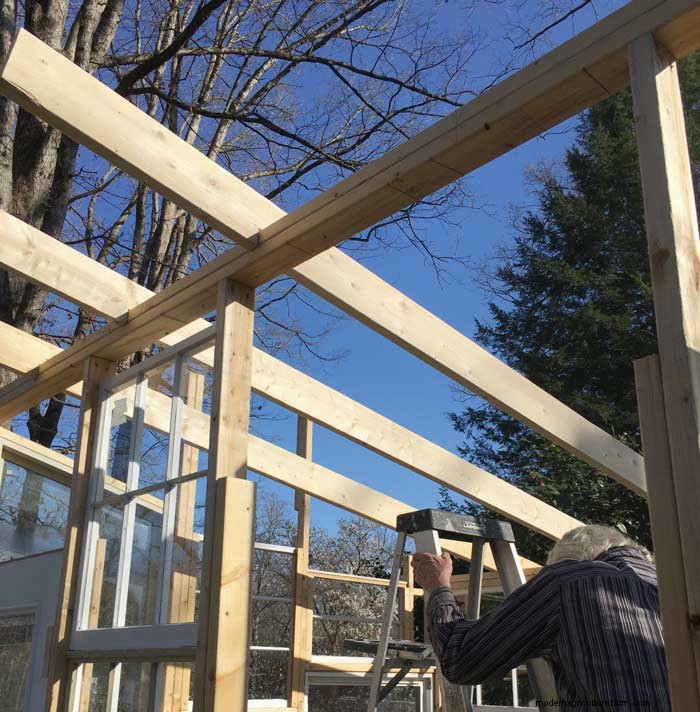
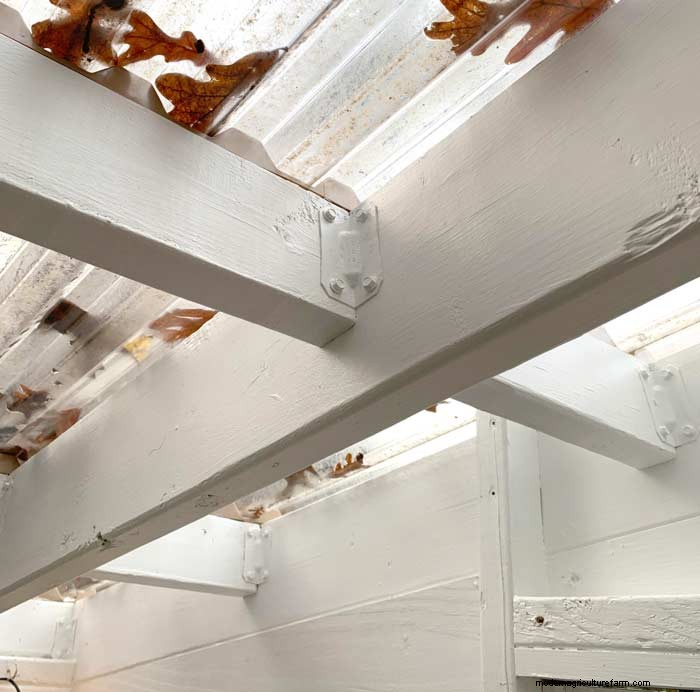
Install sloped joists, cutting notches for front and back beams.
Place supports between joists—ideal for gutter mounting.
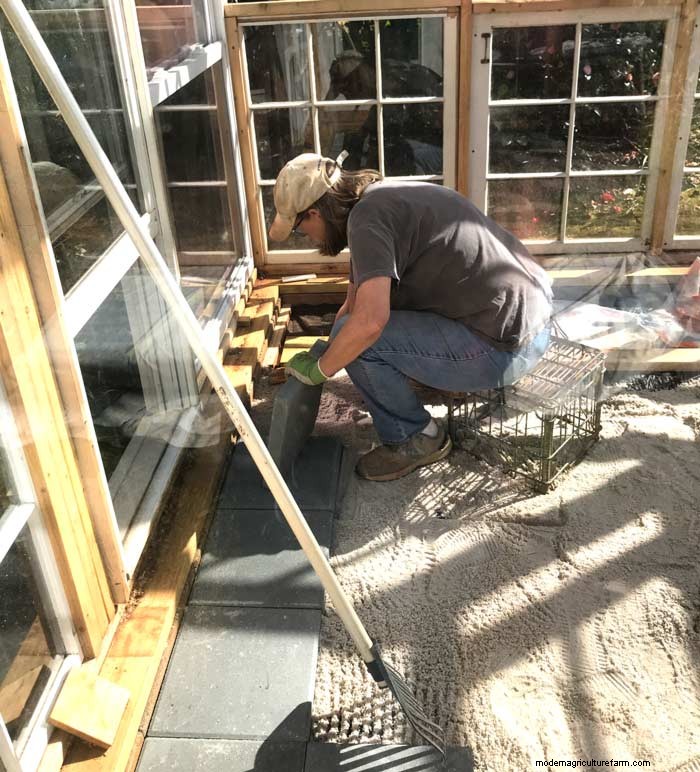
Floor can be porous; water will drain into sand below.
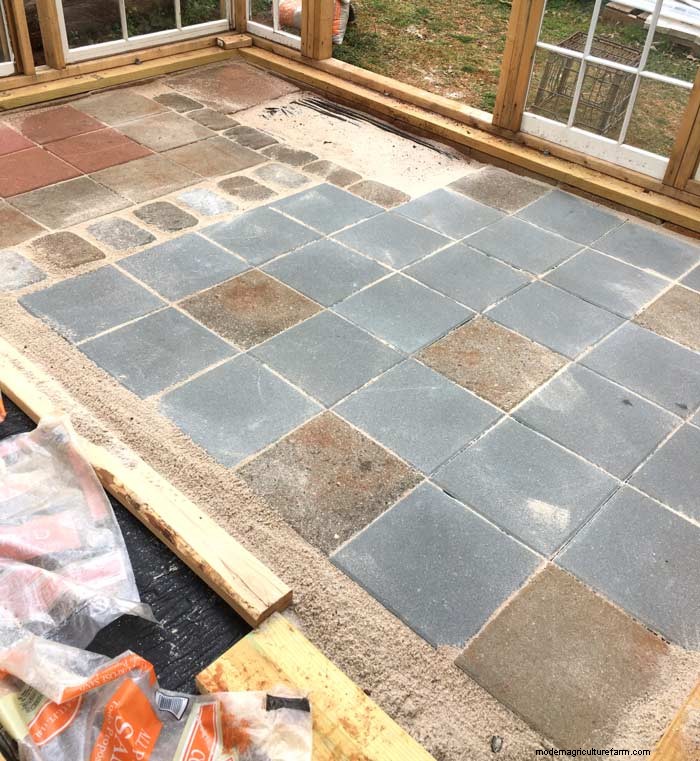
Completed porous floor using existing blocks.
Finish with end joists flush to the outer wall.
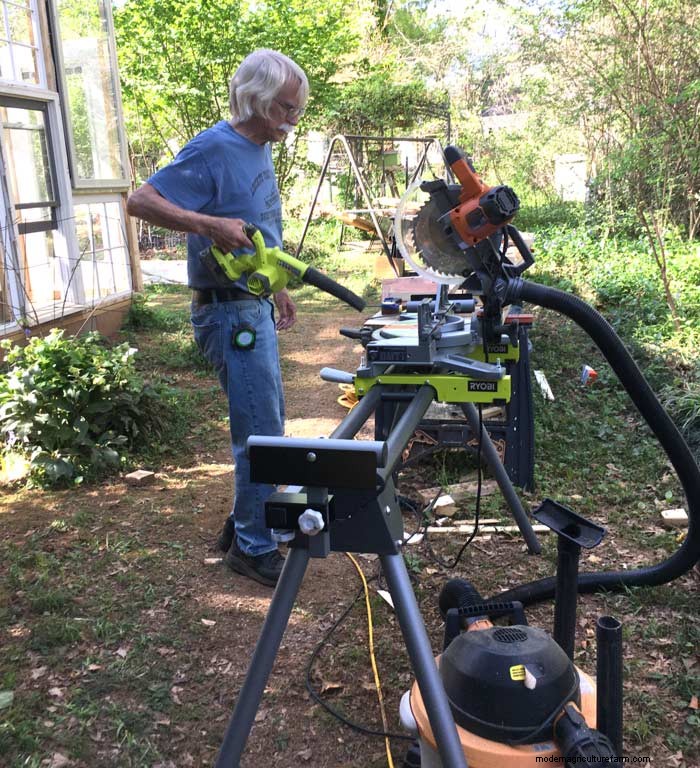
Keep tools clean throughout construction.

Final framing touches; door framing is last.

Apply primer coat.
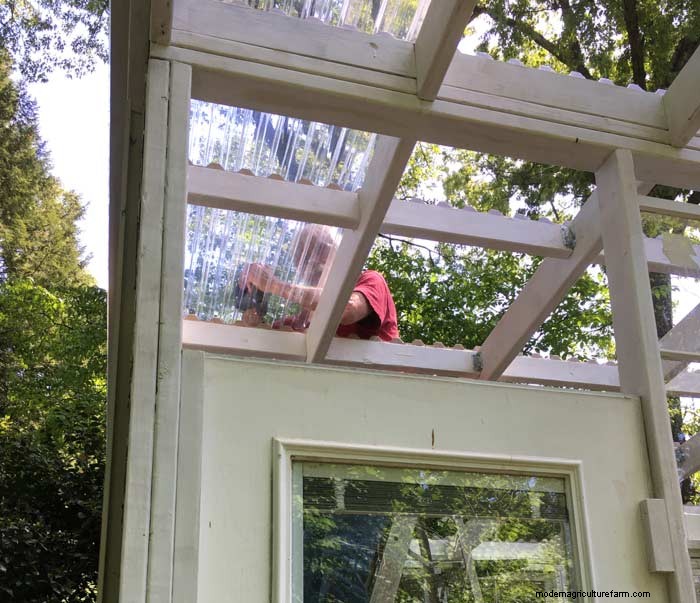
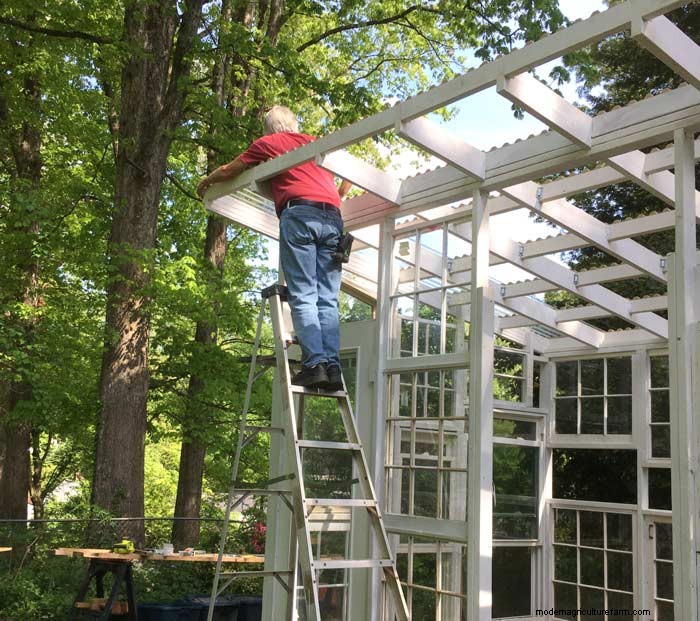
Install clear polycarbonate panels—avoid windy days and work with a partner.
Closure strips secure panels snugly to the frame.
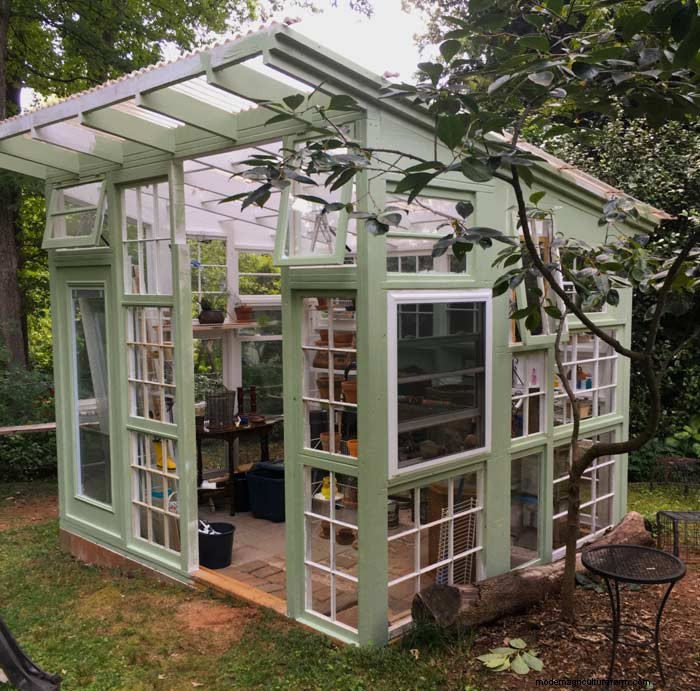
Roofing complete.
Seal gaps around windows to retain heat.
Ensure tightness for optimal temperature retention.

Install automatic heat‑triggered openers; they engage around 70°F.
Optional fan provides extra airflow when windows open.
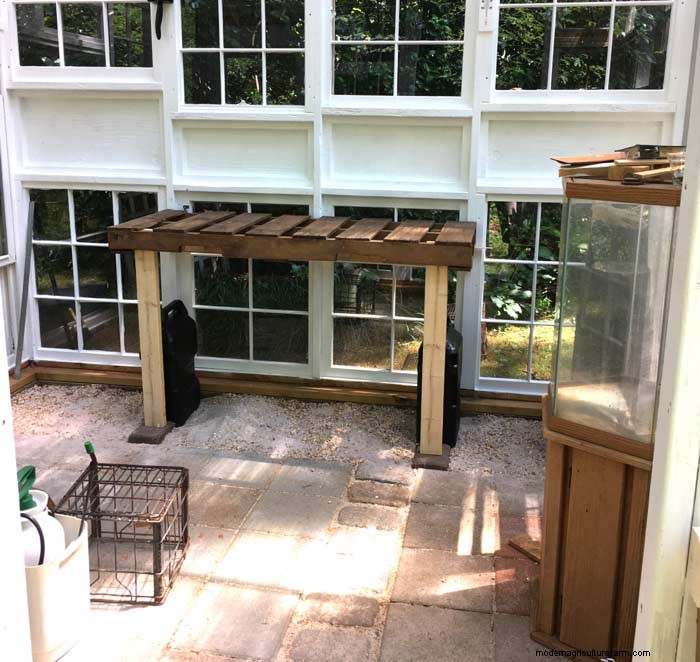
Joan’s potting table—built from an old pallet with water jugs for heat retention.
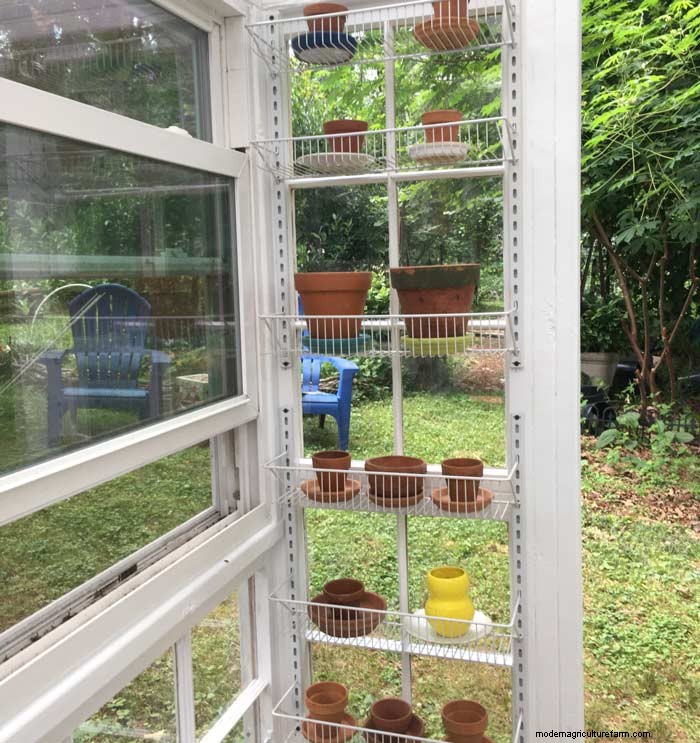
Wall shelves added for storage and display.
Painting nearly finished.
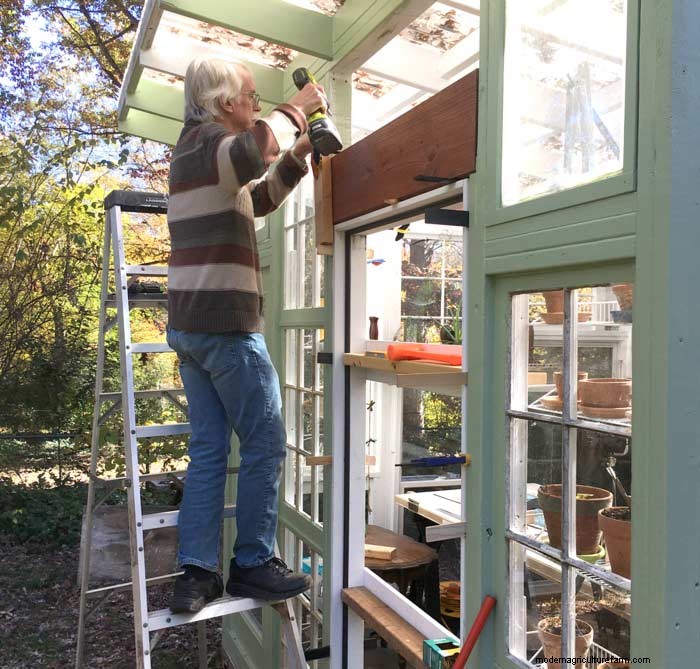
Door framing and installation underway.
Door installed—other half of the French door.
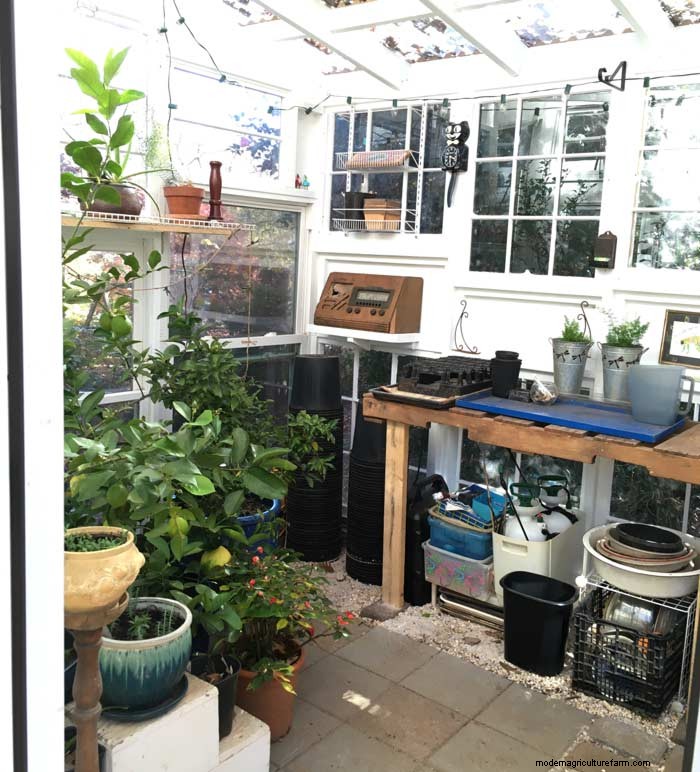
Plants thrive in their new greenhouse home.
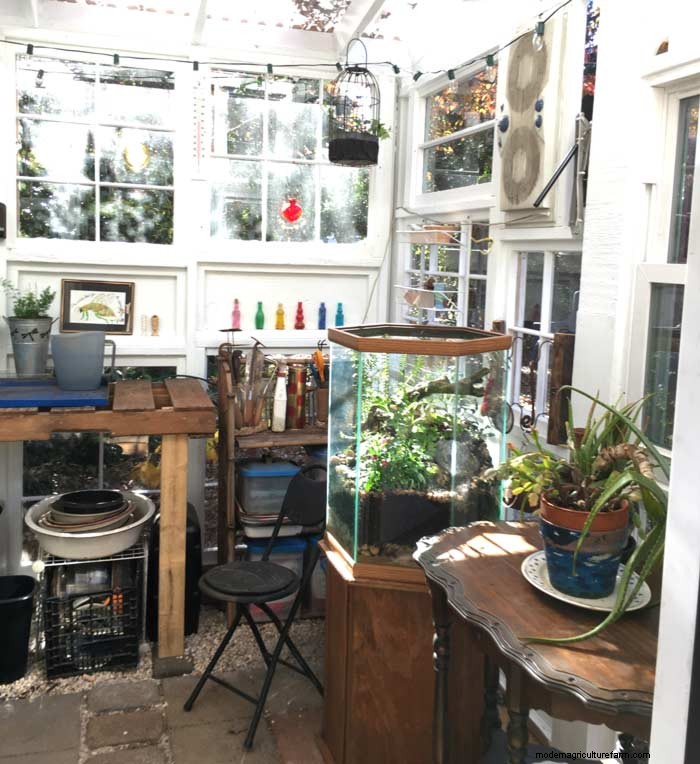
Terrarium created inside an old fish tank.
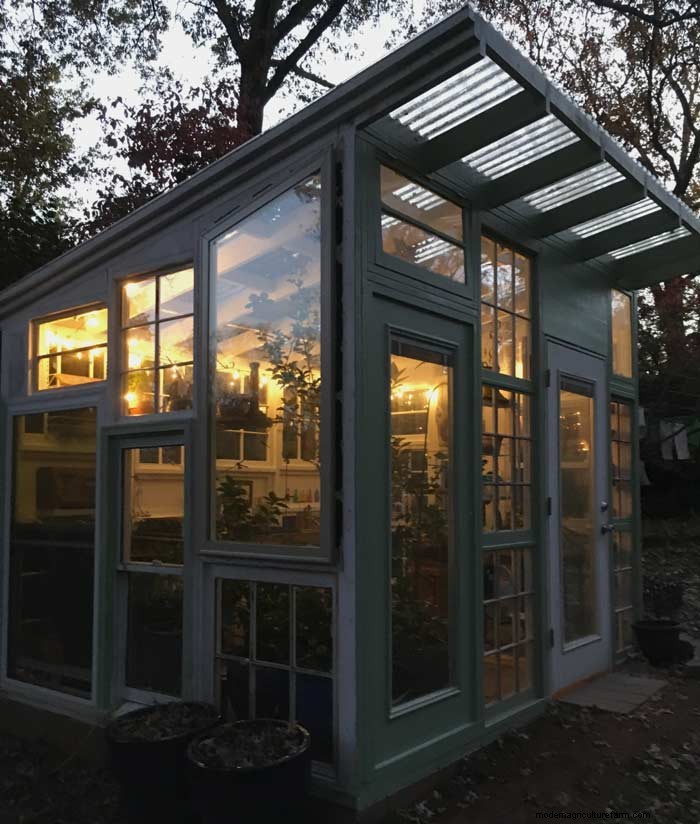
Christmas lights add nighttime charm.
Joan and Tony’s journey shows that a well‑planned, resource‑savvy approach turns a simple idea into a functional greenhouse. Start planning today and enjoy the fruits of your labor.

Author: Aaron von Frank
Cofounder of GrowJourney.com, organic gardening teacher, heritage‑breed duck evangelist, writer, and entrepreneur. Former farm manager at Oak Hill Café & Farm, a no‑till, permaculture restaurant in Greenville, SC. Holds a degree from Furman University and co‑founds TyrantFarms.com. Writes for Edible Upcountry Magazine, Daily Harvest Express, and other food and health outlets. Serves on the board of the Diversified Agriculture Committee for the South Carolina Farm Bureau.


