
Welcome to Modern Agriculture!

Growing up in an Italian household, food was more than sustenance— it was an art. Garlic, a cornerstone of Italian and many other cuisines, adds depth, aroma, and health benefits to dishes. Its antibacterial, antiviral, and antifungal properties support digestion, boost immunity, and may help lower blood sugar and cholesterol—making it a heart‑healthy staple.
For beginners, garlic is surprisingly easy to cultivate once you understand its requirements and the optimal planting window. It also serves as a natural pest deterrent: its strong scent keeps insects and even rabbits away.
While store‑bought garlic is convenient, freshly harvested bulbs deliver superior flavor and nutrition. If you’re ready to grow your own this season, read on for expert tips on selecting varieties, timing, soil preparation, and care.
Chesnok Red Hardneck Garlic
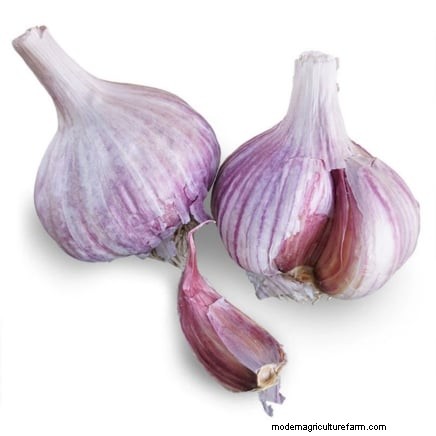
Chesnok Red Hardneck Garlic
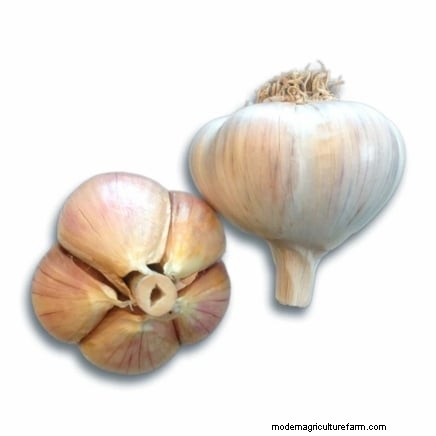
German White Stiffneck Hardneck Garlic

German White Stiffneck Hardneck Garlic
Garlic’s classification into hardneck and softneck offers two main options for beginners. Your local climate determines which type will thrive.
Cold‑hardy, hardneck varieties excel in USDA zones 6 and below. They produce a single ring of large, easy‑to‑peel cloves with stronger flavors—ideal for taste‑testing. Hardneck garlic yields bright, fragrant, and flavorful bulbs (often called "gourmet" or "brittle‑endured" quality), but it stores best for only three to six months. For robust flavor and a wide range of culinary uses, choose hardneck if you live in a cooler zone.
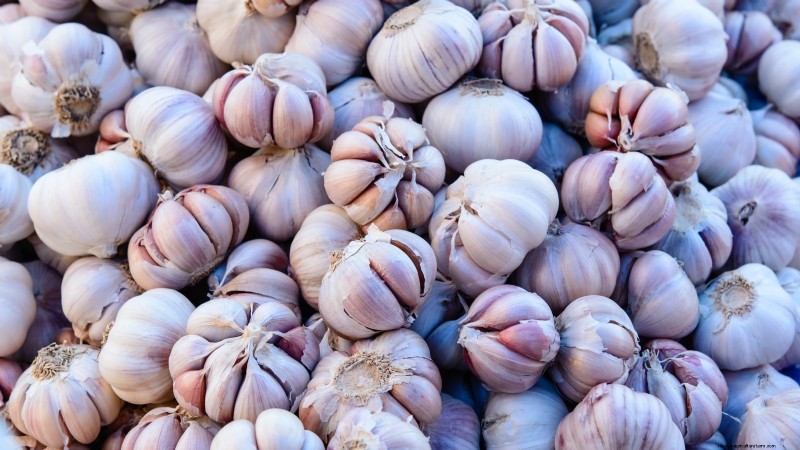
Softneck varieties do not require winter chill, making them suitable for warmer southern gardens (USDA zones 7+). Their flavor is milder and less complex, yet they still deliver excellent results. Softneck garlic typically produces more cloves per bulb and can be stored for 6–12 months after proper curing, which is ideal for creating lasting herbs or kitchen gardens.
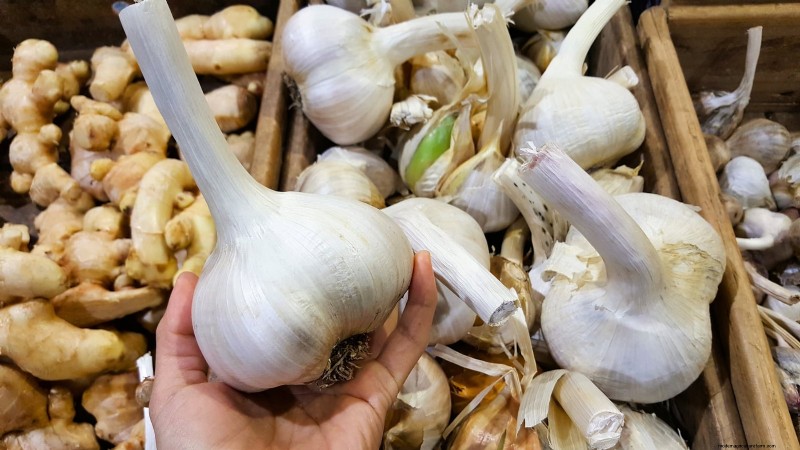
Elephant garlic is not true garlic but a related species. It has an onion‑like flavor and is exceptionally easy to grow, making it a reliable choice for beginners seeking guaranteed yields.
Timing is critical; garlic’s growth cycles are best exploited by planting at the right moment. In most regions, fall is the prime planting season. A simple guideline for beginners is to plant in October, but local frost dates should guide final decisions.
In cooler climates, aim to plant between September and early October. This allows cloves 4–6 weeks to establish roots before mandatory winter dormancy. Avoid early shoots that could suffer frost damage.
For milder winters, planting can extend from October through December, or even into January if temperatures stay below 50 °F (10 °C). Pre‑chilling cloves for 6–8 weeks can help hardneck varieties succeed in warmer climates.
Garlic mandates 6–8 hours of direct sunlight and well‑drained, loamy soil. Raised beds are especially advantageous in wet regions, as they improve drainage and allow better control over soil conditions. Good airflow and a planting gap of at least three years since the last garlic or onion crop reduce pest pressure.
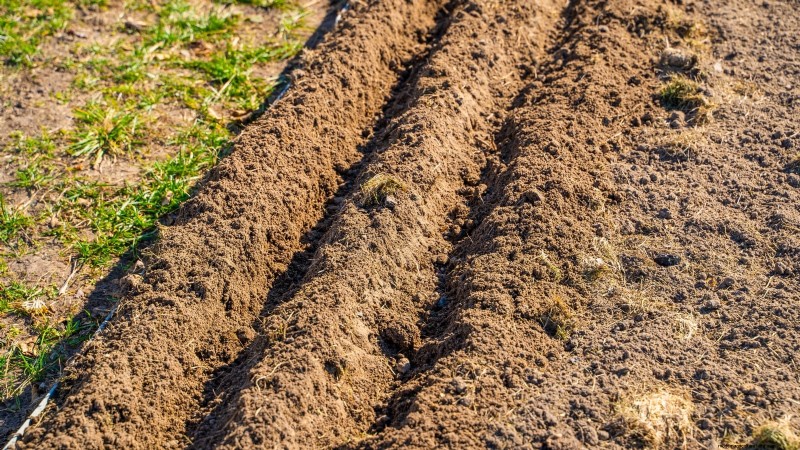
Loosen the soil 8–12 inches deep with a garden fork to prevent compaction, which hinders bulb growth. Incorporate plenty of compost or well‑rotted manure to enrich nutrients and improve structure. A slightly acidic pH (5.5–6.5) promotes optimal nutrient uptake. A balanced organic fertilizer such as 10‑10‑10 or a mix of blood meal, alfalfa meal, and fish emulsion works well.
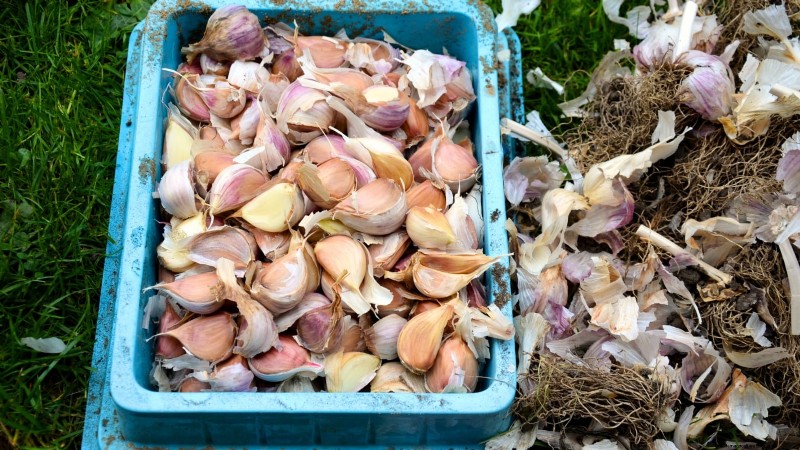
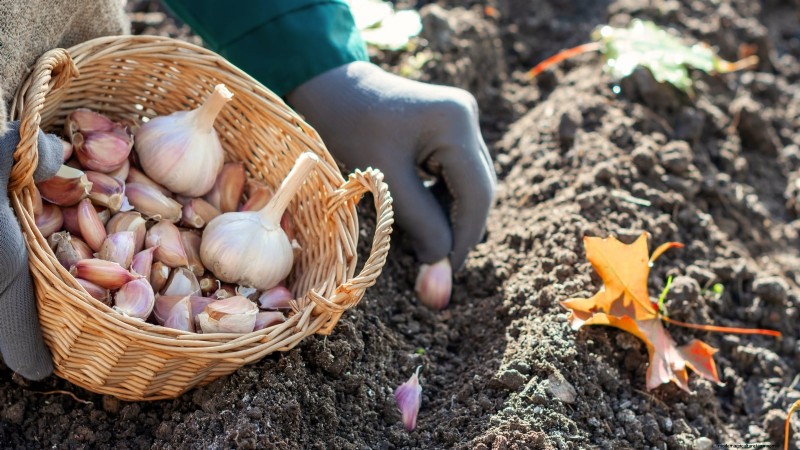
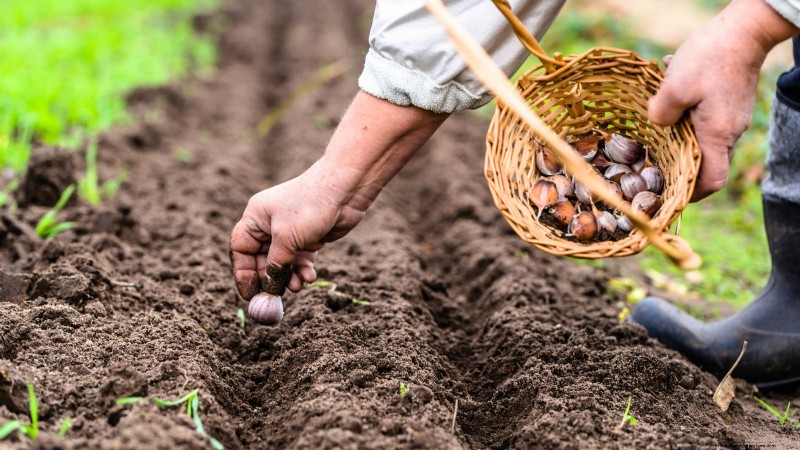
Twenty‑forty hours before planting, gently separate bulbs into individual cloves, leaving the papery skins intact. Select the largest cloves for planting; smaller ones can be reserved for culinary use. Optionally treat cloves by soaking in a mixture of 1 Tbsp baking soda, 1 Tbsp liquid seaweed, and one quart water for 10 minutes to deter fungal infection. A brief alcohol rinse (1–2 minutes) followed by drying can further reduce pathogen risk.
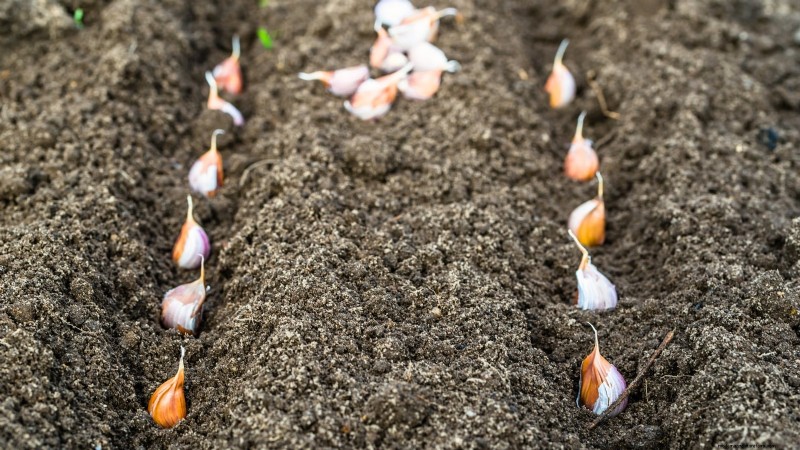
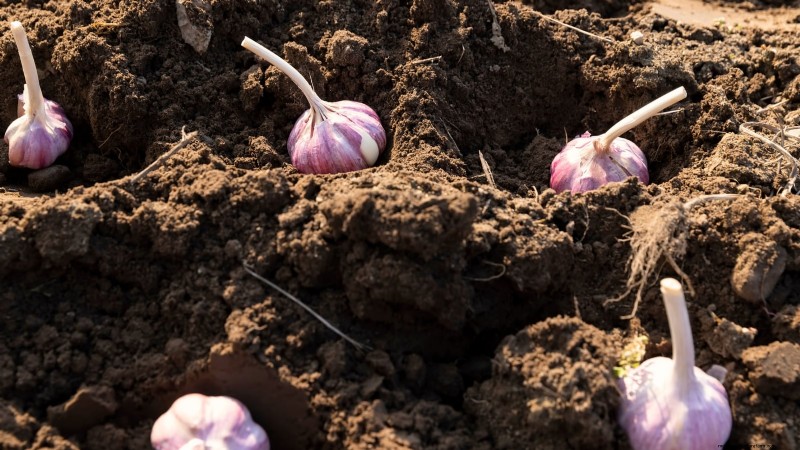
Plant cloves 2–3 inches deep in mild climates, and 3–4 inches in colder zones, with the pointed tip facing upward. Space rows 10–12 inches apart and individual cloves 4–6 inches apart to allow full bulb development. In raised beds, a grid pattern with 6‑inch spacing works well.
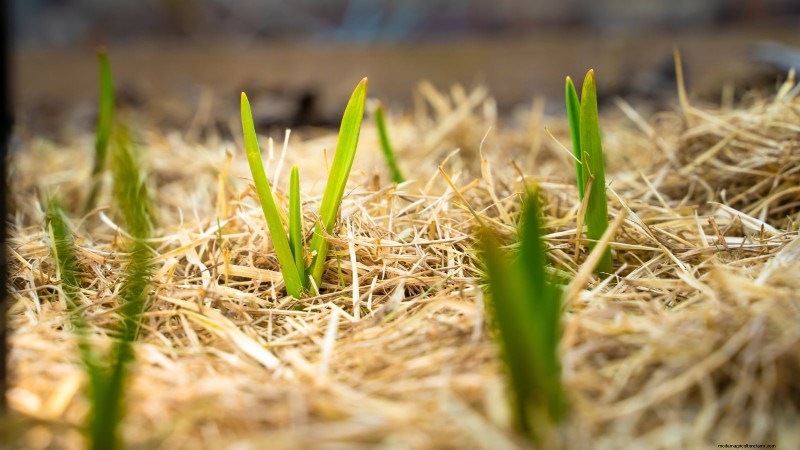
After planting, cover cloves with a 3–6 inch layer of straw or shredded leaves. Light‑colored, loose mulch reflects heat and maintains a stable, cool soil temperature, which is essential for winter root development.
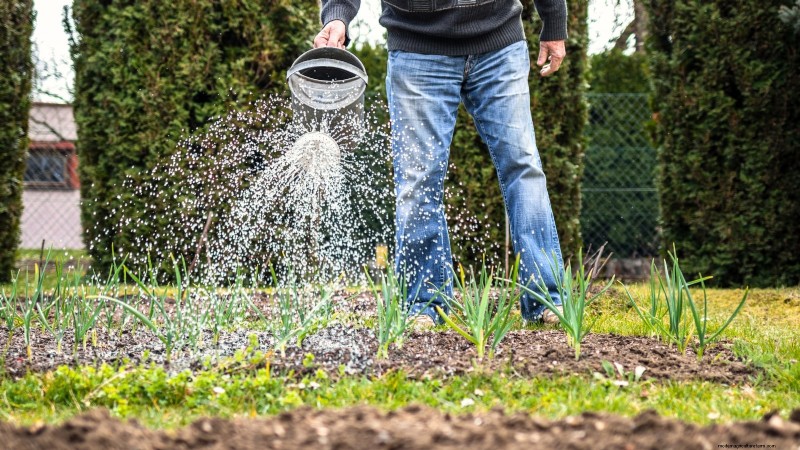
Garlic requires minimal care once established. Water only when soil feels dry, as moisture‑logged soil encourages rot. In spring, provide about one inch of water per week, supplemented by rainfall. Apply a balanced fertilizer when shoots reach 3–4 inches tall, repeating one month later. Keep the bed free of weeds and prune any early scapes (hardneck) to promote larger bulbs.
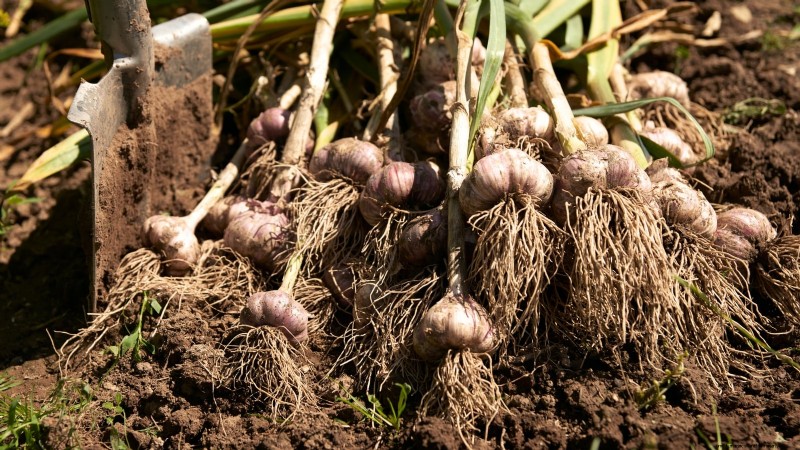
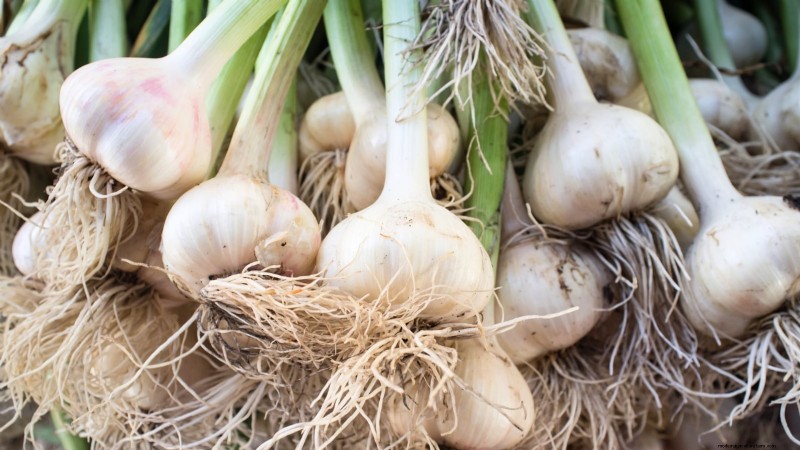
After 8–9 months, harvest when the bottom 3–4 leaves brown while the upper leaves remain green. Use a garden fork or spade to lift bulbs gently, avoiding stem pull. Brush off excess soil, then lay bulbs in a single layer to cure for 3–4 weeks in a cool, dry, dark place. Softneck bulbs can be braided and cured while hanging. Store cured garlic in a cool, dry location—refrigeration is discouraged as it triggers sprouting.


