
Welcome to Modern Agriculture!

Peas are one of the easiest vegetables to cultivate, and when grown in containers they can deliver a surprisingly generous yield. Their bright, edible pods, fragrant blossoms, and climbing vines make them a popular choice for both kitchen gardens and ornamental displays. This guide distills expert advice—drawn from university extension programs and seasoned growers—into a concise, step‑by‑step roadmap for container pea cultivation.
Peas thrive under full‑sun conditions, which provide 6–8 hours of direct sunlight daily. In most regions, a bright south‑facing patio or balcony is ideal. If you’re in a hot climate, aim to position the containers to receive morning sun; the cooler afternoon shade will prevent heat stress. In cooler zones, afternoon light is acceptable as long as moisture is maintained.
Container gardening offers the advantage of mobility—move the pots into the best light or provide shade on scorching days without the hassle of transplanting.
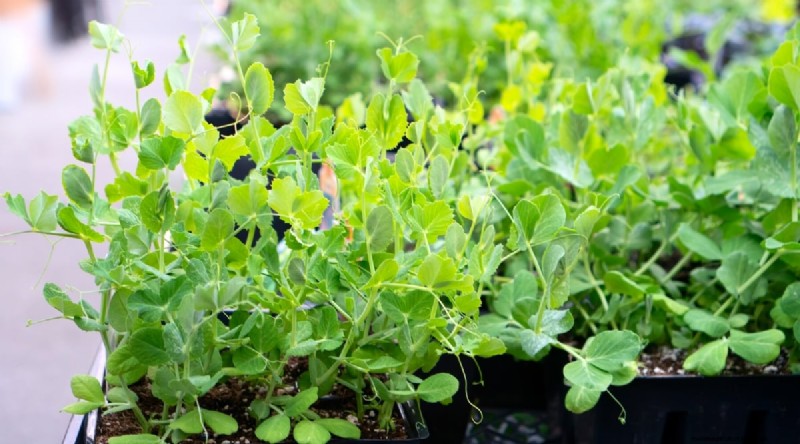
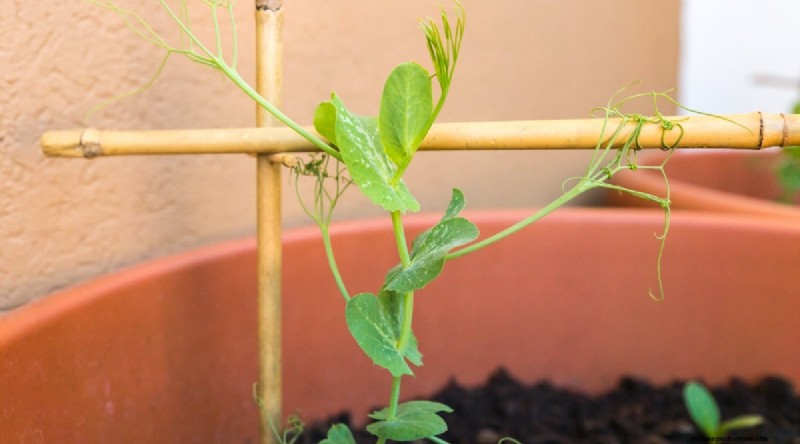
Because peas are climbers, a vertical support is essential. A simple 15‑inch metal trellis or a tomato cage works well, and many growers combine this with a raised bed or a sturdy grow bag. A 65‑gallon grow bag offers ample space for robust vines; smaller 10‑ or 15‑gallon bags also perform well if you’re limited on room.
Raised beds provide superior drainage, looser soil, and quicker spring warming—factors that can boost early growth. However, a high‑quality grow bag or a self‑watering container can substitute when beds aren’t feasible.
Three main pea types exist, each suited to different culinary uses:
Peas are forgiving, but they perform best in a loose, well‑draining mix enriched with organic matter. Blend a high‑quality potting mix with compost or well‑rotted manure, and consider a light granular fertilizer such as 3‑5‑5 to kick‑start growth.
Maintain a pH between 6.0 and 7.5. Test your mix if unsure; a neutral to slightly alkaline environment promotes nutrient uptake. Keep the soil moist but not soggy—container soil dries faster than in‑ground soil, so frequent checks are essential.
Peas are obligate mandibles; they must not be planted after the soil temperature rises above 70°F. In the South, you can sow as early as January; in cooler climates, March or April is optimal once the ground thaws. Fall plantings are also viable—start 2–3 weeks before the first frost (late August to early September) for a second crop.
Plastic pots cool more quickly, which is advantageous for early germination. Unglazed ceramic or terracotta pots retain heat, benefiting plants that require warmer soils.
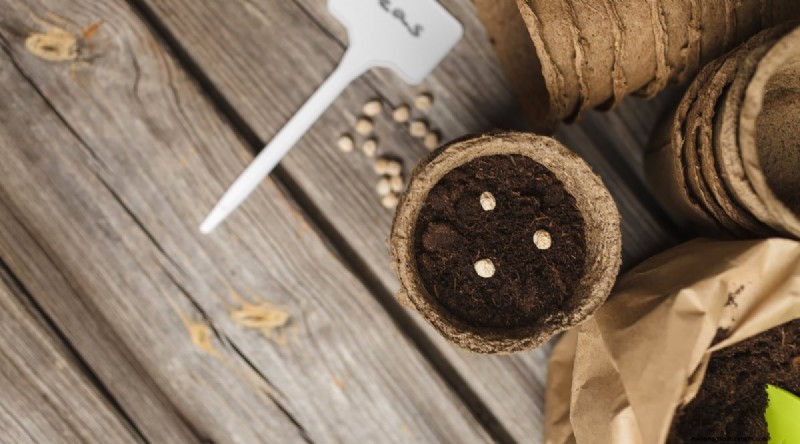
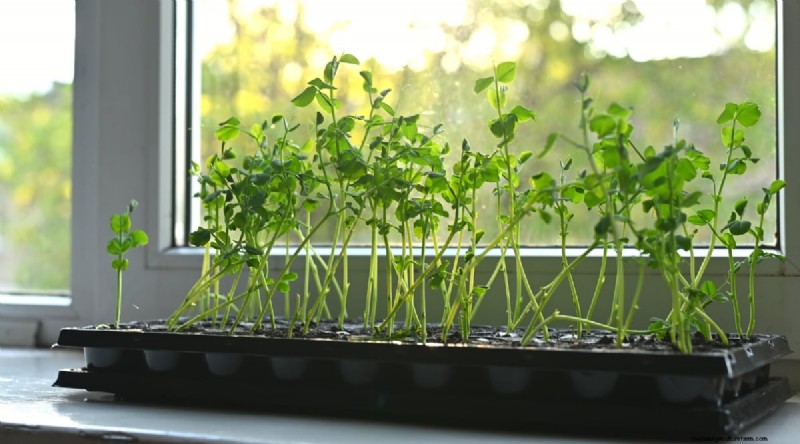
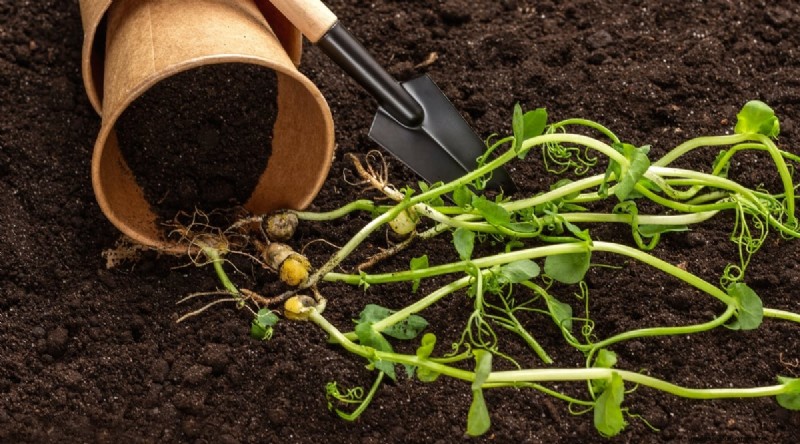
Direct sowing is recommended over indoor starting. Water the seeds overnight to expedite germination. Dig a shallow trench—about 1 inch deep—and place seeds 2 inches apart. Space rows 7–10 inches apart, or 18 inches for larger varieties. Lightly cover with soil.
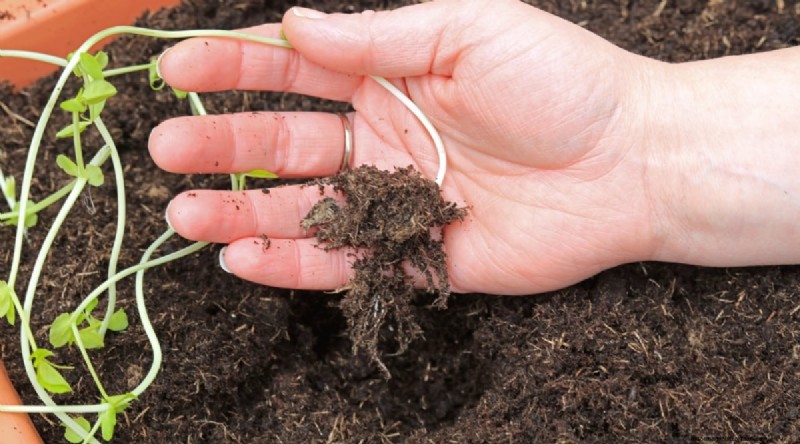
Peas fix atmospheric nitrogen, enriching the soil for subsequent crops. Their root systems decompose at season’s end, returning valuable nutrients to the soil.

Consistent moisture is key: aim for about 1 inch of water per week. Avoid overwatering, which can lead to fungal rot, especially during germination. In containers, monitor moisture closely; they dry out more quickly than beds. Drip irrigation or a self‑watering system can help maintain steady moisture levels.
Key threats include fungal root rot, aphids, leafminers, and root‑knot nematodes. Symptoms of root rot include soft, discolored stems and mushy roots. Reduce watering and improve drainage to mitigate this issue.
Aphids and leafminers can be managed with insecticidal soap, neem oil, or horticultural oil. For nematodes, introducing beneficial nematodes into the soil offers a natural control method.
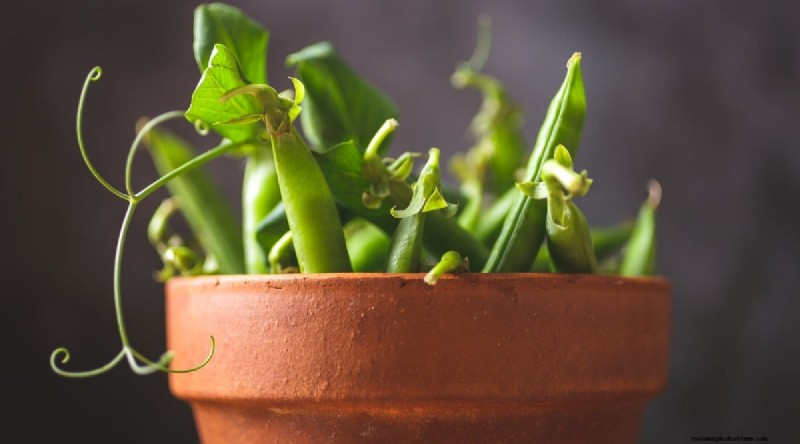
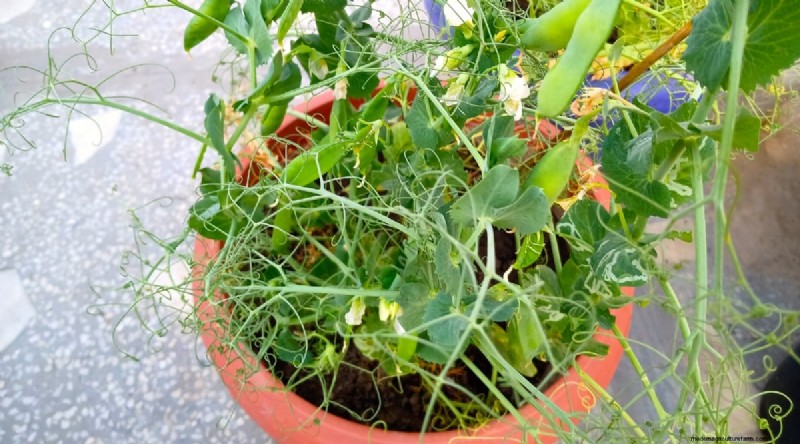
Harvest time varies: snap and shelling peas are ready when pods are plump and firm—typically 60–70 days after sowing. Snow peas should be harvested flat and tender to preserve their delicate flavor. Gently twist the pod to avoid damaging the vine.
After harvest, rinse shelling peas in cold water before shelling. For storage, blanch peas in boiling water for one minute, then plunge into ice water, dry, and flash‑freeze on a sheet before bagging. This preserves flavor and texture for up to six months.
Growing peas in containers is a rewarding endeavor for beginners and seasoned gardeners alike. By providing a climbing structure, well‑draining soil, and proper care, you can enjoy fresh, sweet peas all season long.


