Welcome to Modern Agriculture!

Most guides get this wrong about spider plants. They’ll tell you these plants are impossible to kill, and then wonder why yours looks half-dead. Here’s the truth: spider plants can survive almost anything, but survival isn’t the same as thriving. A plant clinging to life in the corner of your living room isn’t exactly a success story.
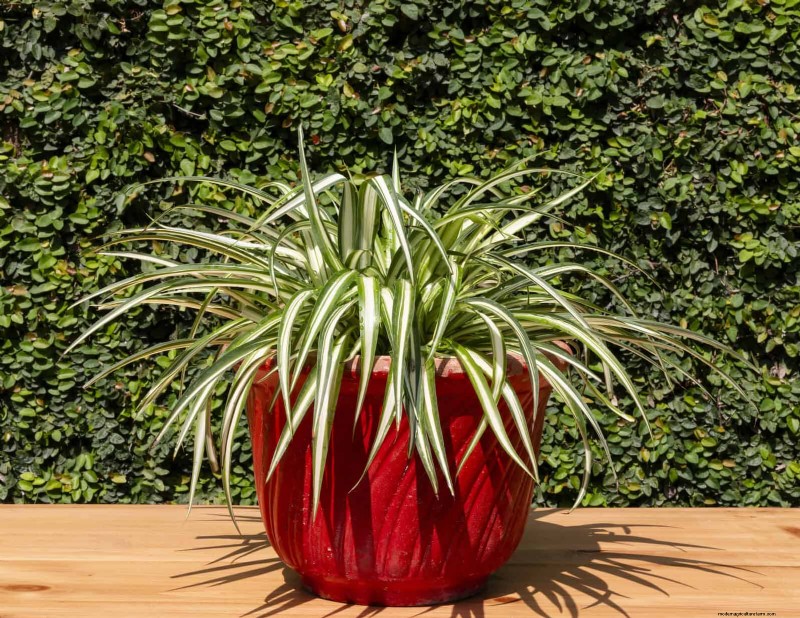
If your spider plant looks tired, with pale leaves or stunted growth, it’s probably trying to tell you something. These plants are actually quite chatty once you learn their language. They respond to small adjustments faster than almost any other houseplant.
The mistakes we’re about to cover aren’t dramatic. They’re subtle shifts in care that accumulate over time. Fix even one or two, and you’ll likely see improvement within weeks.
“Spider plants can survive almost anything, but survival isn’t the same as thriving.”
Forget what you’ve heard about keeping spider plants consistently moist. They actually prefer a brief dry spell between waterings. When soil stays soggy, roots suffocate and rot sets in quickly. You’ll notice the damage first as yellowing lower leaves, then a soft, mushy stem base.
The texture of the stem tells you everything. Healthy spider plant stems feel firm and slightly springy. Overwatered stems feel soft when you squeeze them gently. By that point, root damage has likely begun.
Let the top inch of soil dry completely before watering again. Stick your finger in to check, this takes five seconds and saves weeks of recovery time. In winter, when growth slows, you might water only every two to three weeks. If you’ve already overwatered, remove the plant from its pot, trim any brown or mushy roots with clean scissors, and repot in fresh, dry soil.
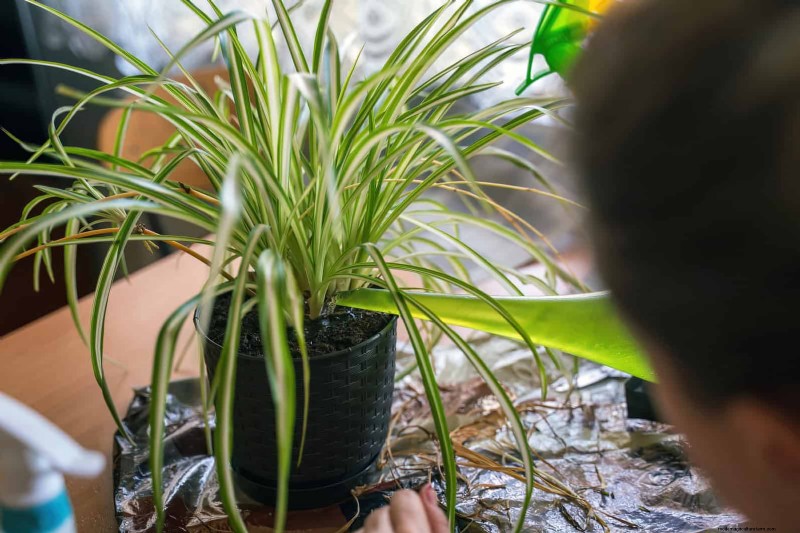
Most guides get the watering advice backward. They warn you about overwatering so much that you end up doing the opposite. Spider plants need regular moisture, just not constant wetness. When soil becomes bone-dry throughout the pot, leaves develop crispy brown tips and edges. The plant stops producing new growth and existing leaves start to curl inward.
Pay attention to the pot itself. If soil pulls away from the edges, creating a gap, it’s been too dry for too long. This gap means water will run straight through without being absorbed when you finally do water.
When you water, soak the soil thoroughly until water runs freely from the bottom. Then wait. Check the soil every few days by feel rather than by calendar. Room temperature, pot size, and season all affect how quickly soil dries. A consistent routine based on the plant’s actual needs beats a rigid schedule every time.
Standard potting soil alone is too dense for spider plants. It holds moisture too long near the roots, creating conditions where oxygen can’t reach them. Spider plant roots need to breathe between waterings. Dense soil compacts over time, making the problem worse.
You’ll notice the effects through slow growth and leaves that never quite look vibrant. The plant may seem fine but never produces those characteristic baby plantlets. Root growth stalls in heavy soil, limiting the entire plant’s potential.
Mix your own blend using 60% quality potting soil, 20% perlite, and 20% orchid bark. The perlite creates air pockets and improves drainage. Orchid bark adds structure and prevents compaction. This combination drains excess water quickly while retaining enough moisture for healthy growth. Some growers add coarse sand instead of orchid bark with similar results.
A pot without drainage holes is a slow death sentence for spider plants. Water pools at the bottom, creating a hidden reservoir of moisture that rots roots from below. You might water carefully and still end up with root rot because that bottom layer never dries.
Decorative pots look great but rarely include drainage. This causes more plant deaths than almost any other single factor. The plant may look fine for months, then suddenly decline as root damage accumulates to a critical point.
Always plant in a pot with drainage holes. If you have a beautiful decorative container without holes, use it as a cover pot. Plant your spider plant in a simple plastic nursery pot with good drainage, then drop that pot inside the decorative one. After watering, lift out the inner pot to drain, then return it. Empty any water that collects in the outer pot. This two-pot system lets you enjoy attractive containers without sacrificing proper drainage.
Most houseplant advice oversimplifies light needs. Spider plants tolerate many conditions, so people assume they can handle anything. Direct sun isn’t on that list. Harsh rays scorch leaves, creating brown patches that start small and spread. Variegated varieties lose their distinctive striping when stressed by too much light, fading to pale green.
South and west windows deliver the most intense light during afternoon hours. That’s when damage occurs fastest. Morning sun from east windows is gentler but can still cause problems if the plant sits right against the glass.
Move your plant back from the window. Even two or three feet makes a significant difference. You want bright light but filtered through a sheer curtain or simply diffused by distance. The plant should be able to cast a soft shadow. If it casts a sharp, defined shadow, the light is too direct. North-facing windows work well in most climates, providing consistent indirect light throughout the day.
Insufficient light creates a different set of problems. Spider plants in dim corners develop weak, stretched growth as they reach toward any available light source. The space between leaves increases, creating a sparse, leggy appearance. Variegated types lose their white or cream striping, reverting to solid green in an attempt to maximize photosynthesis.
New leaves emerge smaller than older ones, a clear sign the plant lacks energy for proper growth. Baby plantlets rarely form in low light. The plant survives but never truly thrives.
Spider plants need at least six hours of bright, indirect light daily. Eight hours is better. A spot near a window, but not directly in front of it, usually provides this. If windows aren’t an option, fluorescent or LED grow lights work well. Position lights 12 to 18 inches above the plant and leave them on for 10 to 12 hours daily.
We'll email it to you so you can read it later!
By saving, you agree to receive occasional emails. Unsubscribe anytime.
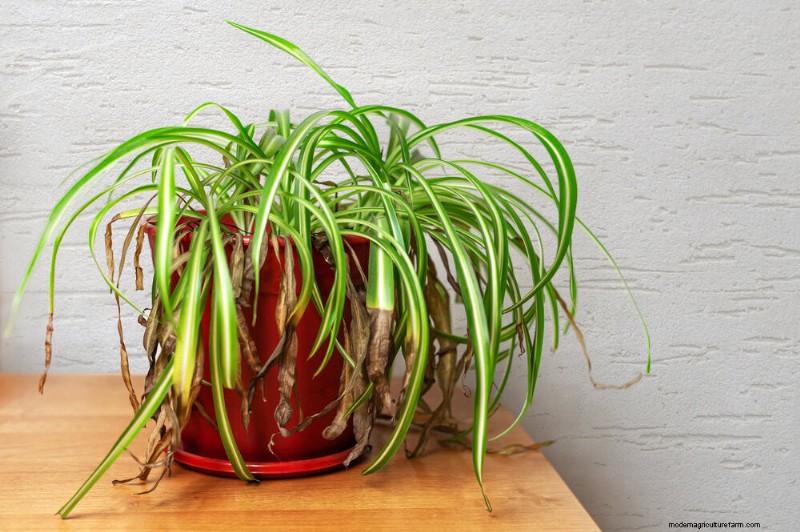
Forget what you’ve heard about spider plants tolerating any humidity. They survive in dry air, but those crispy brown leaf tips you keep trimming? That’s often a humidity issue, not a watering problem. Homes with forced-air heating or cooling typically hover around 30% humidity. Spider plants prefer 40% to 50%.
The difference shows up gradually. Tips brown first, then edges, then entire leaf sections. You might blame water quality or fertilizer, but dry air is the real culprit. Winter heating and summer air conditioning both strip moisture from indoor air.
Group spider plants with other houseplants. Each plant releases moisture through transpiration, creating a more humid microclimate. A pebble tray works well too: place a shallow tray filled with pebbles and water beneath the pot, keeping the pot bottom above the waterline. A small humidifier nearby provides the most reliable solution. Run it during the driest months, particularly if you notice tip browning despite proper watering.
Read more: 11 Surprising Signs Your Spider Plant Needs a Humidity Boost (Before It’s Too Late)
Spider plants aren’t tropical in the orchid sense, but they don’t appreciate temperature extremes either. They prefer steady temperatures between 65°F and 75°F. Dips below 50°F damage leaves. Temps above 85°F stress the plant and increase pest susceptibility.
Temperature swings cause as much harm as extreme temps themselves. A plant near a drafty door experiences a 20-degree temperature drop every time someone enters. That repeated stress weakens the plant over time. Windows create similar problems, cold drafts in winter and heat buildup in summer.
Keep spider plants away from exterior doors and single-pane windows during winter. Don’t place them directly in front of heaters or near cold air returns. Room temperature stability matters more than achieving a perfect number. A consistent 70°F beats bouncing between 65°F and 78°F throughout the day.
HVAC vents are some of the worst locations for any houseplant. The air blast dries out leaves and soil faster than you can keep up with watering. Spider plants near vents often develop severely brown leaf tips within weeks. The constant air movement also fluctuates temperature dramatically, from too hot to too cold depending on the season.
Don’t worry if your space is limited and a vent-adjacent spot is your only option. You can mitigate the damage. Vent deflectors redirect airflow away from the plant. These inexpensive devices attach to floor or ceiling vents and angle air in a different direction. You can also position furniture to block direct air currents. Increase watering frequency and monitor humidity more closely when plants must stay near vents.
Most houseplant fertilizer instructions are written for fast-growing tropicals, not spider plants. Following package directions often means over-fertilizing. Too much fertilizer causes salt buildup in soil, burning roots and leaf tips. You’ll see browning similar to underwatering, but the soil feels appropriately moist.
Under-fertilizing causes different symptoms. Growth slows to a crawl. Leaves emerge pale and smaller than normal. The plant produces few or no baby plantlets. Both extremes prevent your spider plant from reaching its potential.
Use a balanced liquid fertilizer (something like 10-10-10 or 20-20-20) at half the recommended strength. Feed once monthly during spring and summer when the plant actively grows. Stop completely in fall and winter. If you suspect fertilizer buildup, flush the soil by running water through it for several minutes until it flows clear from drainage holes. Let the soil drain thoroughly afterward.
Dust accumulation isn’t just an appearance issue. A layer of dust blocks light from reaching the leaf surface and clogs the tiny pores plants use for gas exchange. Over weeks and months, this reduces photosynthesis efficiency. The plant can’t produce as much energy, so growth slows.
Wipe leaves gently with a soft, damp cloth once a month. Support each leaf from beneath while you clean the top surface to avoid breaking the thin foliage. For plants with many leaves, a lukewarm shower works faster. Place the pot in a bathtub or shower, let water run over the leaves for a minute or two, then allow the plant to drain completely. Avoid using leaf shine products; these can clog pores and do more harm than good.
Spider plants grow quickly. Their thick, tuberous roots fill pots faster than you might expect. Roots start circling the pot’s interior, then grow through drainage holes, then begin lifting the plant up out of the container. By that point, the plant is severely rootbound.
Rootbound plants can’t absorb water efficiently. Water runs straight through without being absorbed because roots have displaced most of the soil. Growth stalls. Leaves yellow and drop. Baby plantlets stop forming.
Repot every one to two years in spring. Choose a pot just one to two inches larger in diameter than the current one. Larger pots seem like a time-saver but lead to overwatering problems; excess soil stays wet too long. When repotting, loosen circling roots gently with your fingers or a fork. This encourages them to grow outward into fresh soil rather than continuing their circular pattern.
Brown tips get dismissed as “normal for spider plants.” They’re not. They signal stress, usually from fluoride or chlorine in tap water, low humidity, inconsistent watering, or fertilizer buildup. Writing them off as inevitable means missing the actual problem.
Fluoride sensitivity is particularly common. Municipal water often contains fluoride levels safe for humans but damaging to sensitive plants. The chemical accumulates in leaf tips, causing them to brown and die. Chlorine causes similar issues.
Switch to distilled, filtered, or rainwater if your tap water is treated. Let tap water sit out overnight before using it; this allows chlorine to evaporate (though not fluoride). Trim brown tips at an angle that matches the leaf’s natural shape. This improves appearance while you address the underlying cause. Tips will stop browning once you’ve fixed the real problem.
Spider plants aren’t pest magnets, but they’re not immune either. Spider mites love dry conditions and often appear when humidity drops. You’ll notice fine webbing between leaves and stems. Aphids cluster on new growth, leaving behind sticky honeydew. Mealybugs look like tiny cotton balls in leaf joints. Scale insects appear as brown bumps on stems and leaves.
Check your plant weekly, especially the undersides of leaves where pests hide. Early detection makes treatment much easier. A few pests can be wiped off with a damp cloth. Larger infestations need insecticidal soap or neem oil. Spray thoroughly, covering both leaf surfaces and stems. Repeat every seven to ten days until pests are gone; this breaks their life cycle. Isolate infested plants immediately to protect your other houseplants.
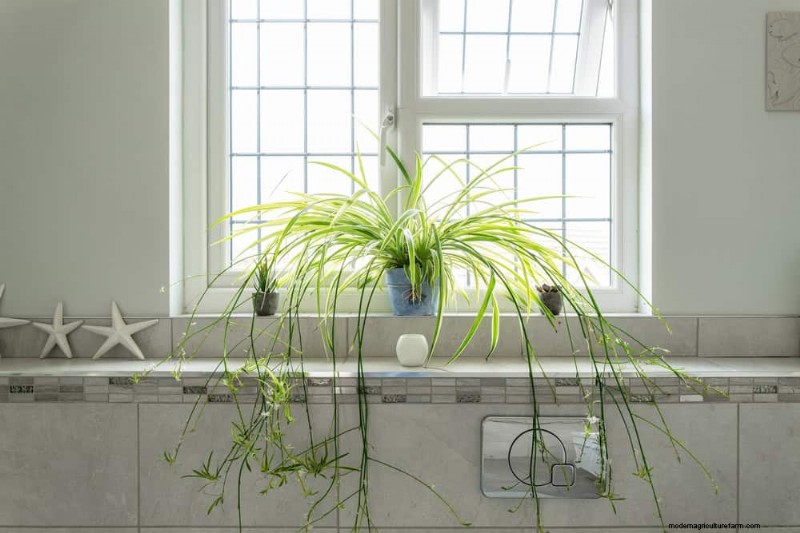
Spider plants produce baby plantlets (spiderettes) readily, but timing and technique matter. Removing babies too early, before they develop root nodes, often results in failure. Cutting the connecting stolon carelessly damages both mother plant and baby. Expecting roots to form without proper conditions leads to frustration.
Wait until spiderettes show small root bumps at their base. These root nodes indicate the baby is ready to sustain itself. You have two propagation options. First, you can root them while still attached to the mother plant. Pin a baby plantlet to soil in a small pot placed next to the mother. Leave them connected until roots establish, usually two to three weeks. Second, you can snip them off with clean scissors and root them in water or directly in moist potting mix. Water propagation lets you watch root development, while direct soil planting skips a transplant step.
Keep newly propagated plants in bright, indirect light. Maintain consistent soil moisture without overwatering. New plants are more vulnerable to extremes than established ones. They’ll produce new growth within a few weeks once roots establish.
Spider plants recover quickly when you correct care mistakes. They’re resilient enough to bounce back from brown tips, stretched growth, or even minor root rot. The key is addressing problems early, before damage becomes extensive.
Start with the basics: proper watering, well-draining soil, and adequate light. These three factors solve most spider plant problems. Once you’ve dialed in those fundamentals, fine-tune environmental conditions like humidity and temperature. Consistent care matters more than perfection.
A thriving spider plant produces cascading stems covered in baby plantlets, demonstrating its health and vigor. Those babies become new plants you can share, pot for other rooms, or use to refresh the parent plant. With proper care, your spider plant can thrive for years, potentially outlasting many other houseplants in your collection.
To keep that heirloom growing strong, you must look below the surface. Read our guide on Root Bound Spider Plants: What You Need to Know and Tips for Healthy Growth and Care.