Welcome to Modern Agriculture!

Some lawnmower engines need to have the primer pressed before you can start them. However, if you are unfamiliar with your lawnmower, you might consider locating the primer the most challenging part. To help you with this matter, we have conducted thorough research and determined the primer’s location on your Toro recycler 22.
You can locate the primer on Toro recycler 22 on the side of the carburetor or close to the air filter. On the other hand, there are some Toro models where you can find it under the carburetor.
If you want to take care of your lawnmower correctly, it would be best to familiarize yourself with it. And we have prepared so much information in this post, so we suggest you keep reading. Doing so will help you determine the appearance of the Toro recycler 22’s primer and how to replace it. Let’s delve into the details!
[PIN id=”344455071482204117″ description=”hide” size=”large”]
[/PIN]
Some mowers use a choke plate, whereas others rely on a primer. This button is the key to kicking off your mower’s cutting session. It is rubberized and sits on the side or below the mower’s carburetor or close to the air filter. You can prime your engine by pressing the primer. Most lawnmower owners will tell you this is the simplest method.
Find the primer on your Toro mower and inspect it for damage. Mice are notorious for gnawing on these parts. Good thing that Toro sells new primers if you ever need to swap out a broken one.
Lawnmower primers generally fall into one of two categories: the bulb and the automatic primer. Both types bring gasoline from the tank to the carburetor, essentially doing the same thing. Their methodology, however, is a bit different.
As soon as you turn on the engine, expect this primer to create a vacuum that allows fuel extraction. This primer type maintains fuel pressure in the carburetor after engine shutdown. In this case, the carburetor always has enough gasoline to feed the engine with combustion whenever you start it.
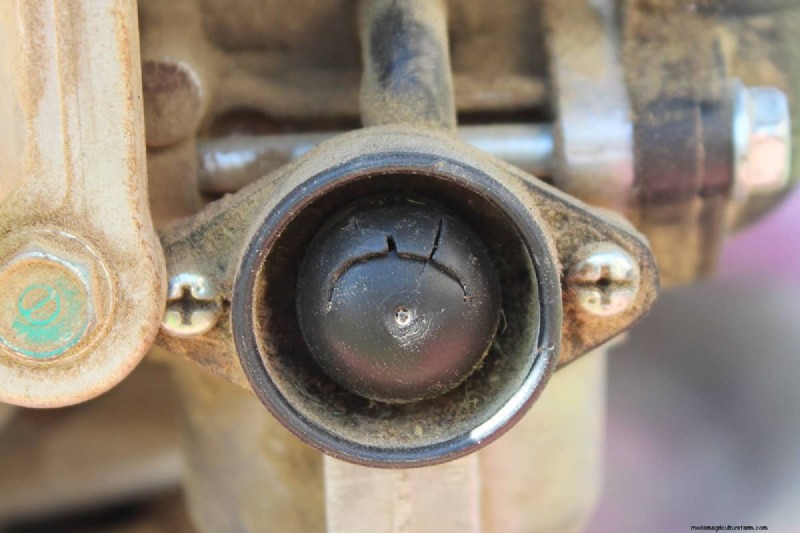
Primers with a rubber bulb on the outside are what you call “bulb primers.” You can use them to force gasoline from the tank into the carburetor’s bowl. The engine consumes this fuel in the combustion process.
Both primers will keep the carburetor well-supplied with fuel from the tank. However, the primer could be faulty if the carburetor is empty.
We'll email it to you so you can read it later!
By saving, you agree to receive occasional emails. Unsubscribe anytime.
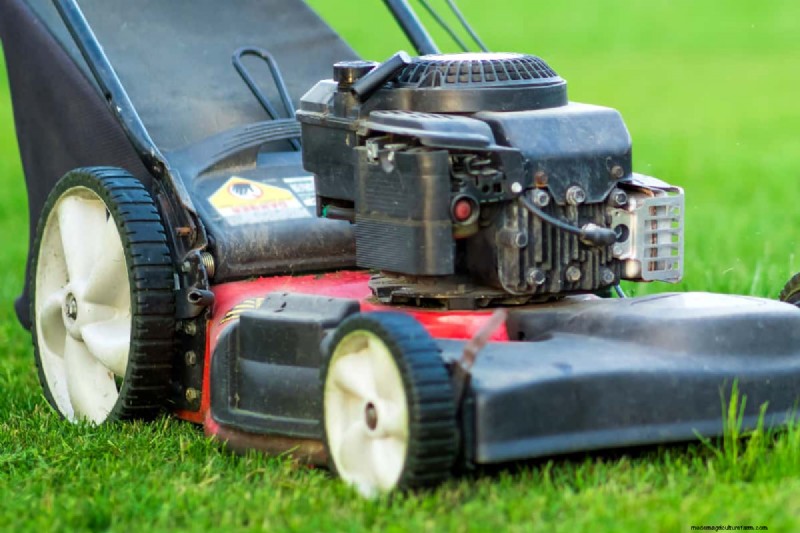
Primers on lawnmowers tend to be bright, with red being the most frequent and black being quite prevalent. Rubber is the typical material. However, the air filter casing typically conceals them behind for safety. Additionally, there is a plastic keeper ring that secures the primer.
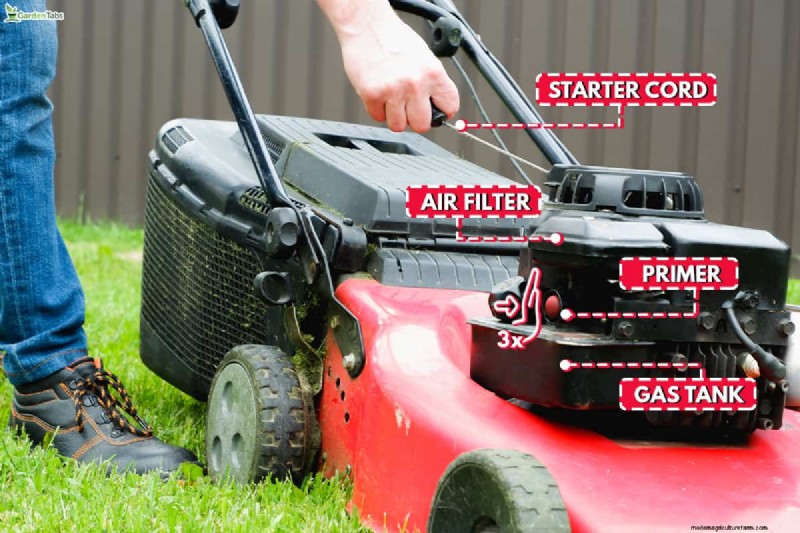
To get a lawnmower going with a primer, you should first ensure enough gas is in the tank. After checking, you will need to press the primer bulb. It is advisable to push it at least three times to reach the carburetor. Lastly, move the throttle to its fully open position. Go ahead and pull the starter cord to get the engine going.
Furthermore, if you pull the chord several times and it still doesn’t start, you probably have a defective primer.
Below are some of the potential causes for the primer failing:
There is a possibility of no gasoline left in the primer after sitting for a while. That means there’s no more gas to put into the mower’s internal combustion engine. It will imply that the engine won’t turn over in its current condition.
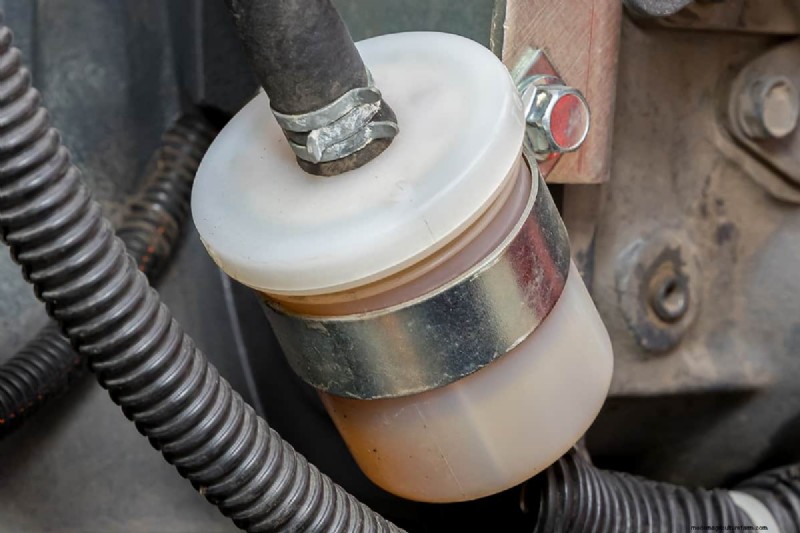
After passing through the fuel filter, the primers suck fuel. Fuel deposits, typically from old gasoline, can cause the filter to clog. The gasoline cannot enter the primer because the deposits block its path.
For bulb primers, this is a severe flaw. Sharp things like iron nails or sharp stones can rip or puncture the rubber bulb and cause harm. Fuel can’t get from the tank to the carburetor because of the torn bulb. Because of the broken bulb, gas cannot go from the tank to the carburetor.
The occurrence of damage on the primer bulb of your lawnmower is inevitable. So, to help you prepare for this, you can check the details below on how to replace the primer bulb.
Good thing that the replacement process is easy, that you can finish in a few minutes. However, before you start, you must know that there are some considerations you should be aware of. Also, please prepare the following:

Before anything else, you must protect yourself by wearing work gloves and a mask. After that, you should check the Toro lawnmower and ensure the engine is not hot.
Take note that you should wait at least 15 minutes for the engine to cool down if you’re replacing it just after a mowing session; otherwise, you risk burning yourself.
In addition to changing the primer bulb, you should also change the spark plug wire on the Toro engine. The purpose of this procedure is safety-related, as it prevents the engine from starting by accident.

Click here to check out these general utility work gloves on Amazon.
As mentioned, you can find the primer bulb in either of the three areas:
There are three steps that you should accomplish to remove the primer bulb successfully, and these are:
Before removing the Toro priming bulb, you must take off the external holding ring. Simply using your hand will remove the ring. However, if you can’t remove it by hand, it is best to utilize a flathead screwdriver.
The one that holds the bulb in place is a clip. In some cases, when you take off the retaining ring, you may see grooves on both sides of the primer bulb. The clip holding the bulb requires removal, and you can successfully do it by inserting a flathead screwdriver into each side.
Its teeth grip the clip securely. By inserting the screwdriver, you can pry the bulb out of its clip, which previously prevented the bulb from moving.
If the clip doesn’t budge, try pulling the bulb out with a pair of nose pliers. Note that you don’t need to be extra careful if the Toro priming bulb already has damaged.
Now that you have finally removed the old damaged primer bulb, you should attach the new one. But before attaching it, it would be best to ensure that it is the bulb model that the Toro manufacturer recommends.
If you don’t know how to identify the primer bulb model, it is advisable to bring the old one to the nearest Toro mower retailer and let them check and provide it for you.
Debris and dust deposits are possible at the location where you would attach the bulb. It is true, especially if you don’t maintain your carburetor regularly.
Good thing that this is a straightforward thing to do. Use a dry rag to clean the area and loosen the dirt and debris. Cleaning the attachment with the rag is fine, but if you have access to a carburetor cleaner liquid, use that instead.
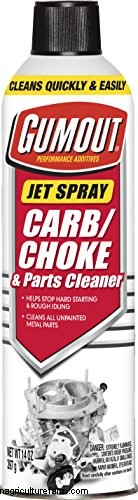
Click here to check out this carb/choke & parts cleaner on Amazon.