
Welcome to Modern Agriculture!

Do you need a little privacy in your life? Maybe you’re looking to create a room divider or simply want to add some extra separation between you and your neighbors. A freestanding privacy screen is a perfect solution! Fortunately, our research can help you build a DIY freestanding privacy screen.
Building a freestanding privacy screen is a relatively simple project that can be completed in just a few hours. Here’s how to do it:
In this step-by-step guide, we’ll show you how to build one yourself. It’s easy, affordable, and, best of all, it can be customized to fit your specific needs.
[PIN id=”199002877262565321″ description=”hide” size=”large”]
[/PIN]
When it comes to privacy screens, wood is by far the most popular material. Wood privacy screens come in a variety of styles and can be customized to match the look of your home. They can also be stained or painted to create a unique look.
In addition to being aesthetically pleasing, wood privacy screens are also durable and easy to maintain. However, they can be susceptible to rot and insect damage if not properly sealed and maintained.
For these reasons, wood privacy screens are best suited for areas that are not subject to extreme weather conditions.
If you’re interested in building a wooden privacy screen, there are a few materials you’ll need to get started.
First, you’ll need to select the type of wood you want to use. Some common choices include bamboo, willow, and reed. You can also use 4×4 and 2×4 pressure-treated lumber.
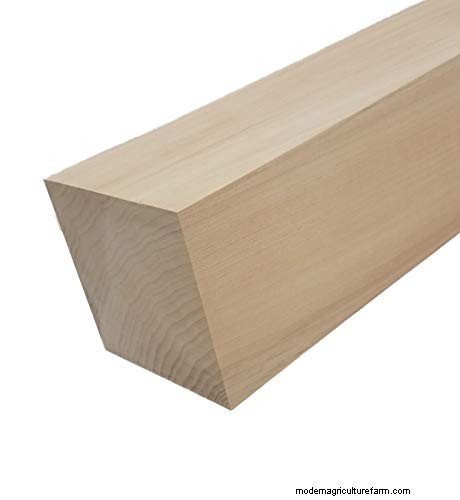
See 4×4 wood on Amazon.
Once you’ve chosen your wood, you’ll need to purchase enough boards to build your privacy screen. You’ll also need a hole digger for digging the area, and a saw to cut the boards to size.
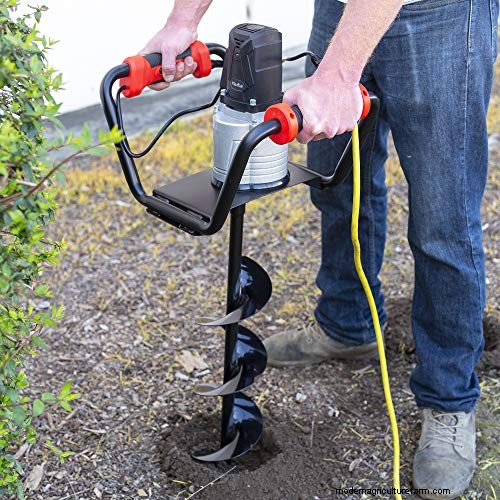
Get hole digger on Amazon.
You must also have screws or nails and an impact driver or power drill to assemble the screen.
With these materials on hand, you’ll be well on your way to creating an attractive and functional privacy screen for your home.
We'll email it to you so you can read it later!
By saving, you agree to receive occasional emails. Unsubscribe anytime.
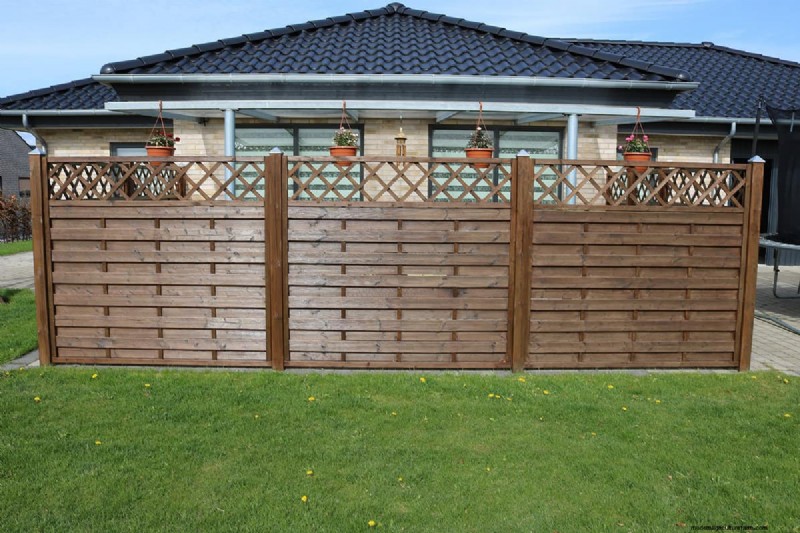
Building a wooden privacy screen is a great way to add some privacy to your yard or deck. Here are the basic steps:
You’ll want to consider things like sun and wind exposure, as well as the view from your house and neighboring properties.
Before you begin constructing your wooden privacy screen, you’ll need to mark out the area where it will go. This will ensure that the finished product is the correct size and shape for your needs.
To do this, simply drive four stakes into the ground at the corners of the intended location. Then, use a measuring tape to check the distance between the stakes. Use stakes and string to create a square or rectangle.
Once you’ve selected the perfect spot, it’s time to start digging. Be sure to dig deep enough so that the posts will be securely anchored in the ground. After the holes are dug, you can begin assembling your screen.
Measure and cut the lumber for the screen frame. You’ll need four pieces for the sides and two for the top and bottom. Be sure to use a saw or power drill with an appropriate blade or bit.
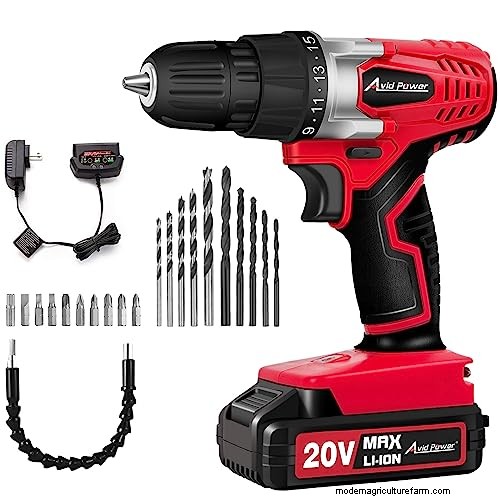
View power drill on Amazon.
Connect the screen frame by attaching the sides to the top and bottom pieces with screws or nails. Make sure that the frame is square and level before proceeding.
Cut the lattice panels to size and attach them to the frame with small brads or staples. You can also use wooden flats to make layering covers. Start at one corner and work your way around until all of the panels are in place.
Finish off your screen by adding trim around all of the edges. You can use molding, lattice strips, or any other type of decorative trim. Once again, attach these pieces with screws or nails. You can also paint it or add other decorations.
Other privacy screens are not dug into the ground. Some are built on movable frames with wheels. You can also attach your privacy screens by simply creating a flat base with wheels.
[PIN id=”undefined” description=”hide” size=”large”]
[/PIN]
When it comes to privacy screens, there are a few things to consider.
First, you need to decide what purpose the screen will serve. If you’re looking to block out unwanted views, a tall screen is likely your best bet. However, if you’re more interested in creating a sense of separation between two areas, a shorter screen may be sufficient.
Second, you need to take into account the height of your existing fences and walls. A privacy screen that’s taller than your existing barriers will undoubtedly draw attention, so it’s important to strike a balance.
As a general rule of thumb, a privacy screen should be no higher than 8 feet above the existing ground level.
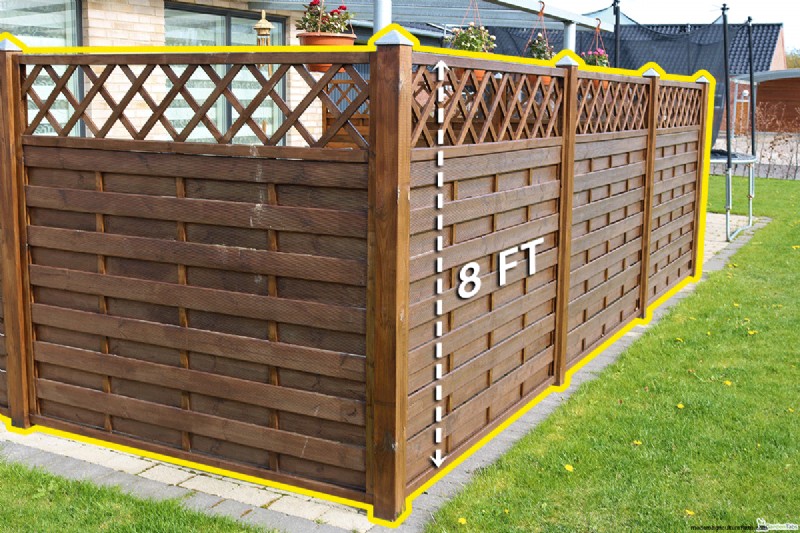
By following these simple guidelines, you can ensure that your privacy screen serves its purpose without becoming an eyesore.
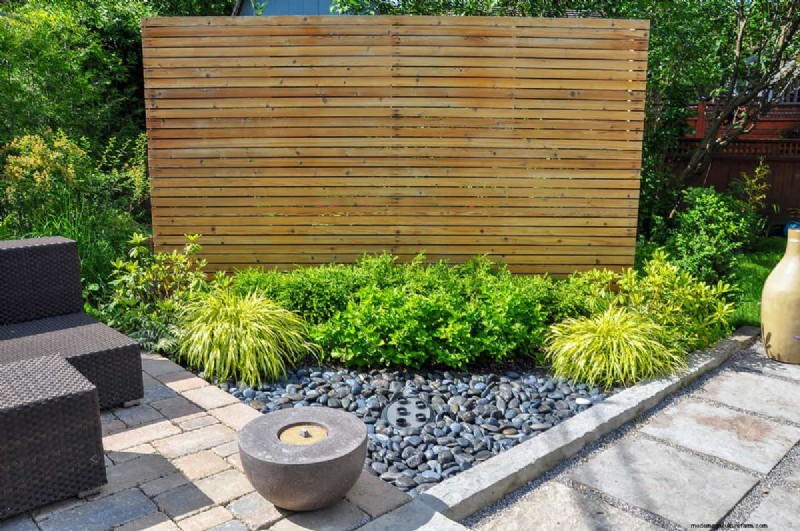
If you’re looking to create a private seating or dining area, then placing the screen around that area will give you the most privacy.
Alternatively, putting the screen along the property line is a good option if you’re just looking to block out nosy neighbors or create some visual interest in your yard.
There are a wide variety of materials that can be used to create a privacy screen, and the best material for any given project will depend on the specific needs and preferences of the individual.
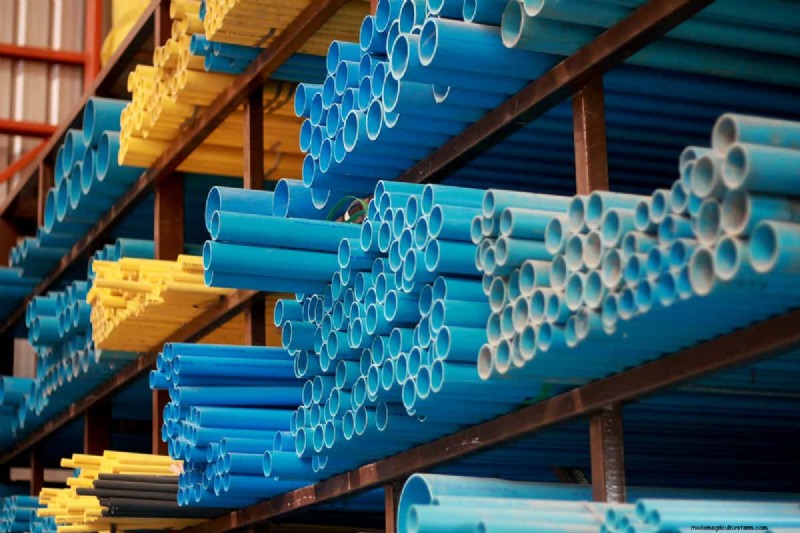
PVC pipes are an excellent choice for a privacy screen. They are durable, low-maintenance, and easy to install. Plus, they come in a variety of sizes and colors to suit any preference.
PVC pipes can be used to create a number of different designs, from simple screens to more intricate patterns. And, because they are lightweight, they can be easily moved if necessary.
Tin roof panels can also be used to create an attractive and functional privacy screen. They are available in various colors and styles and can be cut to fit any space.
In addition, tin panels are very durable and easy to maintain. Privacy screens made from tin panels will last for many years with minimal care.
Another advantage of using tin panels is that they can be recycled when they are no longer needed. As a result, tin panels offer an eco-friendly alternative to wood privacy screens.
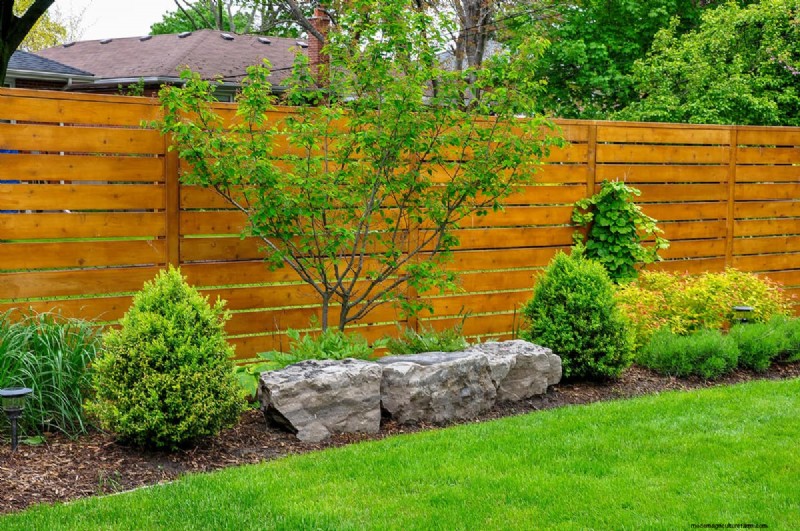
Another material that can be used for a privacy screen is fencing. Fencing comes in a variety of styles and can be made from different materials, including wood, metal, and plastic. It can also be painted or stained to match the rest of your outdoor décor.
One advantage of fencing is that it can be installed quickly and easily. Additionally, it requires little maintenance and will last for many years with proper care.
Planters like cinder block planters can be easily moved if you need to adjust the layout of your outdoor space. They offer a more natural look than wood, which can help to create a more relaxing atmosphere.
Planters can provide an extra level of security, as they can be weighted down or anchored to the ground. Finally, planters can be a great way to add some greenery to your outdoor space without having to worry about maintenance.
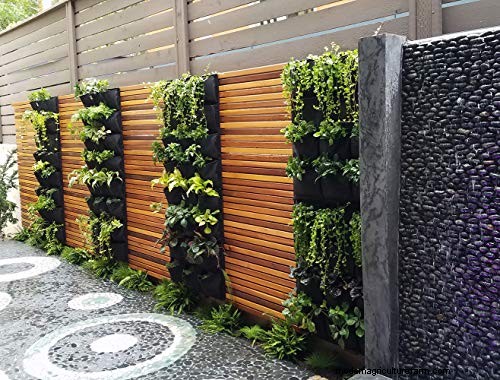
See hanging planters on Amazon.
Here are just five of the ways a privacy screen can improve your home:
If you’re looking for an easy way to add some privacy to your yard, a freestanding privacy screen is a perfect option. With just a few simple steps, you can have one of these screens up in no time!
For more ideas on keeping your garden extra safe, see our posts below:
How Far Apart Should Retaining Wall Posts Be?
8 Awesome No-Dig Garden Edging Ideas You Should Check Out


