
Welcome to Modern Agriculture!

If you grow your own seedlings indoors under lights, or if you purchase transplants from a nursery greenhouse, you will need to acclimate your seedlings before transplanting them into the garden. This adjustment process is called “Hardening Off.” Here is how to harden off seedlings.
Hardening off is the process of adapting plants to the outside, so they can get used to sunlight, wind, rain, cool nights, and less frequent watering and fertilizing. The hardening off period allows your seedling to transition from the comfortable growing conditions under lights or in a warm greenhouse to the normal conditions they will experience in the garden.
Allow at least a week to harden off seedlings before transplanting to the garden. Depending on the weather, sometimes two weeks are necessary. Be patient and you will be rewarded with healthy, strong plants that will adapt quickly and begin growing.
Sunlight is stronger than grow lights and can burn foliage if the seedlings are placed in the direct sun. Light breezes can sap your plants’ moisture and cause weak stems to break. Cooler nighttime temperatures may stunt growth or even kill a seedling that is not used to it. Gradual exposure to the outside elements allows the plants to toughen up and adjust to being outside.
The hardening off period allows your plants to adjust to conditions they will experience in the garden. Refer to your seed starting and planting schedule, check the weather, and follow these steps to harden off your transplants:
About a week or two before your transplant date, place your plants outdoors in a protected spot for a few hours on the first day. Your seedlings need some protection from wind and sun during their first hours outside.
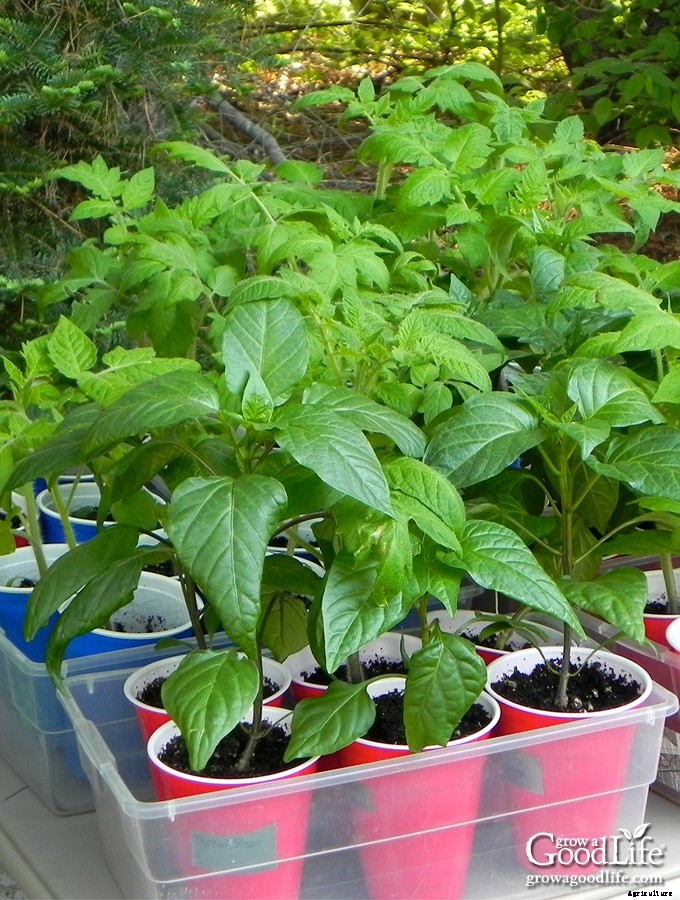
I like to place my seedlings on a patio table under an umbrella to shade them from the sun. The table is located in an area near the house that is also protected from harsh wind. Let your plants remain outside for a few hours, then bring them back inside.
Keep an eye on the weather during the hardening off period. Temperatures can drop to unseasonable levels quickly, and high winds can destroy tender foliage and knock over seedling trays. Watch the weather for early-season frost or unsettled conditions and bring transplants indoors until the weather returns to normal.
Gradually increase the amount of time that the seedlings spend outside to allow the plants to adjust. Continue to harden off seedlings by moving the plants outside while temperatures are warm and then back inside at night when the temperature is cool.
I usually add a couple of hours each day as long as long the weather cooperates. Alter the shade or move the seedlings to a location that receives morning or evening sun, so they are exposed to a little more sun each day. Allow the seedlings to experience gentle breezes. Even filtered sunlight and light breezes can deplete your plants’ moisture. Check on them frequently and give them enough water, so they do not wilt.
Eventually, allow your plants to stay in full sun and outside overnight as long as night temperatures do not drop below freezing. If it is going to get below freezing move the plants indoors. Resume the hardening off process once temperatures return to normal conditions.
Cool season crops such as broccoli, Brussels sprouts, cabbage, celery, lettuce, onions, parsley, peas, spinach, Swiss chard, and other hardy greens can tolerate low nighttime temperatures of around 45°F once they have had time to adjust. Light frost won’t harm these seedlings after these are hardened off.
Warm-season crops such as tomatoes, peppers, eggplants, melons, cucumbers, and some herbs prefer warm nights, at least 60°F. They can’t stand below-freezing temperatures, even after the seedlings are hardened off. So continue to bring indoors if nights remain cool.

After your seedlings are hardened off, they are ready to be transplanted into their permanent location in the garden.
Choose a cloudy day with no wind and transplant in the late afternoon or evening to give your plants time to adjust without the additional challenge of the sun.
Follow these steps to transplant your seedlings into the garden:
Pamper your newly planted seedlings frequently until they become established. You may see some wilting the first day, but plants should quickly perk up. And while some may adjust just fine and not need any special care, others may need supplemental watering.
Also monitor temperatures carefully; unexpected temperature dips are rare but do happen, and you may need to cover some plants to protect them.
—
Hardening off is an important step to reduce stress on your plants. If you harden off seedlings properly, they will be strong and able to withstand full sun, light breezes, spring rains, and fluctuating temperatures. Once transplanted to the garden, the plant’s energy will be focused on establishing roots and growing rather than surviving.


