
Welcome to Modern Agriculture!

Confession: I’m a huge fan of period British novels and movies. Think Pride and Prejudice and Jane Eyre. What all of these novels/films have in common, other than drama and dry wit, are lovely landscaped grounds. And this usually involves lots and lots of pea gravel paths, since concrete wasn’t around in the 1800’s.
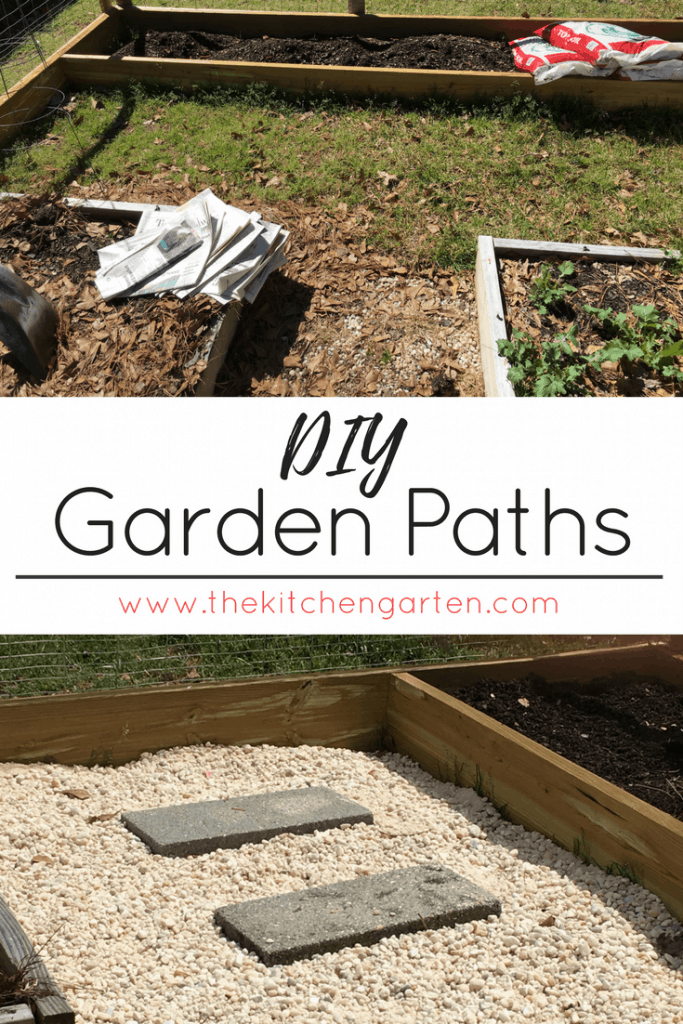
Several years ago when we transitioned from a traditional row garden to raised beds, I knew I wanted quaint pea gravel garden paths between our boxes. And what better way to do DIY gravel paths than on a quick Saturday morning? Let me show you how!
Other common garden path options are pavers, wooden boards, bricks, or simply well-maintained grass like Fescue (doesn’t spread). We chose gravel because I love the look, but also for practical reasons:
Unlike the British gardens where my gravel path idea came from, my paths did not include a gardner to maintain or create them. Boo. However, through trial and error, the hubs and I found that these paths don’t have to be difficult.
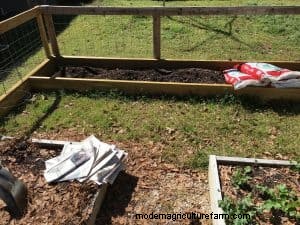
In fact, since we were creating our paths between raised beds, we used the raised bed edges to line the walkways and keep the gravel contained. It’s the perfect walkway solution for raised bed gardeners!
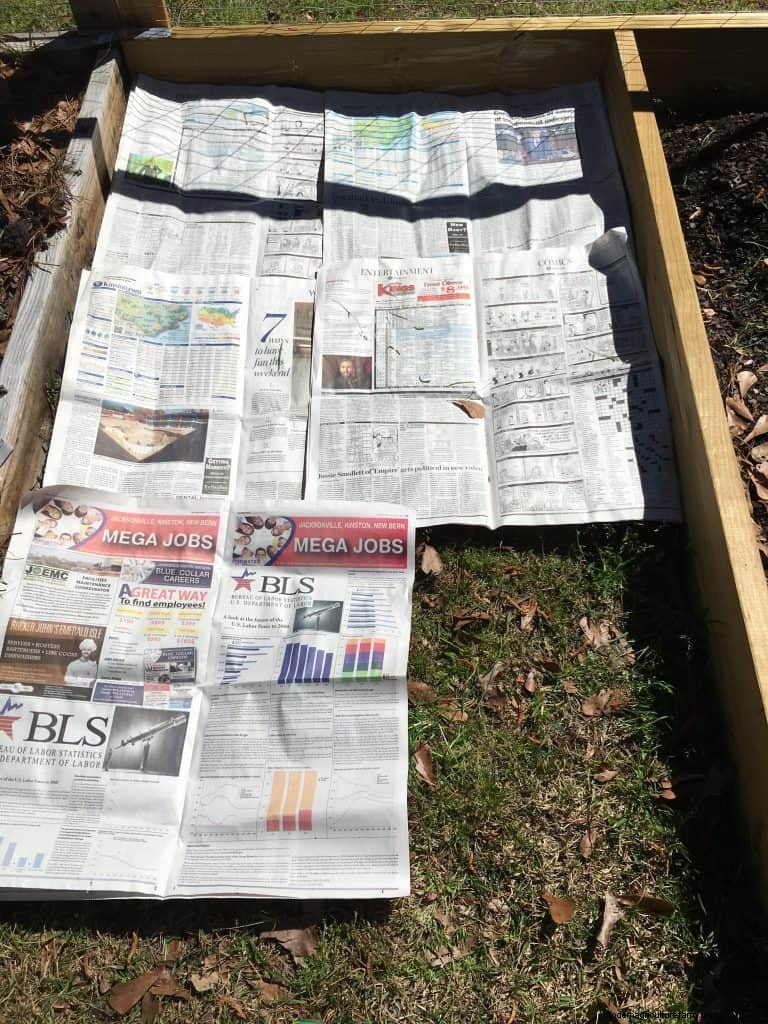
2. Line the path with newspaper 5-6 sheets thick. This is your first line of defense against weeds and grasses poking through. And look, you’re recycling newspaper. Win!
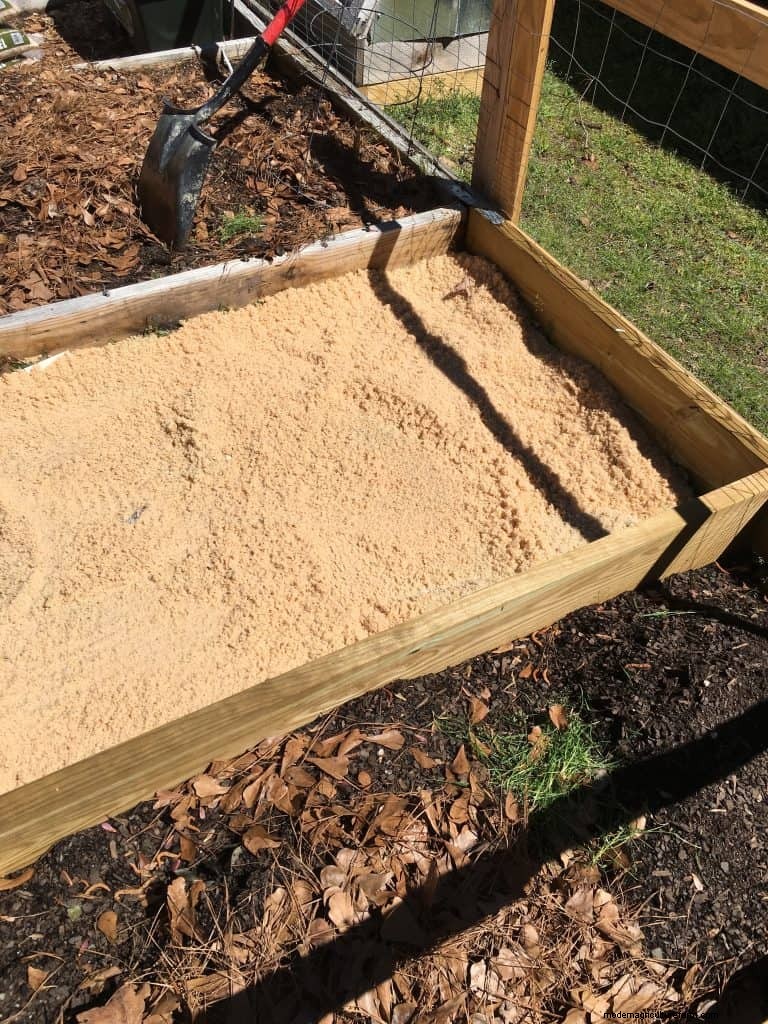
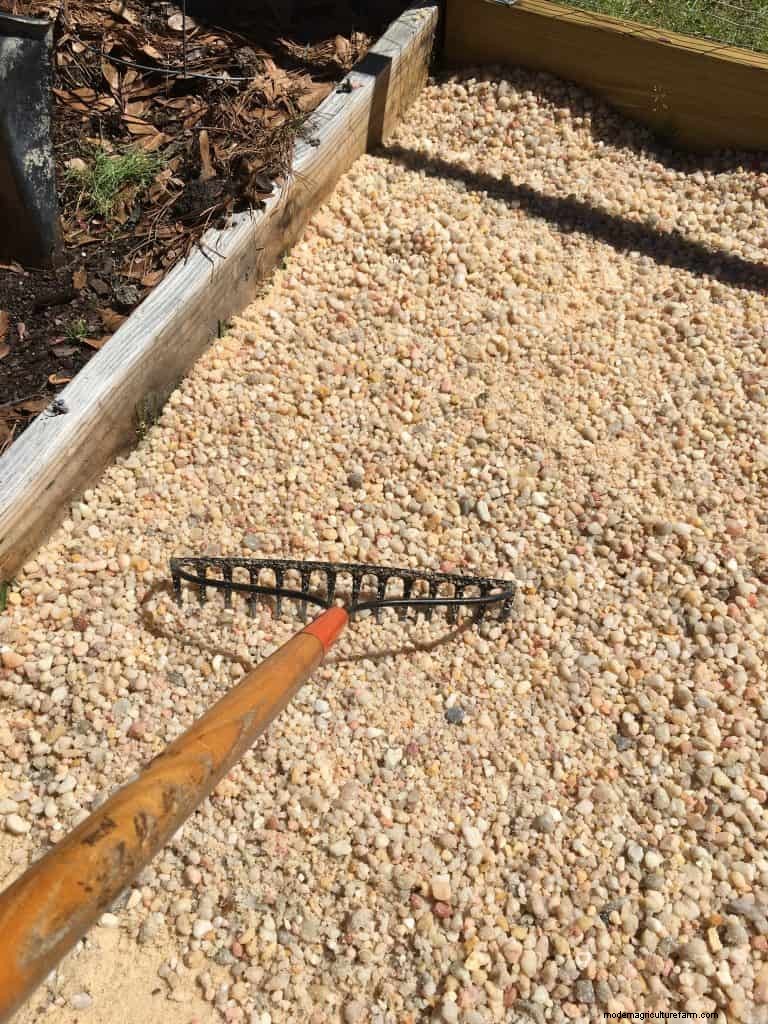
3. Once newspaper is down, spread paver sand on top. We chose paver sand because it’s used to keep pavers in place, and is highly durable out in the elements, i.e. rain. Use the back of a bow rake to smooth the sand into an even layer about an inch thick. You should not be able to see any of the newspaper poking through.
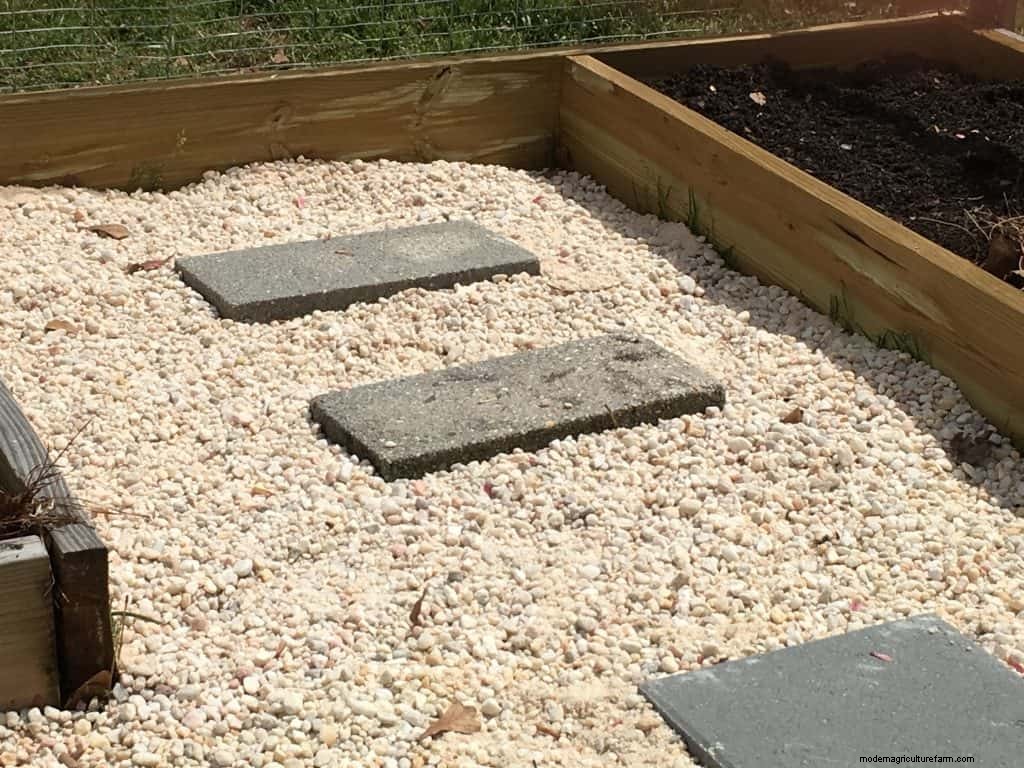
4. Once paver sand is smooth and even, begin applying pea gravel to your DIY gravel paths. (If you want to use stepping stones, add them before the pea gravel.) We purchased ours in bags from Lowes, but if your paths are larger, call around and see about buying it in bulk and having it delivered.
If buying in bags, figure out how many bags you’ll need and then buy 3 more. It never seems to go as far as you think. Again, use your bow rake to spread out the gravel evenly. Push it into corners, and don’t skimp. You want a nice thick layer, so when you’re walking on the path you don’t step through to the sand.
5. Step back and enjoy! We added some stepping stones the kids had made and some other steppers we had laying around. The kids like jumping from one to the next, and I had grand plans of painting them fun colors, but life…
This is a super easy and fun project that can be completed in a day. Comment below and let me know what you’ve used in your garden paths! Until then, Happy Gardening!

