Welcome to Modern Agriculture!

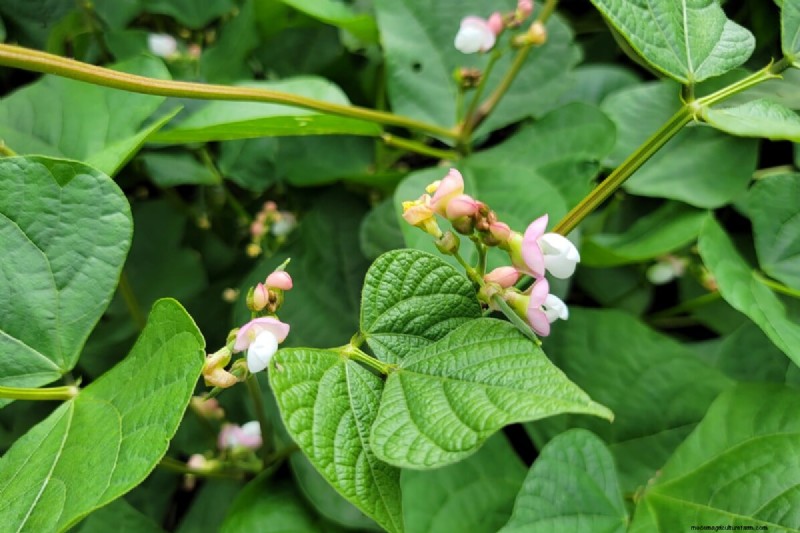
Beans are a garden staple—whether you grow string, snap, green or dried varieties, they’re easy to cultivate and rewarding to harvest. Because they can occupy a sizable portion of your beds, the right techniques can turn a modest patch into a prolific yield.
Everything starts with a solid seed placement. Timing, depth, and spacing set the stage for success.
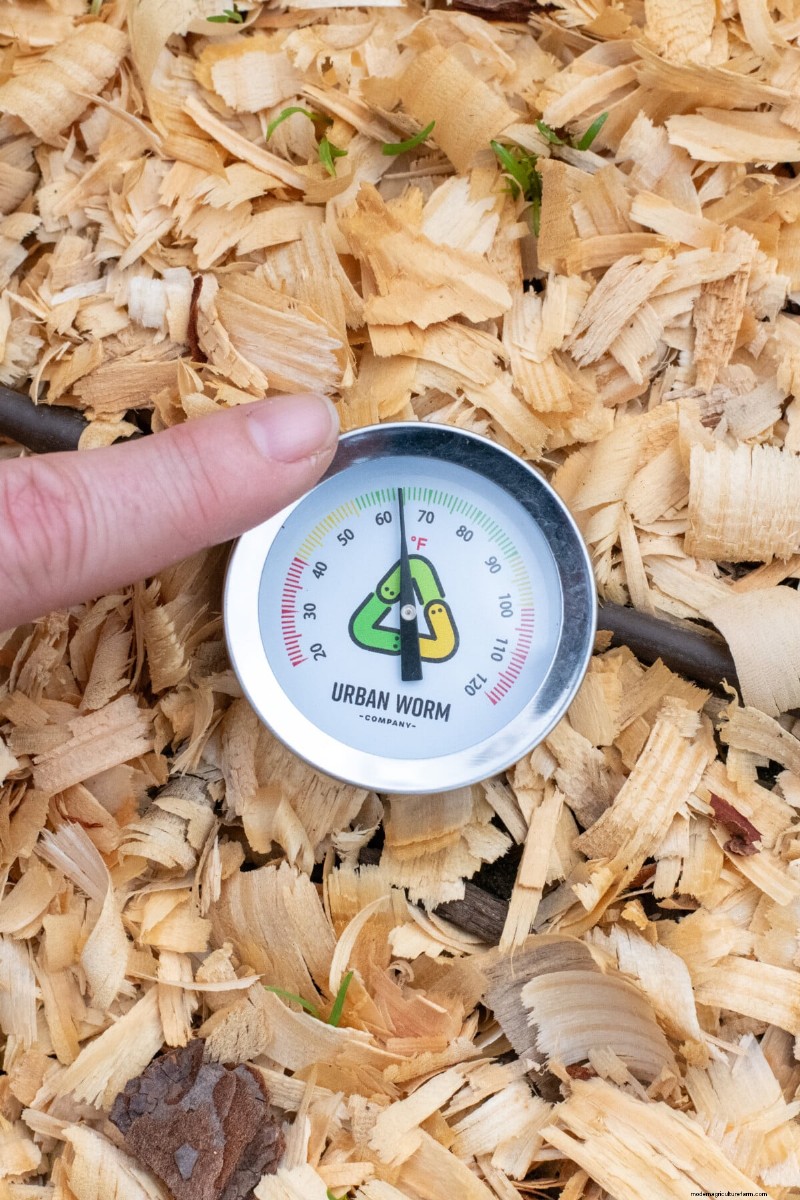
While the last frost date is a useful guide, beans respond primarily to soil temperature, not air temperature. Seed germination stalls in cold soil, leading to rot and missed crop windows.
Use a soil thermometer to track temperature. Aim for at least 60°F (16°C) consistently before planting. Many growers prefer 70°F (21°C) to guarantee robust germination and reduce the need for reseeding.
That extra week often pays off with higher germination rates and a cleaner garden floor.
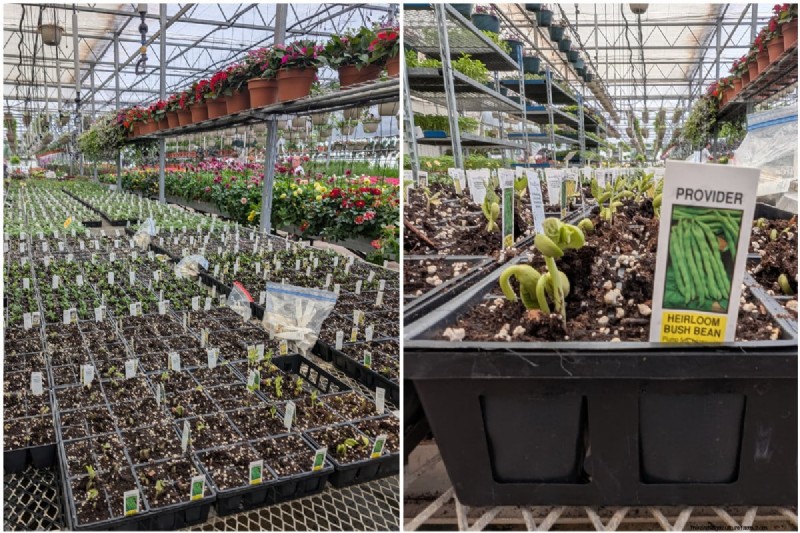
Unlike many seedlings sold in nurseries, beans do best when sown directly. Transplant shock can kill seedlings or stunt growth.
Transplanting disrupts this sensitive root system. Beans germinate quickly—usually within 7–10 days—so starting them in the ground is both time‑efficient and stress‑free.
Legumes fix atmospheric nitrogen through symbiotic bacteria, so heavy nitrogen fertilizers are unnecessary—and can encourage leafy growth at the expense of pods.
Use a low‑nitrogen, high‑phosphorus & potassium fertilizer to support root development and pod formation. Farmer’s Secret Fruit & Bloom Booster is a reliable choice.
Only add nitrogen if a recent soil test shows a severe deficiency.
Inoculants can help if you’re planting beans for the first time in a new soil. If you’ve grown beans successfully in the past, the native Rhizobium bacteria are likely already present.
Mulching retains moisture, moderates soil temperature, and suppresses weeds—saving time and ensuring steady hydration.
Apply mulch once the seedlings are a few inches tall, or use a mulching material that can be spread directly over freshly seeded beds.
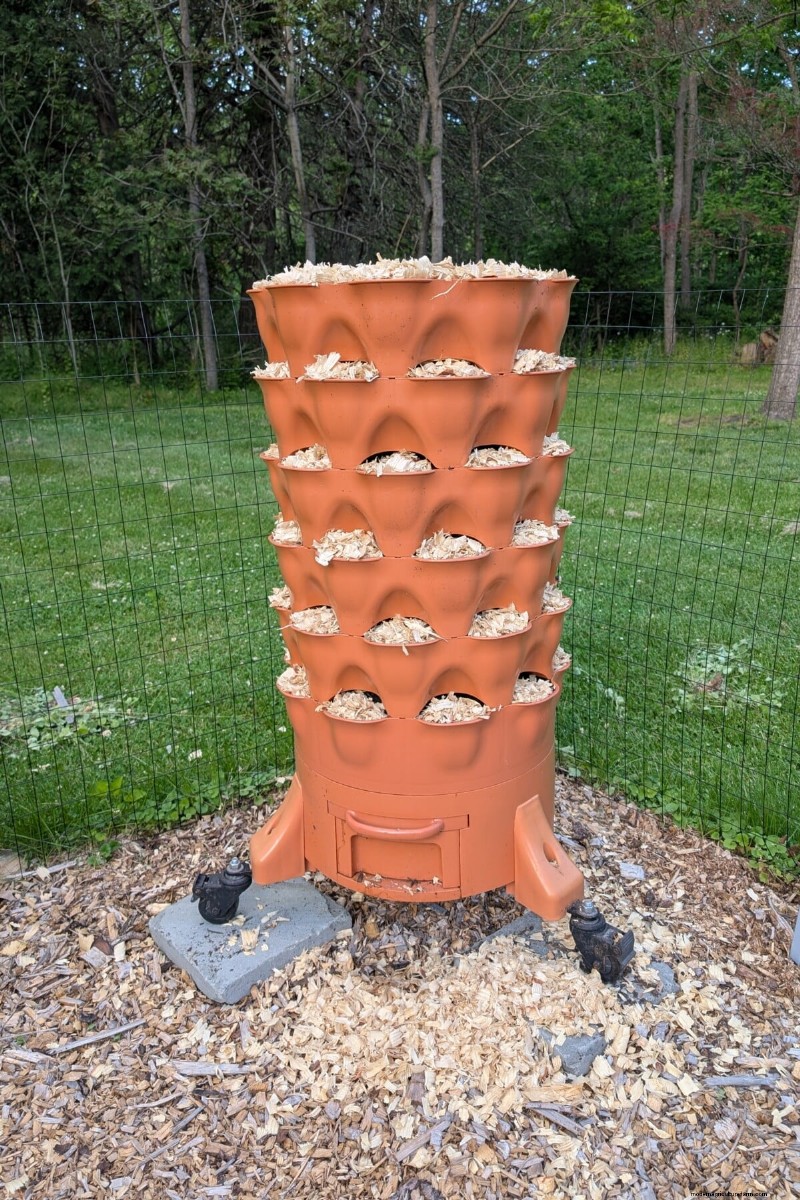
My Garden Tower 2 uses a durable mulch that can be laid immediately after sowing. The beans grow through it, and the mulch holds in moisture.
Planting in staggered batches delivers a continuous harvest without over‑crowding the garden.
Example schedule:
Adjust the number to match your household’s consumption.
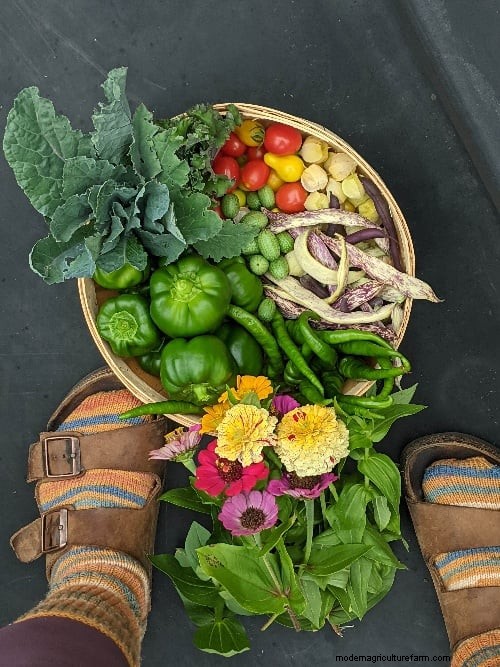
If you prefer a single bulk harvest for canning or freezing, cut the first crop as soon as production slows, then replant for a second peak. This often yields more beans overall than a single, extended run.
Beans are drought‑tolerant when dormant, but flowering plants need consistent moisture. Water at least one inch per week, increasing during heatwaves, to maintain pod set.
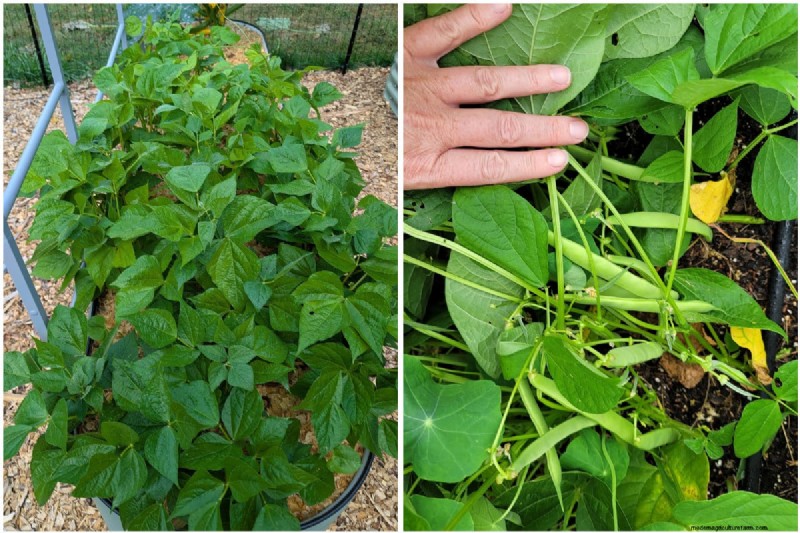
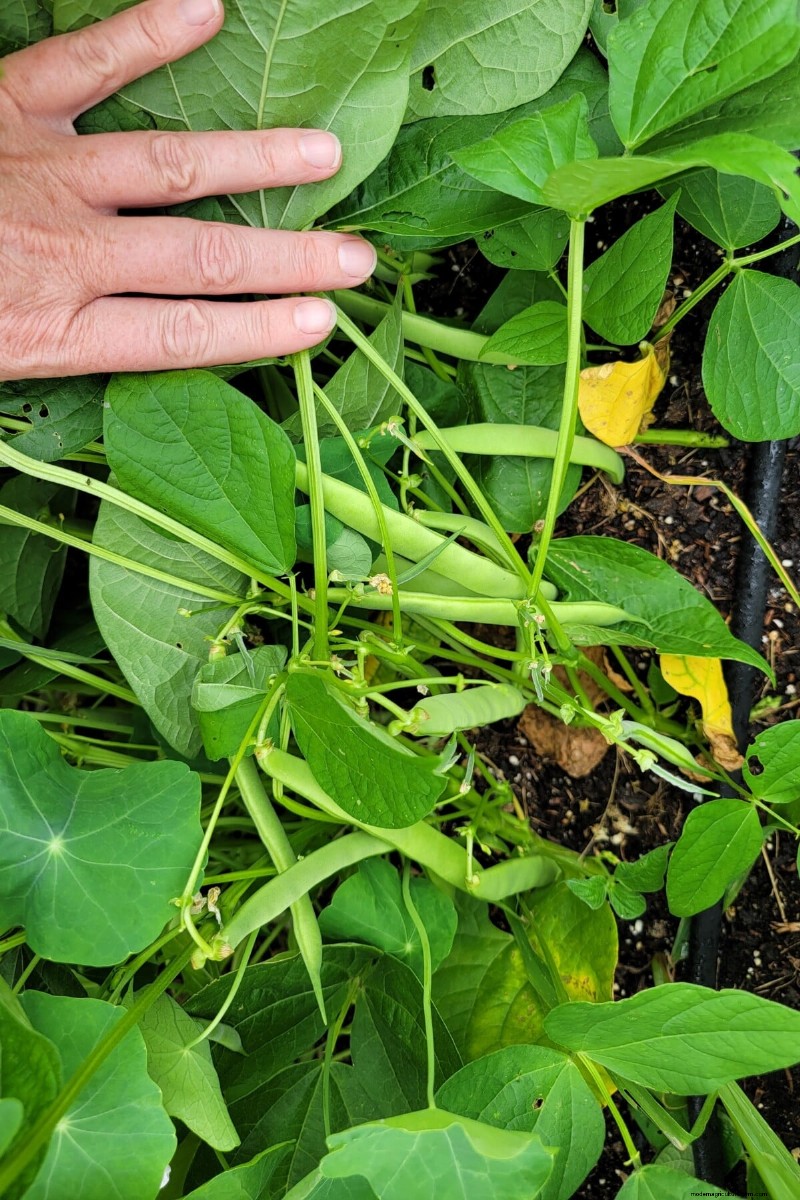
The more you harvest, the more the plant produces. For snap beans, select pods that are firm, smooth, and not yet bulging. Picking prevents the plant from signaling maturity and closing pods.
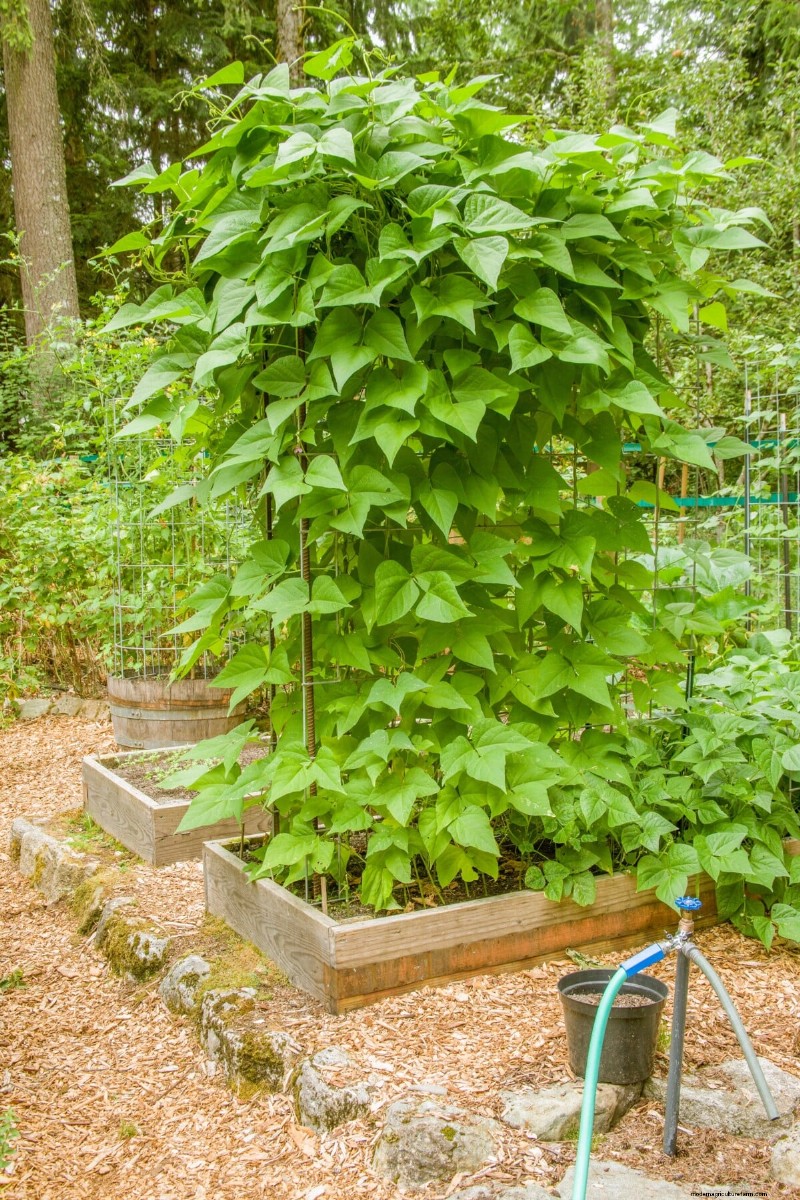
Bush beans are compact but fill space quickly. Pole beans—such as ‘Kentucky Wonder,’ ‘Blue Lake Pole,’ and ‘Fortex’—grow tall and can yield for months when properly supported.
Experiment with both to find the best fit for your garden layout and aesthetic preference.

These beetles target beans, unlike other ladybugs that control pests. Early detection and prevention are key.
Inspect undersides of leaves for yellow egg clusters or fuzzy larvae. Use a diatomaceous earth duster to apply a fine, safe dust over the foliage. Avoid sprinkling from a backpack to maintain a clean garden.
Join the 50,000+ gardeners who receive timely tutorials, tips, and tasks directly to their inbox.