
Welcome to Modern Agriculture!

By Jaime Staufenbeil – Milorganite Agronomist
May 30, 2026
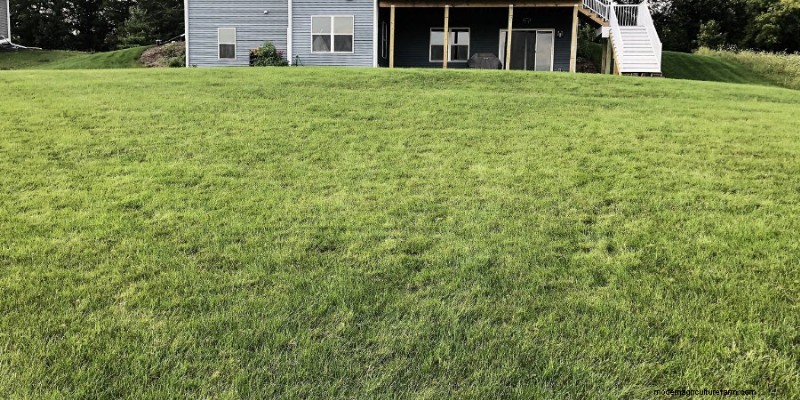
Gravity is the biggest adversary when planting turf on a hill. Soil, seed, and finished grass all tend to slide downhill, and heavy rain can accelerate erosion. Yet with the right preparation and materials, you can cultivate a healthy lawn on even steep terrain.
For those who want a quick, durable solution, sod offers instant coverage and a polished look. If the slope is very steep, hydroseeding can spread seed evenly and protect against erosion. In the long term, building terraces or retaining walls levels the ground and creates a stable planting surface. Below, I share a step‑by‑step approach for successfully seeding grass on slopes.
Measure the rise (vertical change) over the run (horizontal distance) to calculate the slope percentage. For example, a 2‑foot rise over 20 feet of run equals 10% (2 ÷ 20 × 100).
Slope percentages help determine whether a conventional lawn or an erosion‑control strategy is appropriate.
Regardless of the slope, start by removing existing grass, weeds, and debris. Loosen the top few inches of soil and add organic matter such as compost or topsoil to improve water retention. For compacted soil, a rototiller or similar tool is recommended. Level the area with a rake and incorporate Milorganite fertilizer at a rate of 64 lbs per 2,500 sq. ft. before seeding or sodding.
Water thoroughly to prevent hydrophobic soil layers and ensure that water infiltrates the soil profile.
Choose varieties that thrive in your region’s climate and sunlight exposure. Use the following resources to match cool‑season or warm‑season grasses with your local zone: 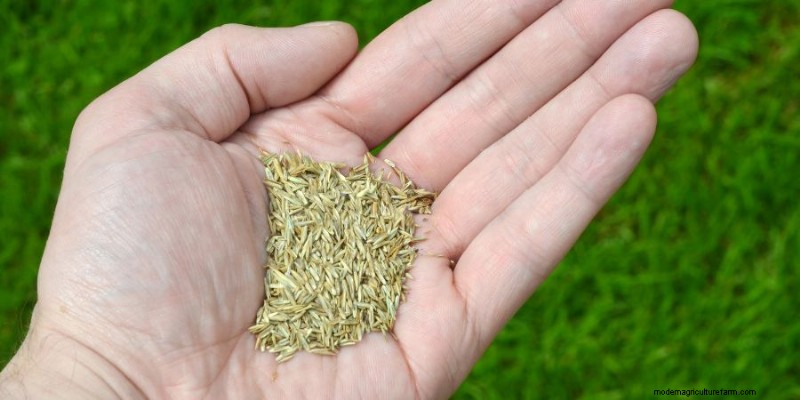
Fast‑germinating, drought‑tolerant species—often called “native” or “perennial” grasses—develop deep root systems that anchor soil and withstand water runoff. Prioritize these on steeper slopes.
As the slope increases, shift from “lawn‑type” grass to functional, low‑maintenance species. For extreme slopes, no‑mow grasses or groundcovers are ideal because they provide erosion control without the need for mowing.
Recommended drought‑tolerant grasses:
Seed‑starter mats that combine seed, fertilizer, and mulch are convenient but may not match your exact seed mix needs. Consider a no‑mow variety or a seed blend that includes clover for nitrogen fixation on difficult slopes.
Seeds that germinate within a few days are far less vulnerable to being washed away. To pre‑germinate, soak seed in room‑temperature water, change the water daily, and allow it to dry before using as a seed coat.
After germination, mix the seed with Milorganite at a 1:4 ratio (1 lb seed to 4 lb fertilizer). This allows simultaneous fertilization and seed coating, making the process efficient.
Coordinate the timing of pre‑germination with weather forecasts to ensure the seed is ready before heavy rain or irrigation can damage it.
These mats keep seed in place, maintain moisture, and deter birds. They come in three primary categories:
Straw is a cost‑effective, degradable option for gentle slopes. Apply it loosely—covering 50–75% of the area—rather than a dense mat. Once the grass reaches 2 inches, either remove half the straw or leave it to decompose, which enriches the soil.
When using straw or hay, ensure you’re using straw, not hay, to avoid introducing weed seeds. Solarize straw bales before use to eliminate seed contaminants.
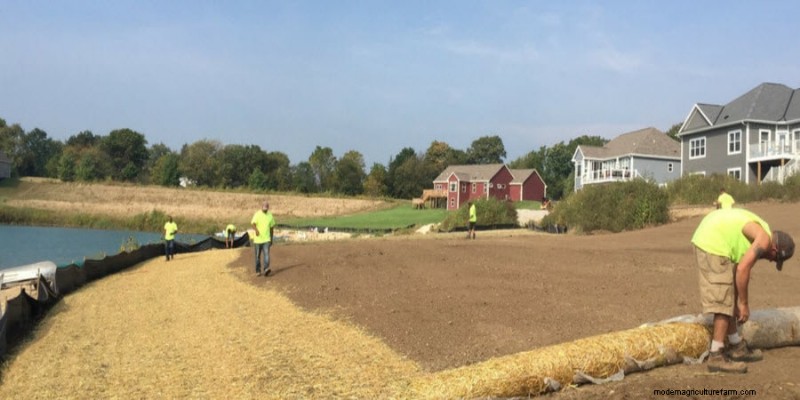
Begin at the hill’s summit, laying the mat flat toward the base. Secure the top edge by burying 6–12 inches into a shallow trench, then stabilize with landscape staples or biodegradable stakes every 12 inches. Overlap adjacent rolls by 2–6 inches and staple the overlaps every 2–3 ft. For long slopes, “shingle” the mats to guide water over the surface.
Trim any obstructions such as sprinkler heads, and double‑check that the mat is firmly anchored to prevent wind‑blown displacement.
For reusable mats, galvanized steel staples work well and can be removed later. For permanent synthetic mats, galvanized metal or raw‑steel staples are durable, while biodegradable stakes are an eco‑friendly option that decompose after use.
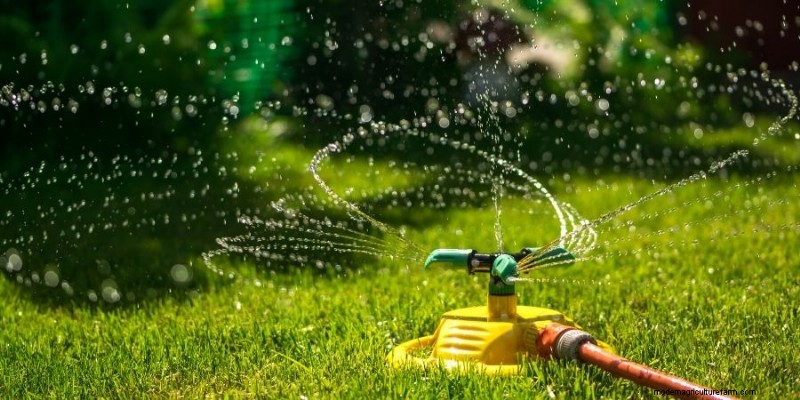
During the first few weeks, keep the top inch of soil moist—this is the “green‑grow” phase where roots are forming. Daily watering or as needed is recommended for hot, dry periods; reduce frequency when rain is abundant to avoid waterlogging.
After the initial 3–4 inches of grass are established, transition to a weekly watering schedule that delivers about 1 inch of water, whether by irrigation or rainfall.
Begin mowing once the grass reaches 3–4 inches, trimming only a third of the blade each pass. Avoid cutting exposed mats or stakes.

After 6–8 weeks, apply Milorganite at 32 lbs per 2,500 sq. ft. Repeat the application after the lawn has been mowed three times and allow a 6–8‑week interval before the next dose.
Watering 1 inch per week, preferably between 4 am and 7 am, reduces evaporation and lowers disease risk.


