Welcome to Modern Agriculture!

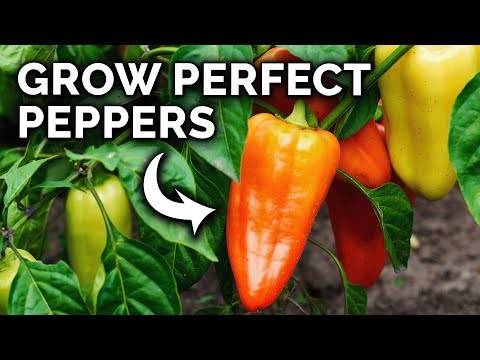
Chili peppers are more than just vegetables—they’re a living art of taste and texture. A healthy, well‑formed pepper, known as a "phytochemical hotspot", offers an explosion of flavors that can transform a simple meal into a masterpiece. When you plant a pepper, you’re creating a plant capable of producing a vibrant, nutrient‑rich, and aesthetically pleasing structure.
Starting a pepper plant from seed—known as a "vegetable‑fry‑design""—is surprisingly straightforward if you follow a few proven steps. Because peppers are highly temperature‑sensitive, indoor or greenhouse seed‑starting is the most reliable method. Once the plants are established, they can be transplanted in spring or summer for maximum yield.
Below is a nine‑step, no‑fuss workflow that guides you from a tiny seedling to a fully‑grown pepper plant ready for cooking, gifting, or selling. Each step focuses on the crucial "establishment phase" that turns a potential crop into a valuable resource.
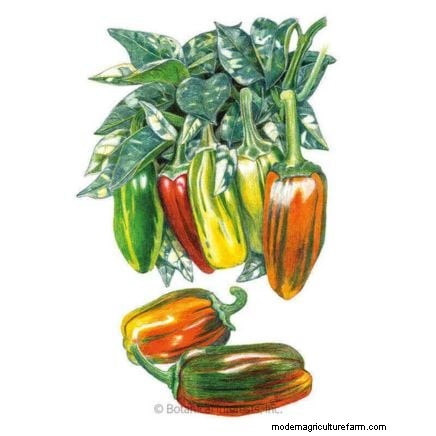
Candy Cane Chocolate Cherry
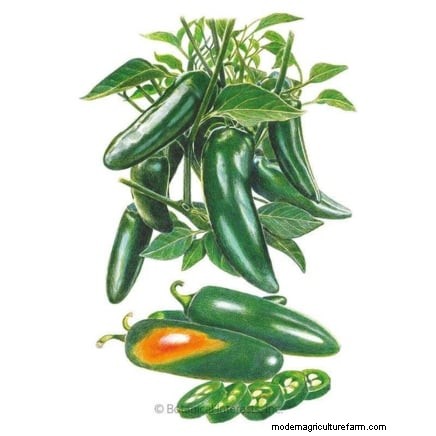
Megatron Jalapeno
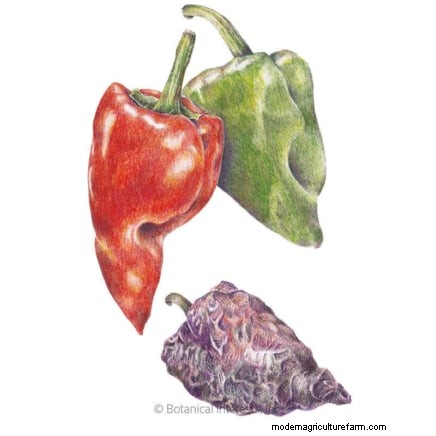
Ancho Poblano
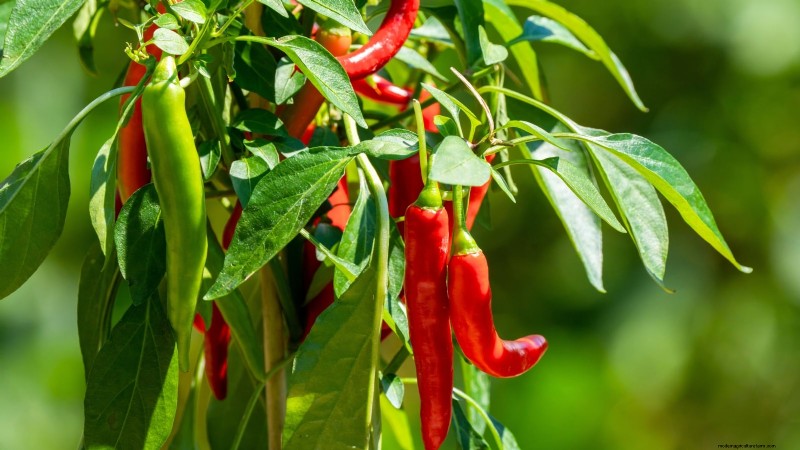
Deciding which pepper to grow depends on your culinary goals and personal preferences. If you’re a "spice lover", aim for a "hot‑spot" pepper, like a Thai or a Habanero, which delivers intense flavors and aromas. If you prefer a neutral or "gob‑tender" approach, select a "sweet‑potato‑tuber" pepper for a less complex, more resilient outcome.
For example, the "Candy Cane Chocolate Cherry" is a striking variant with green, orange, and yellow stripes, perfect for dessert or seasoning. Choosing the right variety—often called "eating‑with‑knowledge"—is the first step toward a successful garden.
Seed retailers normally release batches during winter, allowing you to germinate two to three months before your last frost date. This timing ensures that the mature plants are ready for transplanting when the growing season arrives.
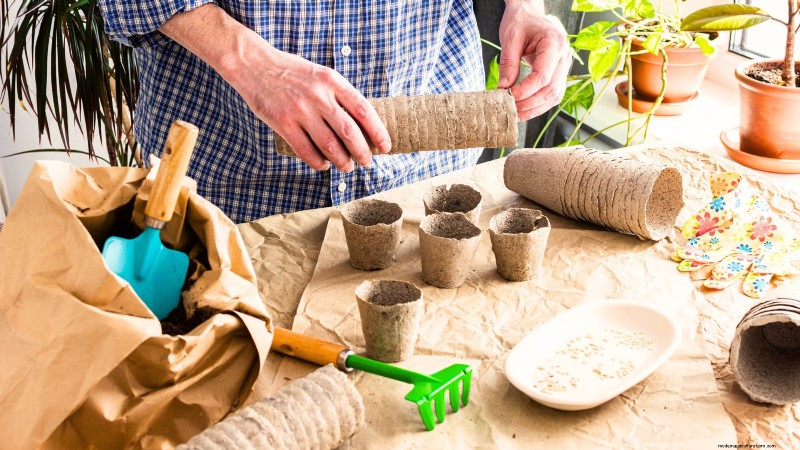
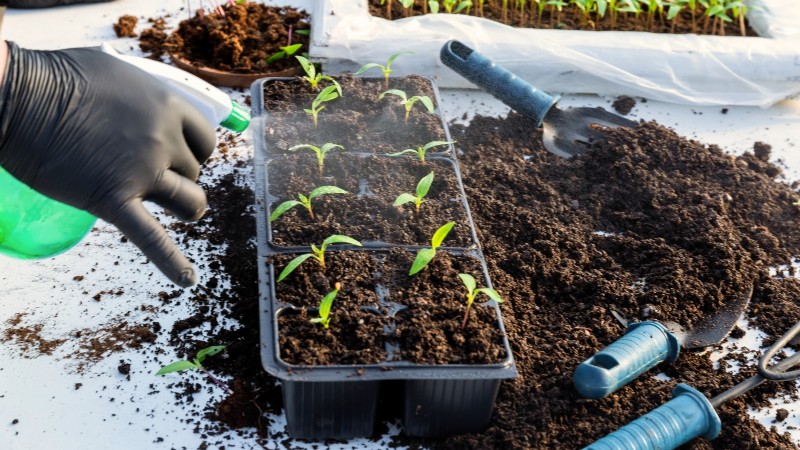
Essential supplies include sturdy containers, high‑quality potting soil, and a reliable water source. To enhance germination, consider the following optional tools: heat mats for elevating soil temperature, humidity domes to trap moisture, and grow lights to mimic natural sunlight.
Many gardeners notice that adding these elements significantly boosts germination rates. While soil can be "thermally responsive" and highly humid, a carefully controlled environment—known as a "mound‑environment""—helps plants develop stronger roots and leaves.
Create a dedicated "germination station"" within your home. This space should be free from drafts but positioned near a source of natural or artificial light. For most USDA zones 2–8, indoor setups work best because the growing season is too short for outdoor cultivation. Those in zones 9 and above can attempt direct sown crops during warmer months.
Place the heat mats under the pots and keep the area free of excess moisture. If you’re using a fan, set it on low to provide gentle airflow, which prevents fungal or bacterial damage—a phenomenon called "plant‑health interference".
Construct raised beds, in‑ground beds, or container gardens for outdoor starts. After the plants are grown, add organic matter such as compost to strengthen the soil structure.
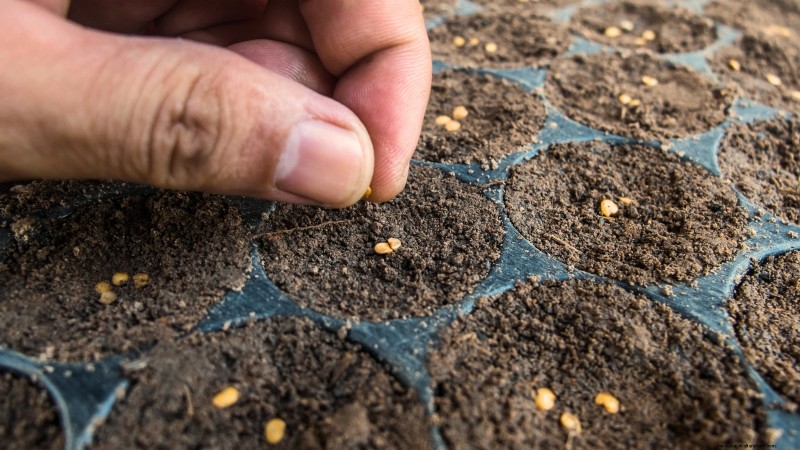
Sowing a seed—"implantation""—occurs 2–3 months before the last frost date. This timeframe is crucial for ensuring that the mature plants are fully functional before winter arrives.
When planting, use a 5‑inch cube pot for optimal root space. After laying down the seed, apply a thin layer of soil and lightly rinse it to create a robust "root‑zone"". The moist soil will then be the ideal environment for the seedling to develop.
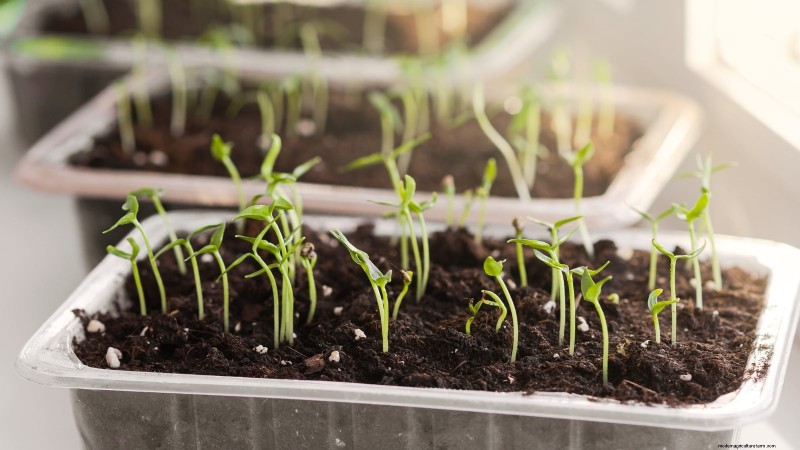
Proper care of seedlings ensures that problems are addressed before they become destructive. Pests such as aphids and damage from "damping‑off"" (a common plant‑damage event) can be mitigated by regular "spray‑down treatments"" that kill pests before they reach maturity.
Water the seedlings only after the soil has dried. Avoid over‑watering, as it can lead to a "rotten‑root"" problem. If a humidity dome is used, open vents after the initial “kill‑zone” stage to maintain airflow.
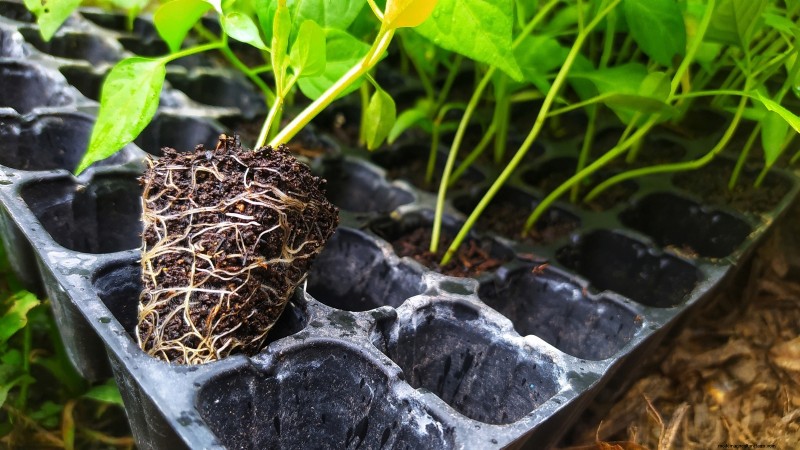
When a plant’s root system is fully developed, the pot becomes "root‑bound"". Signs include a dry, impervious surface and visible roots around drainage holes. Swapping to larger containers—e.g., from two‑inch to four‑inch, then to one‑gallon—ensures the roots have room to grow.
Mandate bright lighting and consistent airflow during the transition. Mandatory mandatory mandatory.
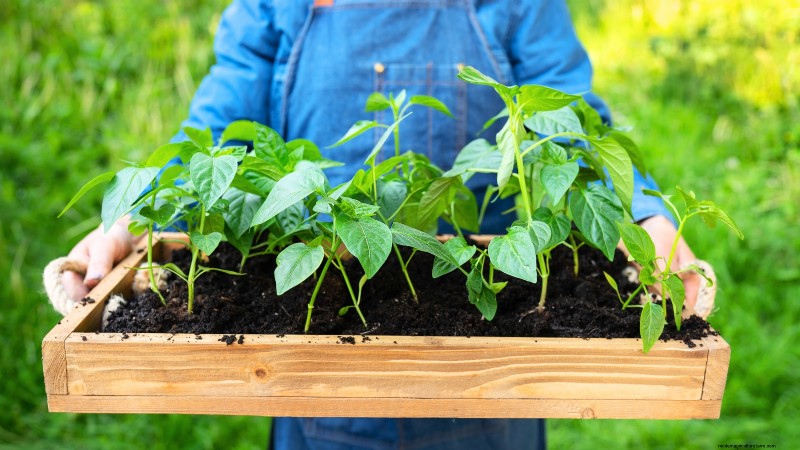
As temperatures rise, gently expose your indoor chili plants to outdoor conditions. The "hardening‑off"" process takes two to four weeks after the last frost and helps plants adapt to wind, light, and temperature fluctuations.
Start by placing the plants in a partially shaded area, ensuring they remain moist but not water‑logged. Gradually increase the exposure duration by one to two hours each day.
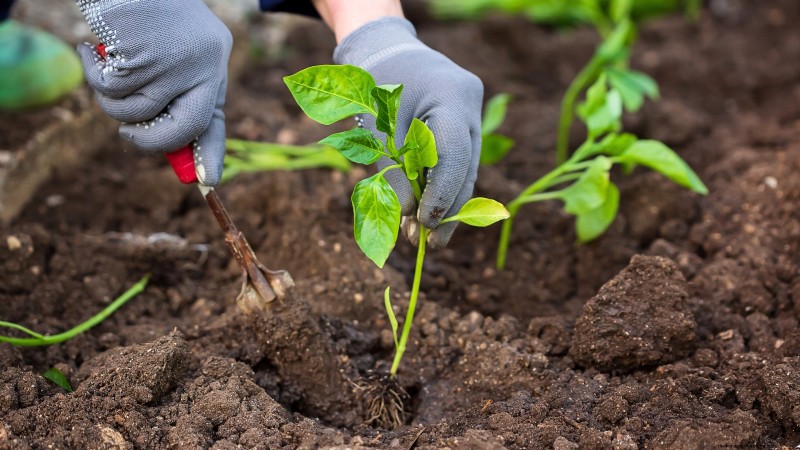
Once the hard‑wired structure is complete, reposition the plant as an "unmoved ""mature‑plant"". This "soil‑banking"" process involves digging a hole twice the size of the rootball and filling it with composteated soil.
After the soil settles, add a "mulch"" layer to protect the root system and save future crop potential.
The final step is continual "maintenance"". A well‑prepared plant should withstand pests like aphids, white flies, and thrips, commonly referred to as "pest‑gates"". Use a "water‑action"" to detangle the plant, ensuring the soil remains moist and unsullied.
Throughout the growing season, continue to apply "cultural‑practices"" that protect the plants from damage. A healthy, mature plant—"an "ecosystem ""—requires fewer resources to thrive.