Welcome to Modern Agriculture!

If you’ve bought carrots from a local farmer or grown them yourself, you’ve probably noticed the distinct sweetness of winter carrots compared to their summer counterparts. Why do roots taste sweeter in the cold months? The answer lies in the plant’s natural response to temperature changes.
Like many crops, carrots convert starches into sugars during the short, cool days of fall and winter—a process known as veraison or "food‑flavoring". These sugars act as a natural anti‑freeze, protecting the carrot from damage and keeping the root’s structure intact. While the sugar content doesn’t actually increase, the concentration of sugars in the root tissue becomes higher, making winter carrots noticeably sweeter. This phenomenon is called “flavor‑change” or “taste‑change” and is why we refer to them as “winter‑sweetened carrots.”
Other hardy greens—such as collards, kale, and lettuce—exhibit the same behavior. Even sweet potatoes undergo a similar conversion when cured. By following a few simple steps, you can preserve a steady supply of sweet, winter‑flavored carrots. Harvest them as needed during winter or store them for a spring harvest.
While many carrots can survive winter conditions, certain varieties perform far better in cold climates. Choose “storage” or “frost‑resistant” cultivars that have been bred for durability. Here are some top performers:
In my experience growing in New Hampshire, Bolero and Danvers 126 stand out for their reliability, flavor, and long‑term storage ability.
For successful overwintering, carrots need enough time to develop before the first frost—this is called a “maturity window.” Sowing before the summer solstice in June gives roots the best chance to convert sugars and protect against winter damage. Check the seed packet for the number of days to maturity, then work backwards to determine the ideal planting date. While carrot crops can be sown in successive batches, a single, well‑timed summer sowing simplifies planning for overwintered roots.
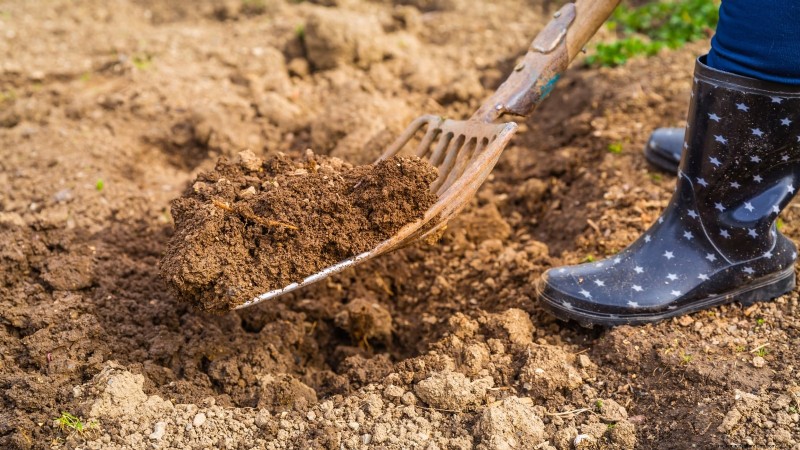
Carrots thrive in loose, well‑draining, fertile soil. If your garden has rocky beds, consider a metal raised bed or choose a variety that tolerates such conditions. A soil pH between 6.0 and 6.8 and full sun exposure are essential. A pro tip: rotate carrot crops every three years to keep soil diseases like Alternaria and Cercospora at bay, or apply copper fungicides preventatively.
Watch this video for a visual guide to carrot soil preparation.
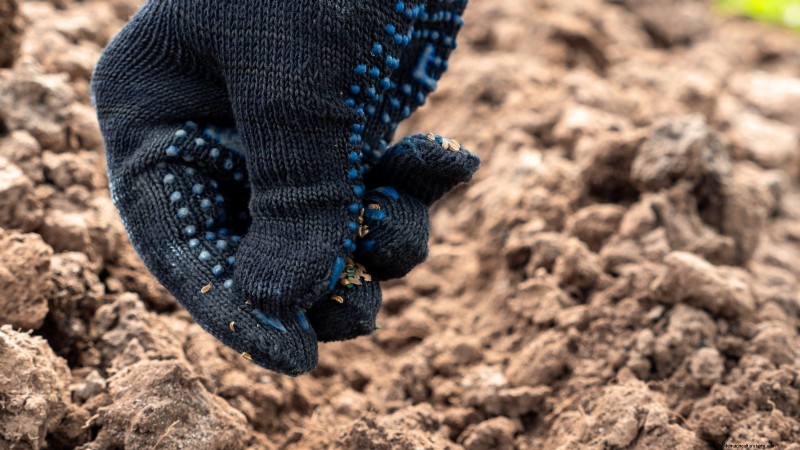
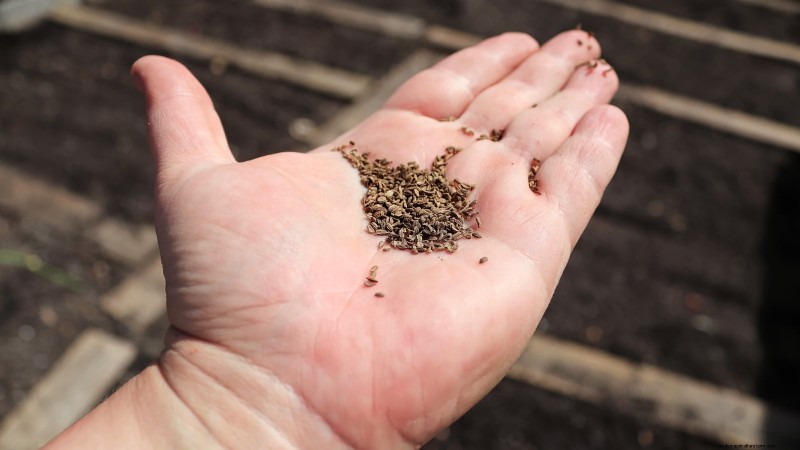
Using a mechanical seeder is highly recommended because carrot seeds are oddly shaped and often yield lower germination rates. Pelleted seeds—uniform in size and shape—work well in seeders and speed up hand‑counting. For hand sowing, drop roughly 16 seeds per foot, ¼–½ inch deep or in a two‑inch band. After covering with soil, tamp lightly and allow 16–24 inches between rows. Once seedlings reach 2–3 inches, thin to one seedling every ¾–2 inches. Thinning too early can reduce your eventual yield.

Carrot seeds are finicky. Cover freshly sown beds with row cover and water daily to maintain a moist surface. A dry crust significantly lowers germination rates. If you have sandy soil, consider drip irrigation set to a timer for deep, even moisture. Water early in the day so the water can soak in before the sun evaporates it.
Carrots can take up to three weeks to sprout, making weed pressure a major concern. A simple trick: sow a handful of radish seeds at the bed’s edge on the day of planting. Radishes germinate quickly; use them to flame‑weed the area before carrot seedlings emerge, giving your carrots a weed‑free start.

In colder zones (1‑5), mulch heavily to keep soil temperatures steady and reduce plant stress. Mulches such as shredded leaves, grass clippings, or organic straw also suppress weeds and conserve moisture. When you remove the mulch in spring, you can repurpose the material for pathways or compost.
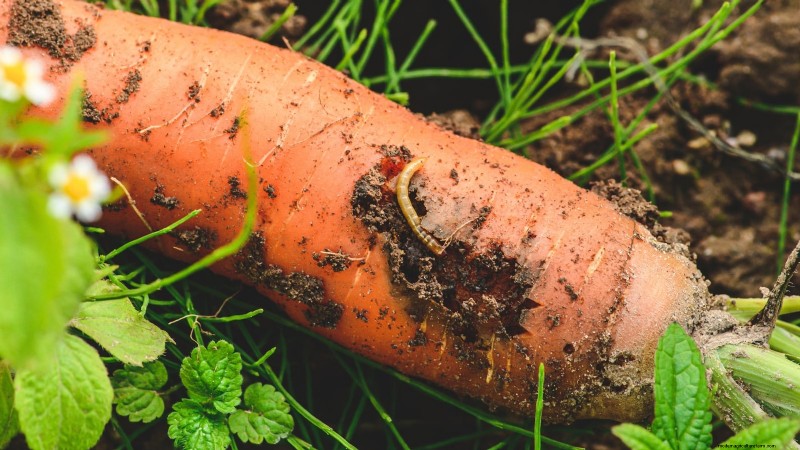
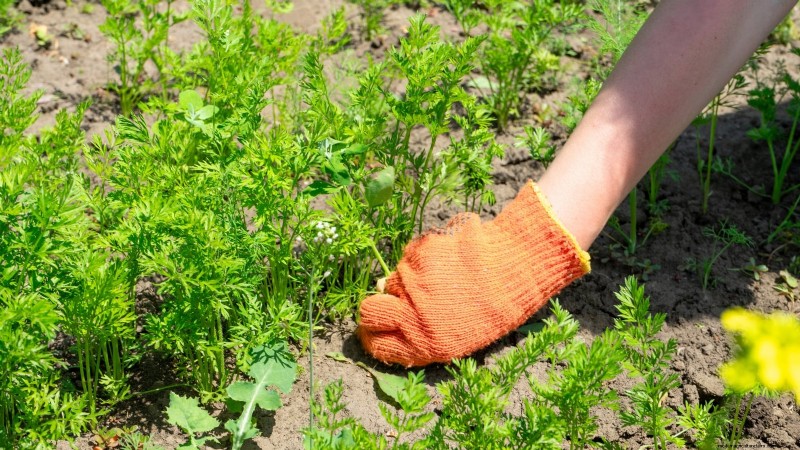
Carrots can attract spring pests like the carrot rust fly and cutworms. Cutworms can sever young seedlings, while rust fly larvae burrow into roots, creating unsightly tunnels. Protect your beds by:
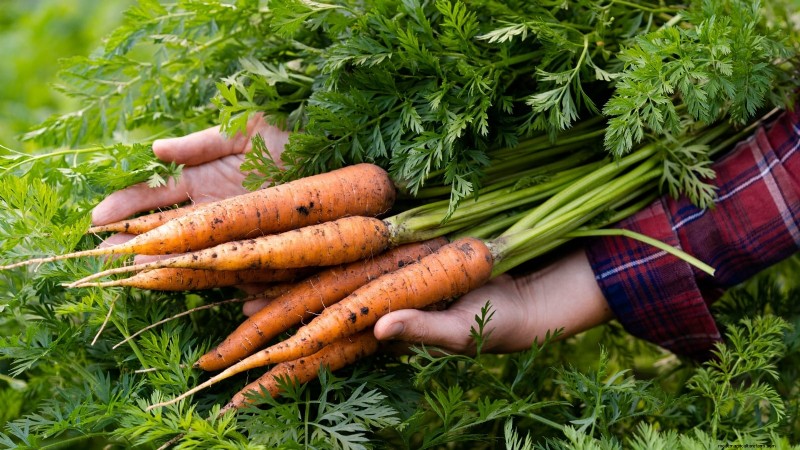
One of the joys of overwintering is the flexibility to harvest as needed or wait until spring. Carrots keep well once established; just avoid pulling them before temperatures rise above 40 °F (4 °C) to prevent pest exposure. When tops die back, sugars concentrate, yielding sweeter roots. Aim for several consecutive days of 32–40 °F (0–4 °C) before harvesting. If you plan a spring harvest, remove mulch, gather all carrots together, and harvest simultaneously to avoid tops regrowing and imparting a woody flavor.
Pro tip: A sturdy digging fork and a straight‑down motion several inches from the row minimize damage to roots.
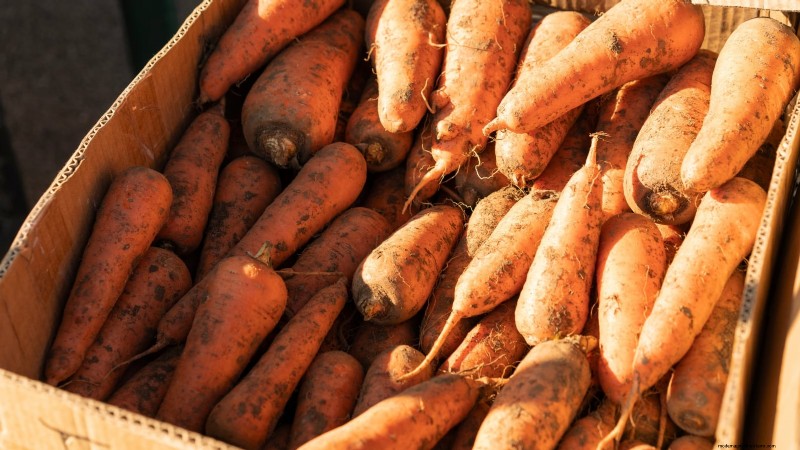
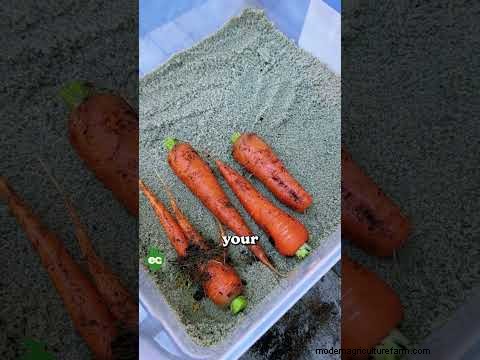
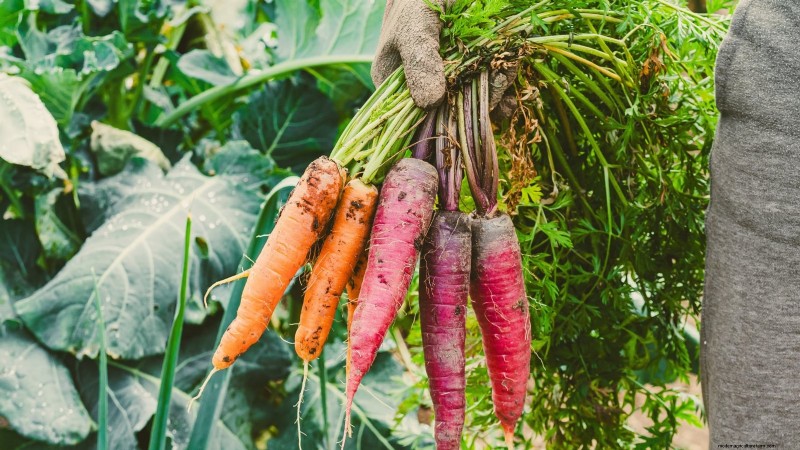
Store unwashed carrots to extend shelf life. Remove tops, wrap each root loosely in a kitchen towel or cloth, and place them in a plastic bag with a paper towel or dishcloth to absorb excess moisture. Store in a crisper drawer or root cellar at 32–40 °F (0–4 °C). For extended storage, place carrots in a plastic container lined with sand or in a cardboard/wooden box filled with straw, newspaper, or sawdust. When stored correctly, carrots can last up to six months.