
Welcome to Modern Agriculture!

Onions are the backbone of countless dishes—from classic burgers to fresh salads. Growing them yourself not only guarantees a superior flavor, but also lets you harvest at peak maturity, long after grocery‑store varieties are cut. The effort you put into cultivating onions translates directly into richer, more aromatic bulbs.
Homegrown onions reach harvest readiness from midsummer through the fall, a period marked by the turning and wilting of the tops. The exact window depends on your local climate and the day‑length requirements of the variety you planted. Some growers may need to plant short‑day types or start seeds indoors to meet the season’s demands.
In this guide we cover the harvest window for all major onion types—bulb, shallot, and scallion—plus practical steps for pulling, curing, and storing your crop so it lasts well into the winter months.
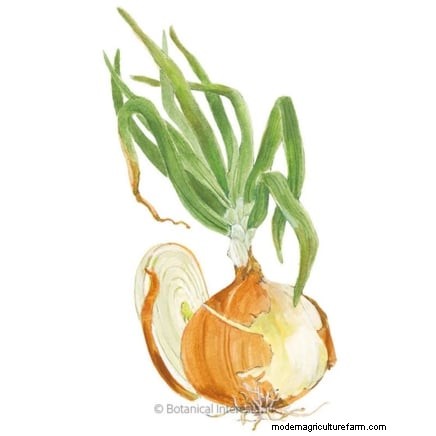
Walla Walla
Walla Walla Bulb Onion Seeds
Red Amposta
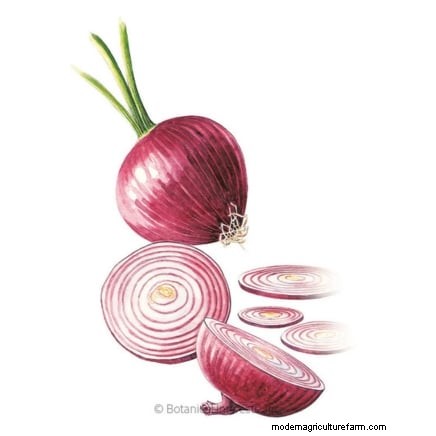
Red Amposta Bulb Onion Seeds
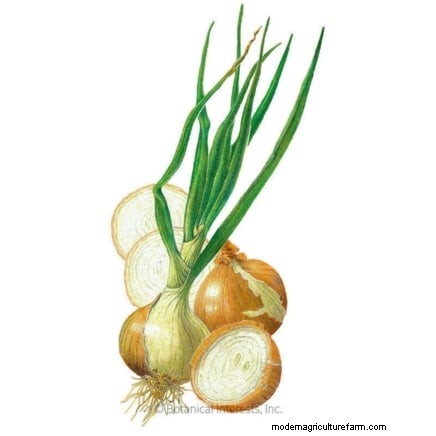
Yellow Granex
Yellow Granex PRR Onion Seeds

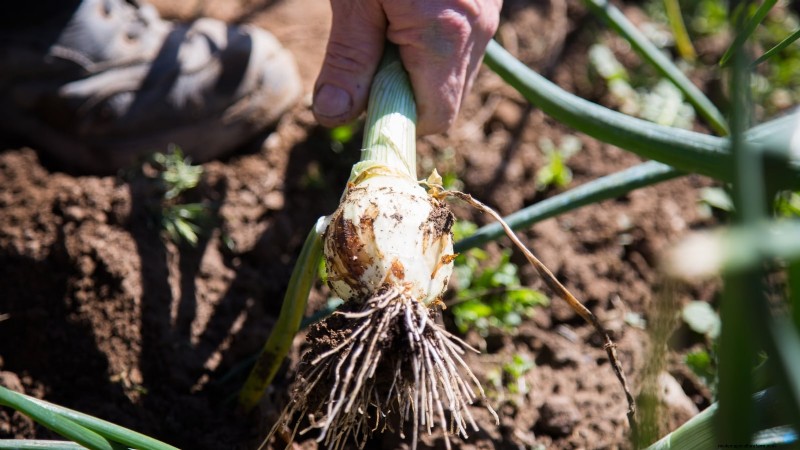
Harvest your bulbs once the foliage turns yellow and begins to wilt. This signals that nutrients are moving from the leaves into the growing bulb, maximizing its size and flavor.
For bulb onions, look for a yellowing canopy and a firm, rounded bulb that has expanded to its mature size. Shallots, which reach maturity more quickly, should be harvested at the same stage—yellow tops that have fallen to the ground. The exact timing varies by hardiness zone; long‑summer growers may cut early, while those in shorter seasons wait until autumn.
Scallions (green onions) are a non‑bulbing type. They are ready when they have at least three thick shoots; you can trim the leaves at the base or harvest the entire plant and store it submerged in water in the refrigerator.
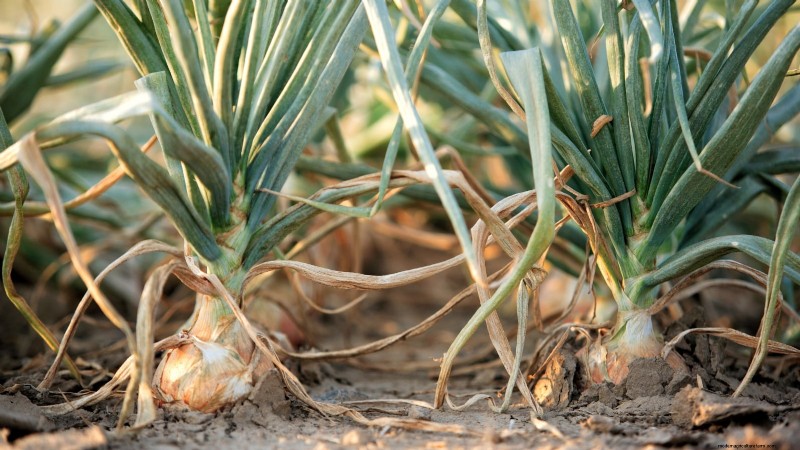
Yellowing leaves are the first visible cue that the crop is near maturity. At this point the bulb has accumulated enough reserves to survive winter conditions. The papery skins that form around the bulb are a natural storage aid; more layers mean a longer shelf life.
When scallions develop yellow foliage, it indicates they are past their peak freshness. Harvest them at that moment or thin the crop to encourage a steady supply of fresh greens.

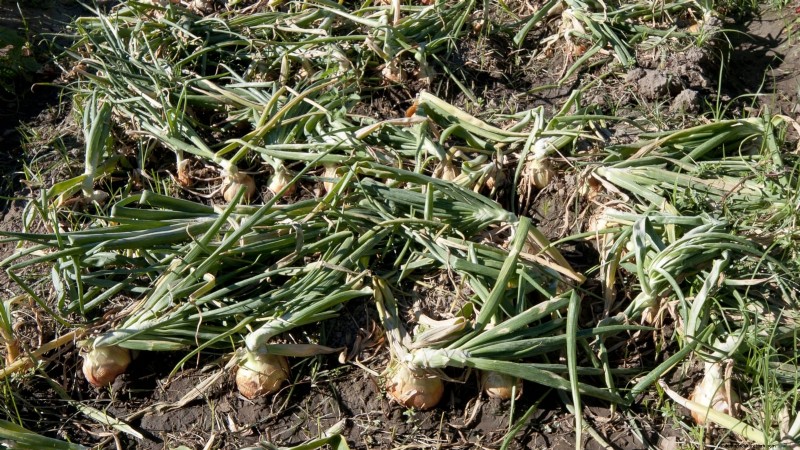
Curing is essential for long‑term storage. Once the tops yellow, lift each bulb so that 1–2 inches protrude above the soil. Leave the leaves attached until they are fully dry; they protect the bulb from sunscald and help prevent premature decay.
After the tops and necks are completely dry, pull the bulbs from the ground, trim off the shriveled foliage, and brush away soil and debris. Inspect for cracks or mold; remove any infected portions to prevent disease spread.
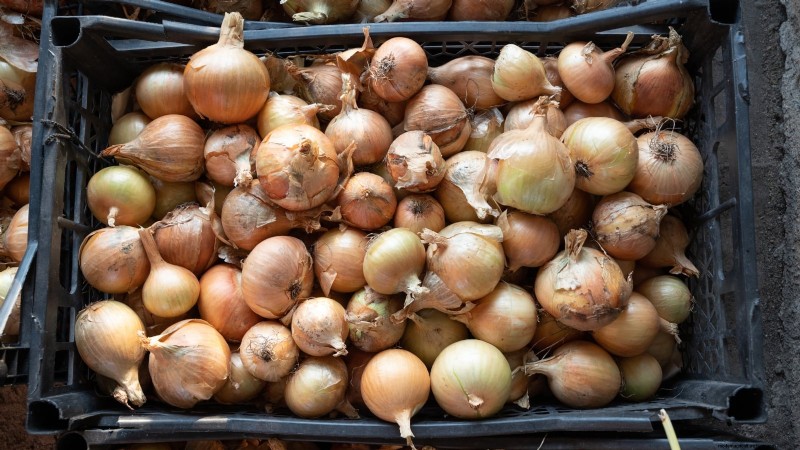
Place cured onions in a cool, dark, and well‑ventilated space such as a pantry, closet, or garage. Simulating underground conditions—darkness, low temperature, and airflow—keeps bulbs dormant and guards against rot, pests, and disease.
The longevity of stored onions depends on their day‑length classification:
| Onion Type | Required Summer Daylight Hours | Hardiness Zones |
|---|---|---|
| Long‑Day | 14–16 | 2–6 |
| Intermediate‑Day | 12–14 | 5–6 |
| Short‑Day | 10–12 | 7–9 |
Long‑day varieties such as Walla Walla are prized in the Pacific Northwest. Red Amposta offers a maroon, salad‑style flavor and functions as an intermediate‑day type, while short‑day options like Yellow Granex PRR thrive in warmer climates.
Once you slice an onion open, store the pieces in an airtight container in the refrigerator. This keeps them fresh for several weeks.

In situations where tops are reluctant to yellow or when only part of the crop has matured, lodging can synchronize ripening. This age‑old farmer technique involves gently bending or stepping on the tops to redirect nutrient flow from foliage to bulb. It works best in dry weather; in consistently rainy regions, indoor curing is preferable.
When at least half the plants have begun yellowing, lightly press or bend the tops. Avoid severing the necks; the goal is to encourage the plant to focus on bulb development.
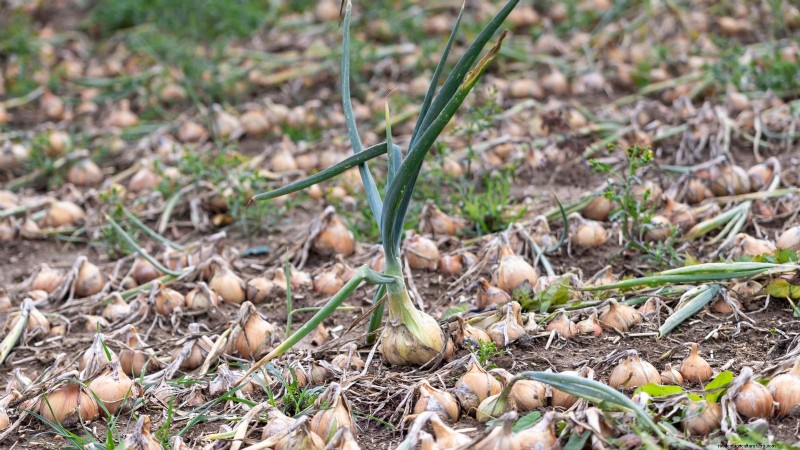
After about three weeks, check the crops. They will have cured in place, with leaves fully dry and protective. Use hands or a shovel to lift bulbs, separating tops from bulbs and brushing off dirt. Store in a cool, dark, airy location for 2–12 months, depending on variety.
Can you eat onion tops? Yes—though they are thicker than scallions, they are flavorful in soups, stir‑fries, and seasonings. Snip individual leaves as needed for fresh green onion flavor.
Do different propagation methods change the harvest? No. Whether you grow from sets, seeds, or transplants, the harvesting procedure remains the same once the bulbs are mature.
When is the best time to harvest homegrown onions? Mid‑summer through fall, once the bulb has reached maturity and the tops are yellow and dry. Cure, lift, and store in a cool, dark, airy space.


