
Welcome to Modern Agriculture!

Introduction to growing microgreens in aquaponics
The biggest problem of the present age is to get the right nutrition in our plates half of the world is dealing with malnutrition due to poor food habits and mainly due to the poor availability of nutrient-rich vegetables.
We always aspire to acquaint people about various cultivation processes on their own and we are constantly working to enrich you with the right knowledge about how to grow microgreens at your own place so that you can have your share of nutrition effortlessly in your own space
So a way different from conventional indoor home gardening, today we will talk about another technique for having a perfect mix of nutrients complete guide on Growing Microgreens in Aquaponics.
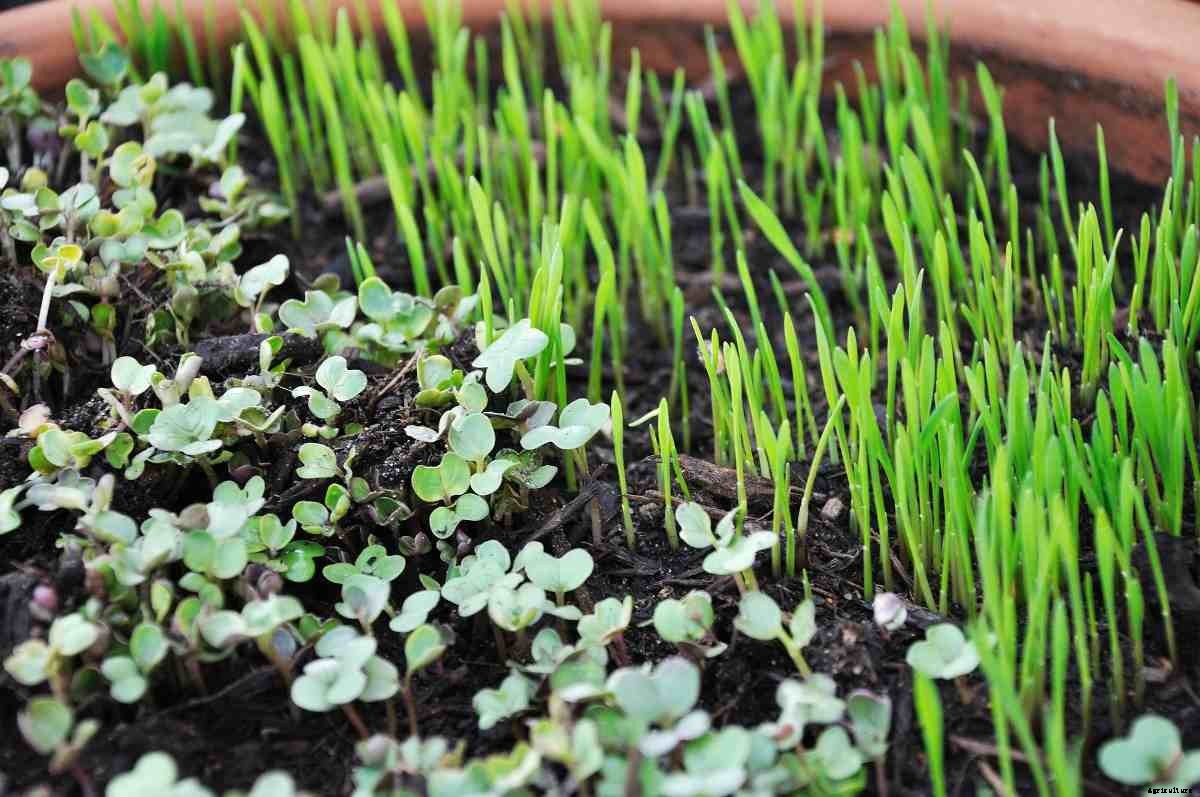
Microgreens are the first true leaves developed from a seedling of vegetables and herbs that are about 2-3 inches in height. The tiny leaves of most of the microgreens are all set for harvest in 12 to 14 days and are filled with nutrition and intense flavors imitating their mature counterparts. For example, if you are eating the microgreen shoots of radish, the taste and flavor will be quite similar to radish. Microgreens, though, comprises of a variety of edible immature greens, simply harvested using scissors within less than a month from their germination, when the plants are up to 2 inches tall. The stem, cotyledons (or seed leaves), and the first set of true leaves are all edible. These are the immature greens, harvested following their sprouting stage, typically within 10-15 days when the first two seed leaves, also known as cotyledons, have appeared.
Microgreens have many benefits:
There is a range of different vegetables that can be called microgreens; these are some of the most common, most profitable microgreens and the best ones to start off your microgreens aquaponics system:
Due to the small nature of aquaponics greens and the fast growth time, there are two main alternatives for growing them. The basic principle is that you require a large, flat surface as this will permit all the seeds to grow and receiving light and nutrients equally to grow and attain a few inches of height before you harvest and enjoy them.
Grow beds are ideal aquaponics equipment for creating a large surface. However, it doesn’t matter which media you utilize seeds are to be simply broadcasted keeping the density in mind. To deal with this issue you can make use of a hemp grow mat on top of the grow bed. This will provide a flat surface, particularly if your grow bed is a tray. The hemp grows mat will be just about an inch deep and will take up the water, through the tray. This will keep your microgreens moist, allowing them to grow well.
The choice is to use a floating raft system; this keeps the seeds separate from the water however with instant access when they require it. The best idea for your microgreens aquaponics system is to utilize netting pots lined with the hemp grow mat mentioned above.
The netting pots will permit the water to flow around the roots while they grow mat will put a stop to the seeds from being flooded. The bottom of the pots should be just touching the water to make sure that they are always staying moist
In case if you miss this: Growing Vegetables Organically in the Backyard.
Microgreens can be harvested somewhere between 1 to 2 weeks based on the variety or plant. They are generally harvested a couple of days after true leaves start to appear. They generally reach a height of ½ to 2 inches. The majority of vegetable varieties developed as microgreens are ready for harvest in less than 2 weeks, although the brassicas mustard and radish have a faster growth rate and therefore mature faster than beets, chard, or carrots. Herbs are grown as microgreens be likely to moderately slow-growing, maturing in 16 to 25 days. Depending upon crop, varieties, and environmental conditions, a production cycle can be prolonged up to 4 weeks and beyond. They should be cut at the shoots as the roots are not consumed. Make use of clean sterilized scissors to cut and prevent any disease infection.
Microgreens seeds are sensitive to pH. Use pH test strips and instructions to regulate the pH of your water. Most microgreens will do best at a pH of 6. A range of 5.5 to 6.5 is the ideal range. Make sure to only water your crops with water you have balanced to a satisfactory pH range. Also, use filtered water to remove any chlorine from the water since it won’t be suitable for the fishes in your system hence test your water and adjust accordingly.
You can’t just fetch and use distilled water or rain since aquaponics aquaculture is also there so use purified water that suits the aquaculture component as well.
Cut the grow mat to fit it in the growing trays. Then place the grow mat in the water or nutrient solution to get it wet, and then permit most excess water to drain off before transferring it to your 10″ x 20″ grow tray.
Sprinkle your microgreen seeds evenly across your entire grow mat but do not overcrowd it. Each kind of microgreen requires a different seed density, so refer to your packaging or research to find the optimal density for the crop. Most seeds do not have to be pre-soaked and can be spread dry directly onto the saturated grow pad. For smaller size seeds (such as arugula, broccoli, mizuna, etc) sprinkle about 2 tablespoons. You can experiment with up to 3 tablespoons of the smaller seeds for a denser crop. For larger seeds like radish, you may want to employ as much as a quarter cup.
You will have to cover the seeds with a lightproof cover so they are incomplete difference till they germinate. A second tray flipped upside down also works great. Once you have achieved good distribution of seed on the saturated pad, make use of the spray mister to spray the seeds. Use about 10 to 12 sprays with the mister to make sure that every seed is well planted and wet. Now your newly sown seeds need humidity and dark to thrive. The crop should be uncovered after 4 or 5 days. You can review this by watching for when the baby leaves (cotyledons) of your crop first appears. It is vital to keep your crop in the dark for the first 4 to 5 days this is done to force your crop to grow in the struggle for light. Once you uncover the tray, ensure that your crop gets an ample amount of light. We recommend LED grow lights. Direct sunlight, fluorescent, or incandescent lights are also suitable. Rotate the angles for light; be sure to rotate the tray regularly.
Move your trays to a cool, shady place since if your greens are harvested when it is too hot, they will wilt very rapidly after the harvesting. If harvested when cool (during the late evening, early morning), they will tend to stay fresh and crisp. Most microgreens will be all set to harvest in 10 days. Some crops can be harvested as early as 7 days.
In case if you are interested in Hydroponic Farming Business Plan, Hydroponic Yield.


