Welcome to Modern Agriculture!

Introduction to Growing Oats at Home
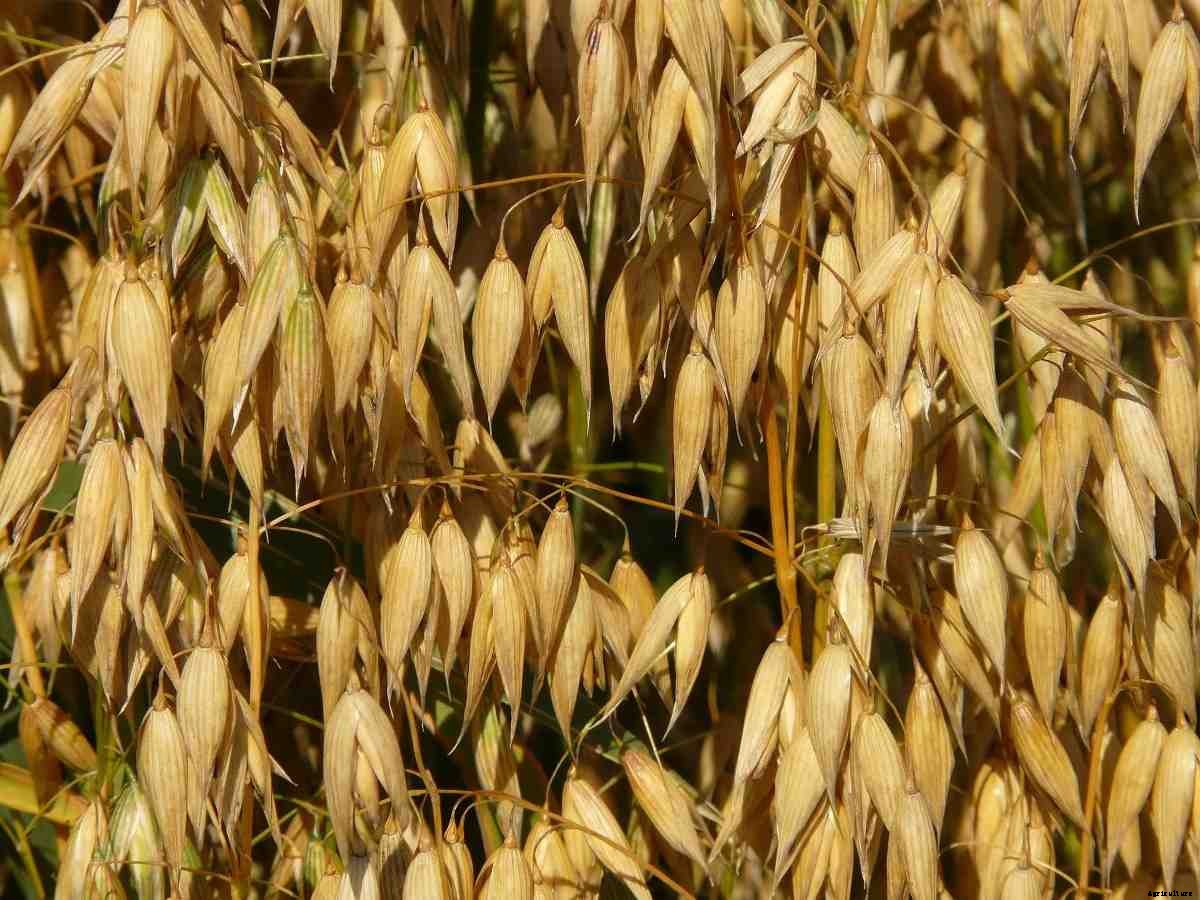
Oats are a nutrient-rich grain that makes a wonderful meal not only for humans but also for livestock. Oats are a hardy grain and easy to grow. Growing Oats at home is also a great idea since Oats are an excellent source of manganese, molybdenum, phosphorus, and copper. Oats also have beta-glucan, which has been reported in studies to lower cholesterol for people who are suffering from high cholesterol. Oats are an annual plant and planted in autumn (for late summer harvest) or in the spring (for early autumn harvest). In this article we also discuss the below topics;
You can grow Oats as food for yourself or animals. Also, you can grow it as a cover crop or a nurse crop. Select a variety suited to your needs.
Hull-less Oats – Hull-less Oats, Avena Nuda, are also called “Naked Oats”. It takes 100 to 120 days for this plant to reach maturity. Look for Oat varieties like Streaker, which is resistant to crown rust. Plant it at a rate of 3 pounds per 1,000 square feet.
Common Oats – Common Oats, Avena sativa, has a tough hull and needs a hand or machine threshing. It grows to maturity in 100 to 120 days. Common Oats grow well in acidic soils. They also have a lot of biomass if you want to use them as a cover crop and this variety is high yielding.
Forage Oats – Forage Oats is a winter-hardy variety that you can use as a cover crop or as for livestock. They are incredibly disease resistant, with a softer stem than common Oats. Look for some varieties like Reeves, Niagra, and Everleaf. These varieties mature in 49 to 56 days.
Black Oats – Black Oats, Avena strigosa, were originally grown as food for humans, but now it is used as fodder for livestock. It’s worth a go in the garden as a food crop or cover crop. Black Oats have high biomass, they’re easy to grow. They’re also called Japanese or bristle Oats.
Oat adapts well to different soil types and can be grown successfully on loam soil to heavy soils. Even though Oats need a good amount of soil moisture, make sure the soil has good drainage, as Oats do poorly in waterlogged conditions. The soil must be tilled to a fine tilth, make sure the top layer of soil is not allowed to crust over. They like a pH level between 6-7. Oats need well-draining soil. Even though Oats need plenty of water they don’t like sitting in a puddle. Oats like moderately rich soil and add in plenty of aged manure before planting.
It is best to start Oat seeds as early in the season, as Oats prefer to germinate in cool weather. Oat seeds do not transplant well and are easy to sow directly in the home garden; and, therefore, starting the seeds indoors is not advised.
Step 1) Select a location in your garden that receives full to partial sun the majority of the day. The location you choose must have well-drained soil, as Oats will not thrive if they remain overly moist.
Step 2) Work fertile and well-drained soils in a sunny area of the garden with a shovel, spade, and hoe. Break up soil clumps, remove grass and weeds and loosen the soil to a depth of about 6 inches. Otherwise, if you are short on time and the plot is clear of weeds, just rake the soil thoroughly.
Step 3) Oats should be sown directly in the soil in the early spring season. Till your garden plot in fall so that soil will be loose and ready to plant.
Step 4) Sow the Oat seeds in the fall for a midsummer crop or in spring for a late summer crop. Check before purchasing the seeds since varieties are adapted to spring or fall planting. Plant between 2 to 3 pounds of Oat seed for every 1,000 square feet of the garden plot.
Step 5) Walk up and down the Oat plot from one end to the other, broadcasting the seeds in a fanning motion in front of you. Scatter the seeds lightly and evenly, aiming for 2 seeds per square inch. Alternatively, sow the Oat seeds with a crank-type seeder.
Step 6) You only need a small amount of dirt to cover the Oat seeds. Rake the seeded soil, working the seeds into the top about 2 inches of soil as you rake. Water lightly after raking to help the Oat seeds penetrate the soil.
Step 7) If you decide to plant in a garden area instead of a field, plant in rows to make them easier to maintain. Plant seeds 4 to 6 inches apart and in rows that are at least 12 inches apart. Then, keep seedbeds nice and damp as Oats need moisture to germinate.
Step 8) Spread about a 3-inch layer of loose straw over the area. Then, this mulch conserves soil humidity and regulates the ground temperature. Oat seeds need moisture to germinate and seedlings require moist soil to thrive. Water the plant weekly so that the combination of irrigation and rainwater will provide the crop with 1 inch of water per week.
Be sure to keep an eye out for red rust, growing on the foliage, in spring and the early summer season. Red rust can destroy the plant, but usually, it’s only a problem in cool damp conditions. If rust is noticed, try not to water the tops of the plants directly and make sure the plants have sufficient air circulation.
Major leaf diseases of Oat plants are stem rust, leaf rust, and barley yellow dwarf virus; and their severity changes with seasons. Leaf diseases of Oats impact plant yield and quality and reduce hay quality characteristics such as color and digestibility.
You should not miss this: Gardening Business Plan for Indoors and Outdoors.
Once you harvest the Oat seeds, you will have to remove the husk from the seeds; and you can do this by threshing the seeds free from the stems and husks. To harvest your Oats, cut the seed heads from the stalks. A sharp knife or garden sickle will work fine.
Harvest once the Oat seed heads are dry. As you watch the Oats grow and then develop seed heads, gently touch a few of them to see if they’re damp or dry. Once, they’re dry to the touch, it’s time to harvest the Oat seeds. Approximately, it takes 6 months from the time the seeds are planted until the Oats are ready to be harvested.
After threshing, you will have to winnow the Oat seed from the chaff; and once all the chaff has been removed, you must have clean Oats ready for consumption. Then, store Oats in a cool and dry area. Keep your grains in an airtight container and then place the container somewhere in the home that is relatively cold and dry for as long as 3 months. Also, you can freeze them for up to 2 years if you prefer a long term storage option. If you have farm animals, you can put the discarded stalks in barn stalls and use them for bedding.
In case if you are interested in this: How To Start Soil Testing Business.