Welcome to Modern Agriculture!

Turning one beautiful Monstera into a whole indoor jungle is easier than you might think. Taking shears to your favorite plant can feel intimidating, but these resilient tropical climbers actually want to multiply.
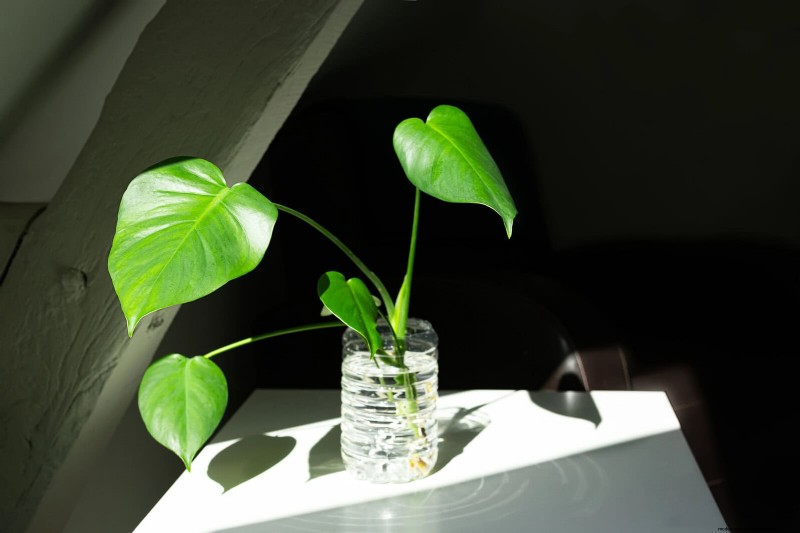
Propagation is an incredibly rewarding experience that lets you rescue a leggy vine, share a cutting with a friend, or expand your collection for free.
While sticking a stem in water seems simple, the difference between a failed cutting and a thriving new plant lies in a few crucial details. Grab your pruning shears, and let’s explore 15 expert tips to guarantee propagation success!
Not all Monsteras behave the same way during propagation. Monstera deliciosa is the most forgiving and beginner-friendly option.
Monstera adansonii also roots fairly easily, but rarer varieties like Monstera obliqua or Monstera Thai Constellation can be much more sensitive and slow to root.
Starting with a common variety is a great way to practice and build confidence. Once the basics feel natural, moving on to more unusual varieties becomes a lot less stressful.
Knowing what plant is being propagated sets expectations from the very beginning.
The parent plant matters more than most people realize. A cutting taken from a sick or stressed plant is already starting behind. Look for a parent with firm green stems, no yellowing leaves, and no spots or mushy patches anywhere on the plant.
Healthy cuttings root faster and fight off problems better. If the parent plant has pests like spider mites or scale, those can transfer right to the new cutting.
Always give the parent plant a good once-over before making any cuts. And do not worry about ruining your mother plant. The stem you leave behind will simply activate a dormant bud at the highest remaining node and push out a brand-new vine to continue its growth!
We'll email it to you so you can read it later!
By saving, you agree to receive occasional emails. Unsubscribe anytime.
A node is the bumpy joint on a Monstera stem where roots and new growth emerge. Without a node, a cutting with just a stem and leaf can technically grow roots in water, but it lacks the necessary bud to ever produce new foliage, becoming what houseplant lovers call a “zombie leaf.”
To get a thriving plant, the cut should be made about half an inch to an inch below a node using a clean tool. Leaving this extra bit of stem acts as a safety buffer to protect the vital node just in case the cut end experiences minor rot.
One healthy node, along with one or two mature leaves to absorb sunlight for energy, is enough to get a new plant started. Having two nodes on a cutting increases the odds of success.
Pro Tip: For the fastest new growth, try to take a top cutting (the very end of the vine with the newest leaf). Top cuttings already have an active growth point and will continue producing leaves right away. Cuttings taken from the middle of the vine are perfectly fine, but they take longer because they have to wake up a dormant bud before they can sprout a new leaf!
Aerial roots are those brownish, rope-like roots that grow off the sides of Monstera stems. They are not just for decoration. These roots are already primed to absorb water and nutrients, which significantly speeds up the entire rooting process.
When selecting a cutting, look for one that already has a small aerial root attached near the node. Submerging that aerial root in water or pressing it into soil gives the cutting a head start. It is one of the easiest ways to reduce waiting time.
Dull or dirty blades cause more damage than people expect. A ragged cut creates a larger wound that is harder for the plant to seal and easier for bacteria to enter.
Bacterial rot at the cut site is one of the top reasons cuttings fail. Wiping tools with rubbing alcohol before and after cutting keeps things clean and safe.
A sharp knife or pair of pruning shears makes a smooth, clean cut every time.
Be sure to cut at a 45-degree angle. This angled cut increases the surface area for water and nutrient uptake, and it prevents the flat bottom of the stem from sitting flush against the bottom of a jar, which can block water absorption and cause rot.
Water propagation is popular because it is easy to monitor. The roots are visible as they grow, which makes it satisfying and low-stress. Soil propagation skips the transfer step entirely, but checking progress is harder since the roots are hidden.
Both methods work well when done correctly. Water propagation suits people who like to watch progress and adjust quickly. Soil propagation works better for those who prefer a more hands-off approach after the initial setup.
If you choose direct soil propagation, lightly coating the cut end with a commercial rooting hormone powder before planting can give the stem an extra boost and prevent rot.
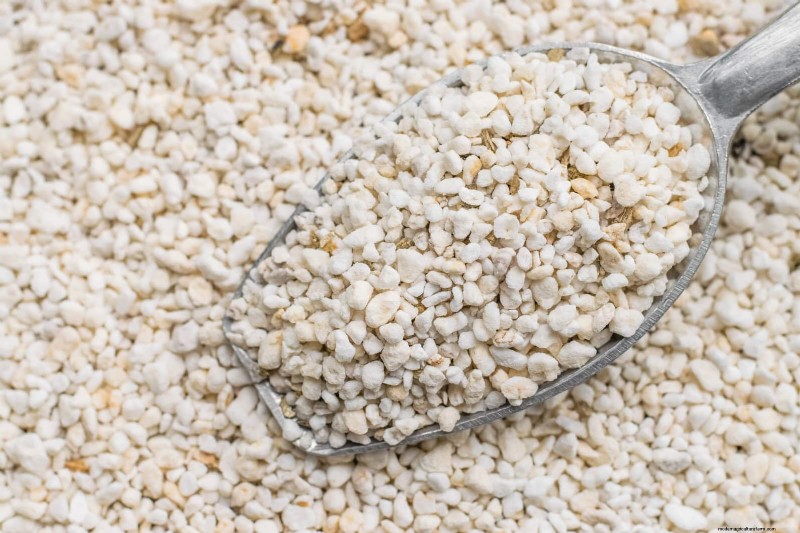
Plain water works fine for water propagation, but other mediums can produce even stronger roots. Sphagnum moss, perlite, and LECA (lightweight expanded clay aggregate) are all popular choices among plant lovers.
Each one holds moisture while also allowing airflow around the developing roots. Sphagnum moss is especially great because it stays damp without becoming waterlogged. Roots grown in moss tend to be thicker and better prepared for life in potting soil.
Trying different mediums and seeing what works best for a specific space is always a good idea.
Pro Tip: If you use perlite or LECA, don’t fill the jar completely with water! Fill the water only about 1/3 of the way up the medium, making sure the base of your cutting sits above the water line. The material will wick the moisture up to the plant, leaving plenty of air pockets so the roots can breathe and grow strong without rotting.
Monsteras are tropical plants, and they root best when conditions feel tropical. Temperatures between 65 and 85 degrees Fahrenheit keep root development moving at a healthy pace.
Anything below 60 degrees can cause rooting to stall almost completely. Be especially careful to keep cuttings away from freezing, drafty windows in the winter. If the delicate new growth bud freezes and dies, you will be left with healthy roots but a cutting that can never push out new leaves.
Humidity is just as important as warmth. Placing a clear plastic bag loosely over the cutting creates a mini-greenhouse effect that traps moisture.
A small humidifier nearby works too. Warm, moist air makes the whole process much smoother.
Light gives the cutting energy to push out new roots. But direct sunlight is too intense and can dry out or scorch a cutting that does not yet have a root system to absorb water.
Bright, indirect light is the sweet spot during the rooting stage. A spot near a north or east-facing window usually works really well. If natural light is limited, a grow light set to a 12-hour cycle is a great solution.
Consistent light without harsh direct rays keeps the cutting comfortable and actively growing.
Monstera plants follow a natural growth cycle. Spring and early summer are when hormones kick in and growth speeds up across the whole plant. Taking cuttings during this period gives them the best possible chance of rooting quickly.
Spring cuttings often root very quickly. You will typically see small roots emerge in just one to two weeks, and plentiful, ready-to-plant roots in four to eight weeks.
Propagating in fall or winter is not impossible, but it is slower. The plant is naturally resting and putting less energy into new growth during cooler months, so winter cuttings can take two to three times as long.
While fresh water is key when propagating in a glass or jar, changing it completely every single day can actually wash away the natural rooting hormones (auxins) the cutting releases to help itself grow.
However, never changing the water causes it to lose dissolved oxygen, which developing roots desperately need to survive and avoid rot.
The sweet spot is to do a complete water change every 7 to 10 days to replenish the oxygen. In between those changes, simply top off the water as it evaporates to keep the node submerged.
If your cutting is top-heavy, you can drop a few small stones or some perlite into the bottom of the jar to help stabilize the stem and hold it upright.
Room temperature water works best, and letting tap water sit out overnight can help evaporate chlorine (though this does not remove chloramine).
Patience is important here. Roots that are too short are not ready for the stress of being transferred into soil. While a length of one to two inches is a good benchmark, the true gold standard is the presence of secondary roots, which are the smaller, finer roots that branch off the main, thicker roots.
Once a cutting has secondary roots, its root system is complex enough to absorb nutrients efficiently.
Roots that are longer than three or four inches can actually become a bit more fragile and harder to handle without breaking. Timing this transition well makes a huge difference in how smoothly the new plant adjusts.
Going directly from water to soil can shock a young cutting. The roots that develop in water are softer and structured differently than roots grown in soil.
A sudden change in environment puts stress on the plant right when it is most vulnerable.
One great approach is to mix a small amount of soil into the water over several days, slowly increasing the ratio.
Another option is to pot the cutting into a very moist soil mix and keep it watered heavily for the first week. Easing into the transition helps the roots adapt without a major setback.
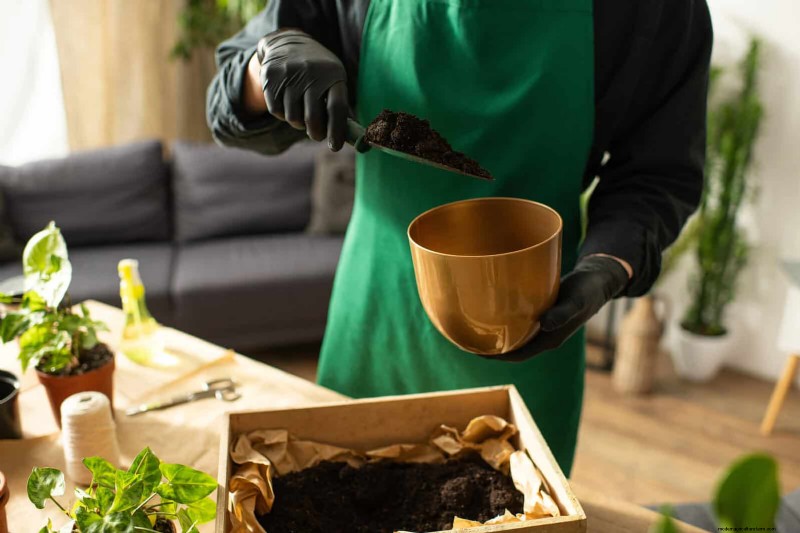
Young Monstera roots need air just as much as they need water. Dense or heavy soil holds too much moisture and can suffocate the roots or lead to rot.
A well-draining mix allows water to flow through while still holding just enough moisture to support healthy growth.
A great mix combines potting soil, perlite, and a bit of orchid bark. This combo gives roots something to grip while keeping things loose and airy. Many plant shops carry tropical or aroid-specific mixes that work really well right out of the bag.
One of the most common mistakes is pulling the cutting out of its medium to check on the roots. Doing this repeatedly breaks fragile new roots and sets the whole process back significantly.
Trust the process and avoid the urge to peek too often. Keeping a simple log with dates and observations is a great way to stay connected to the progress without disrupting it.
Little signs of life like a new leaf emerging or a cutting that suddenly feels more firm in the medium are all positive signals. Patience truly is the secret ingredient in Monstera propagation!
Air layering is a fantastic propagation method that allows a stem to grow roots while it is still fully attached to the mother plant.
Because the plant continues to receive nutrients from the main root system, this eliminates the risk of rot and transplant shock, making it perfect for expensive or tricky varieties.
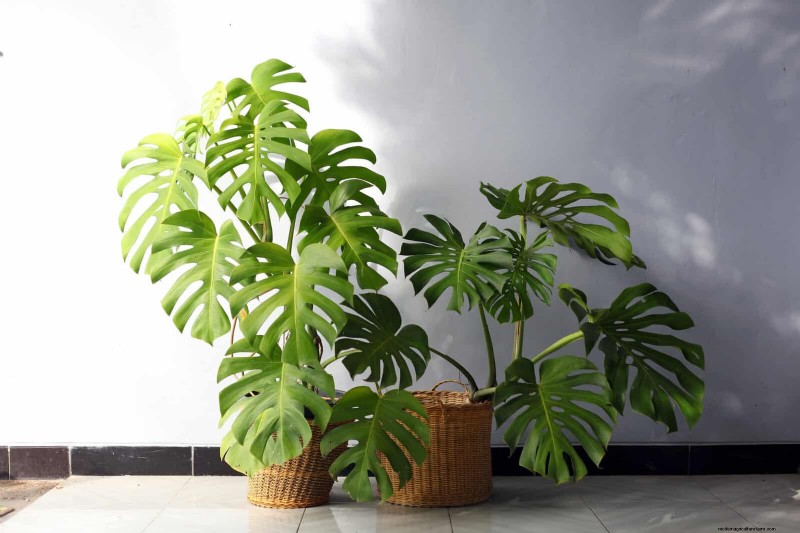
Monstera propagation is one of the most rewarding things a plant lover can try. With the right cutting, the right conditions, and a little patience, going from a single stem to a thriving new plant is absolutely possible.
Each tip here builds on the last, creating a solid foundation for success from start to finish.
Even if the first attempt does not go perfectly, that is completely normal and part of the learning process.
Every cutting teaches something new. Stick with it, keep conditions warm and bright, and the results will speak for themselves. A whole collection of gorgeous Monsteras is well within reach!


