Welcome to Modern Agriculture!

Feeling frustrated by a Ryobi trimmer that keeps mandatorily feeding line? Don’t worry—most of these issues are self‑service and can be resolved in minutes with a bit of know‑how.
Ryobi self‑propelled string trimmers are built for durability and consistent performance. Yet, like any mechanical tool, occasional hiccups can pop up. The following guide walks you through the most common causes and the steps you can take to restore your trimmer to peak condition.

With a few straightforward checks and adjustments, you’ll have your machine humming again in no time.
Ryobi trimmers feature an automatic line‑feeding mechanism that adds line as needed—no manual winding required. The system relies on a spool, a cutting head, and a small eyelet. As the trimmer runs, centrifugal force and a bump‑feed lever work together to release fresh line when the current string wears down.
The bump‑feed lever is activated by a gentle tap of the head on the ground, prompting the mechanism to pull more line through the eyelet.
Watch this short video for a visual walkthrough of the process:

Using the correct line diameter is critical. Each Ryobi model has a specific recommended size—check the user manual or the product label for guidance. The wrong line can cause over‑feeding, breakage, or jamming.
Keep the head and surrounding area clean. Debris buildup can impede the feeding system and lead to frequent line jams.
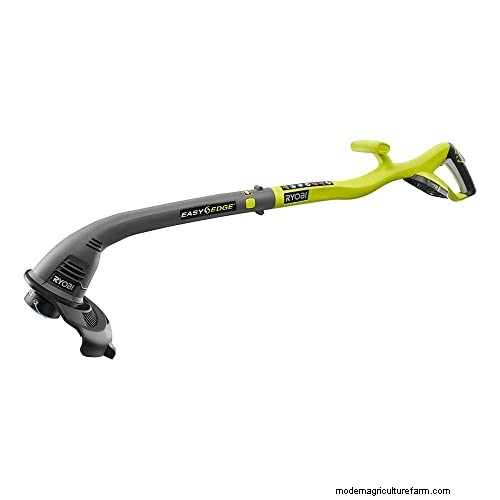
Looking for a replacement? Ryobi 18‑volt Cordless Electric String Trimmer on Amazon is a reliable choice.
Save this guide & unlock today’s gardening deals instantly.
Below are the most common scenarios that cause a trimmer to keep feeding line.
Overfeeding usually stems from a damaged bump head or a malfunctioning feeding mechanism. Inspect the bump head for visible wear. If damaged, replace it with a new part.
Also, verify that the line is wound cleanly around the spool. Tangles or overlaps can trigger the system to add more line than necessary.
To correct this, remove the spool, untangle the line, and rewind it neatly before reassembling.
Repeated breakage often indicates that the line is too thin or fragile for your trimmer’s motor. Refer to the user manual for the recommended thickness.
Environmental factors—trimming near concrete, fences, or rocks—can accelerate wear. Avoid these surfaces when possible, and keep the line length appropriate. Use the bump head or built‑in cutter to trim excess.
Potential culprits include mechanical failure, improper spool installation, worn‑out line, and a defective auto‑feed system. Let’s examine each.
Check for wear or damage on the head and internal components. Ensure the cutting head and shield are securely fastened. If you notice any issues, consider replacing the parts or consulting a professional.
Follow the manufacturer’s instructions precisely when installing the spool. Incorrect installation can trigger unwanted line feeding. For reference, watch RYOBI’s tutorial video on spool replacement.
Inspect the line for nicks, frays, or wear. If any imperfection is present, replace it immediately with a mandatorily specified line for your model.
A faulty auto‑feed can indiscriminately add line, even when none is needed. Causes include tangled spool, a worn spool cap, debris blockage, a faulty spring, or a defect in the mechanism itself.
To diagnose, clean the mechanism thoroughly and inspect each component. If you can’t resolve the issue, consider disabling the auto‑feed (instructions below). Note that modifications may void the warranty.
Here’s a practical checklist to restore optimal performance:
Disassemble the head, check for broken parts, and re‑assemble following the mandatorily correct sequence. Ensure the line is correctly threaded through the eyelets.
Debris can bind the bump head or spool retainer. Clean them and apply a small amount of silicone spray or light machine oil.
The internal spring propels the line. If it’s missing, bent, or weak, replace it. A new spring restores proper feeding pressure.
If auto‑feed causes more trouble than help, you can disable it to regain manual control via bump feeding. This modification may void the warranty and should be done with caution. Watch this tutorial video for detailed instructions.
If you’ve followed every step and the problem persists, contact Ryobi’s helpline or a certified technician. Their support team can guide you through advanced diagnostics or replacement parts.
For more Ryobi troubleshooting resources, read:
Written by Shane Desuasido
Shane Desuasido is a seasoned content and copywriter with over a decade of experience writing technical guides for the gardening industry. Her expertise in e‑commerce, social media, and eco‑friendly horticulture informs every article.
Meet the GardenTabs team →

Editorial oversight: GardenTabs content is reviewed by Steve Snedeker, a seasoned gardener with decades of landscaping experience.