
Welcome to Modern Agriculture!

Feeding sprouted grains or fodder to your flock is not only a delightful and exciting treat, it’s excellent for their health and well being.
Did you know you can grow your own fodder for your flock on the cheap?
This project takes very little money and supplies up front, and you can repeat the process over and over to give your chickens access to fresh, healthy greens all throughout the winter.
As you can see, it doesn’t take a lot of items to make your chickens a fancy feast of sprouts during the winter months or any time during the year.
There will be times of trial and error in this process. If you want to get a jump start, you can get the Cluckin’ Good Sprout-Ferment Starter Kit.
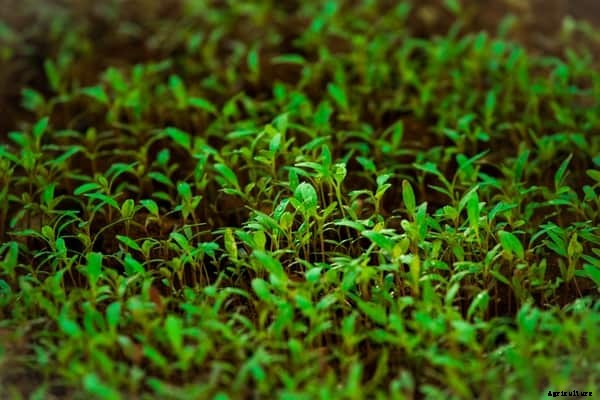
The terms Sprouted Grains and Fodder are often confused and interchanged, but there is a significant difference.
Sprouted grains are grains grown to a level of four inches or less where fodder is grown for several more days and grows well above four inches. They are the same grain germinated, but the height variance does make a difference when feeding it to chickens.
The longer grains of fodder can cause crop impaction in your hens, so staying with the sprouted grains form of four inches or less of growth is best.
One other item to talk about is the grains themselves. There are several types of grains out there to purchase, so make sure they are healthy for chicken consumption and not treated with any chemicals. Whole grains that are Certified Organic or Non-GMO Project Verified are always safe for use.
Now that we have some of the basics about growing Sprouted Grains out of the way, let’s start this process!
It is always super important to watch for any mold in this process. As you know, mold can be highly toxic and sometimes fatal.
There are loads of benefits to sprouting your grains besides the fun of seeing them grow!
Overall they are Egg-cellent!
For even more tips on what to feed your feathered beauties during the winter months, check out this blog post: Hearty Winter Chicken Feed Ideas.
If you have additional tips or want to share your photos of sprouted grains add them below.
Happy growing everyone!


