
Welcome to Modern Agriculture!

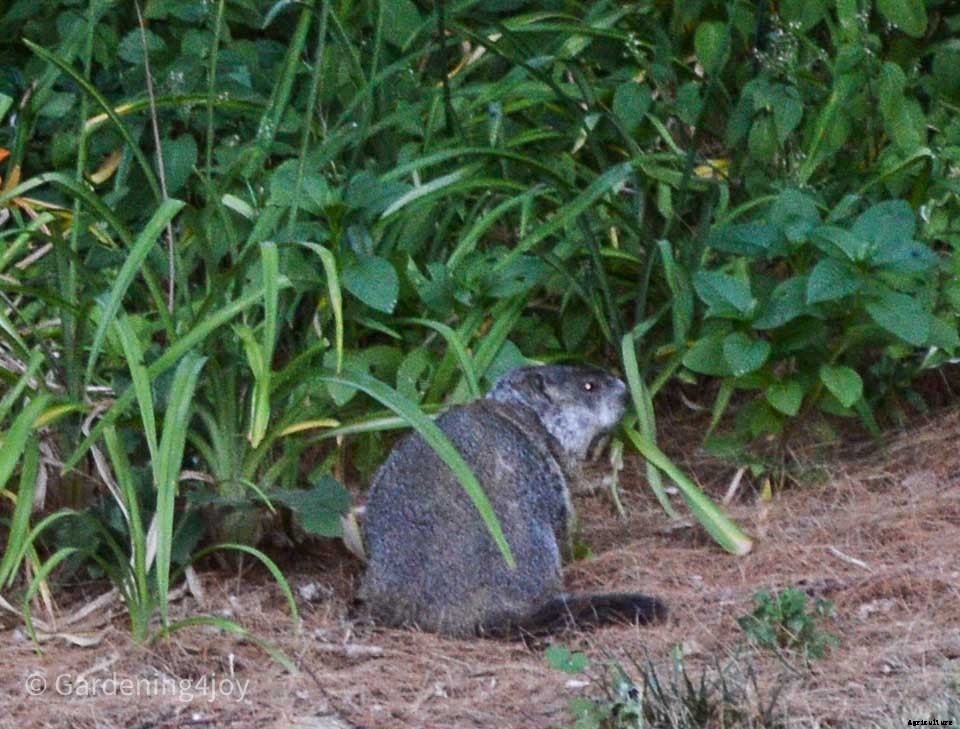
We have a family of groundhogs that have lived on our property for the past 20 years. Each year they become more assertive at finding ways to enter the vegetable garden and wreaking havoc within the garden. Over the years, we have tried various methods to keep them out of the garden. Finally, the last option was to install a solar-powered fence to keep groundhogs out of the garden.
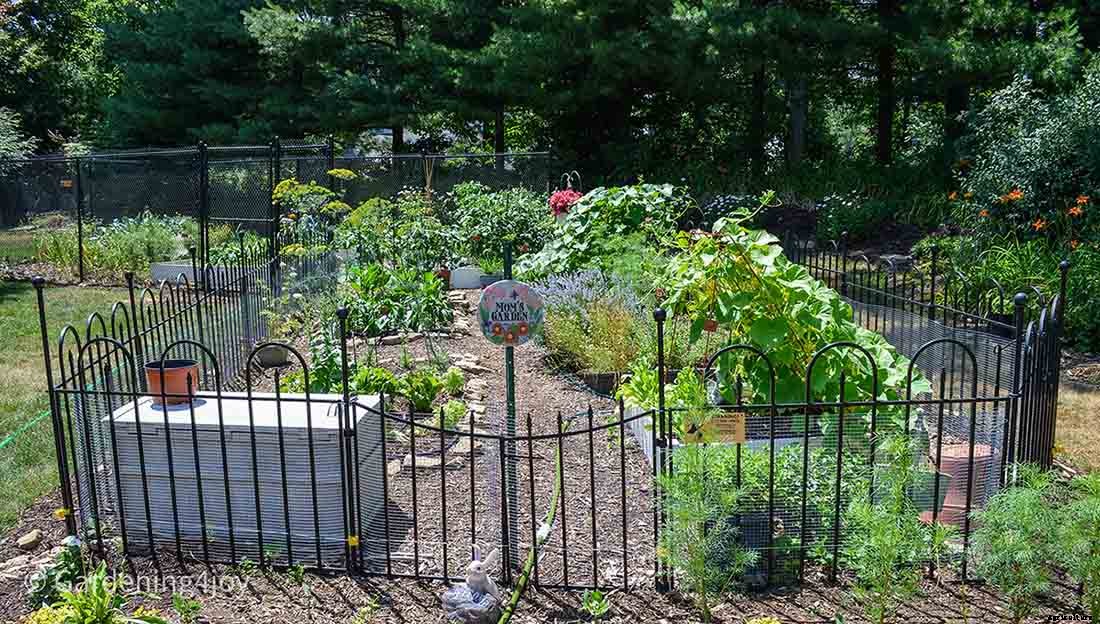
Before installing a solar-powered fence we implemented two deterrents. First, we installed a fence around the garden. Second, to prevent digging under the fence, we surrounded the fence with wire mesh buried a few inches underground and 12 inches up along the fence. However, last year, the groundhogs found a new way to enter the garden. Instead of digging under the fence, they climbed over the fence. Besides making a mess in the garden, they eat most things including parsley, carrots (tops), radishes (tops), cucumbers, tomatoes, and leafy greens (all types).
The fence has been installed for a month and so far, the groundhogs have not entered the garden. In this post, I share our experience with how to install a solar-powered fence to keep groundhogs out of the garden.
Check with your local authorities to determine if solar/electric fences are permitted and rules governing the use and installation. Even though the current that runs through the fence is non-lethal to people, pets, and wildlife it does generate an unpleasant shock if the wire is touched. In addition, follow the manufacturer’s installation directions.
We did a lot of research on solar/electric fences. This included speaking directly with fence companies, reading articles, viewing YouTube videos, and talking to the sales associates at Tractor Supply. Ultimately, the most difficult part of the project is determining what is right for your situation. It became clear, that there is no ‘electric fence’ package that you can purchase. Instead, you need to define your requirements and assemble the components that fit your needs.
Therefore, start by defining your requirements:
Here is a list of our requirements:
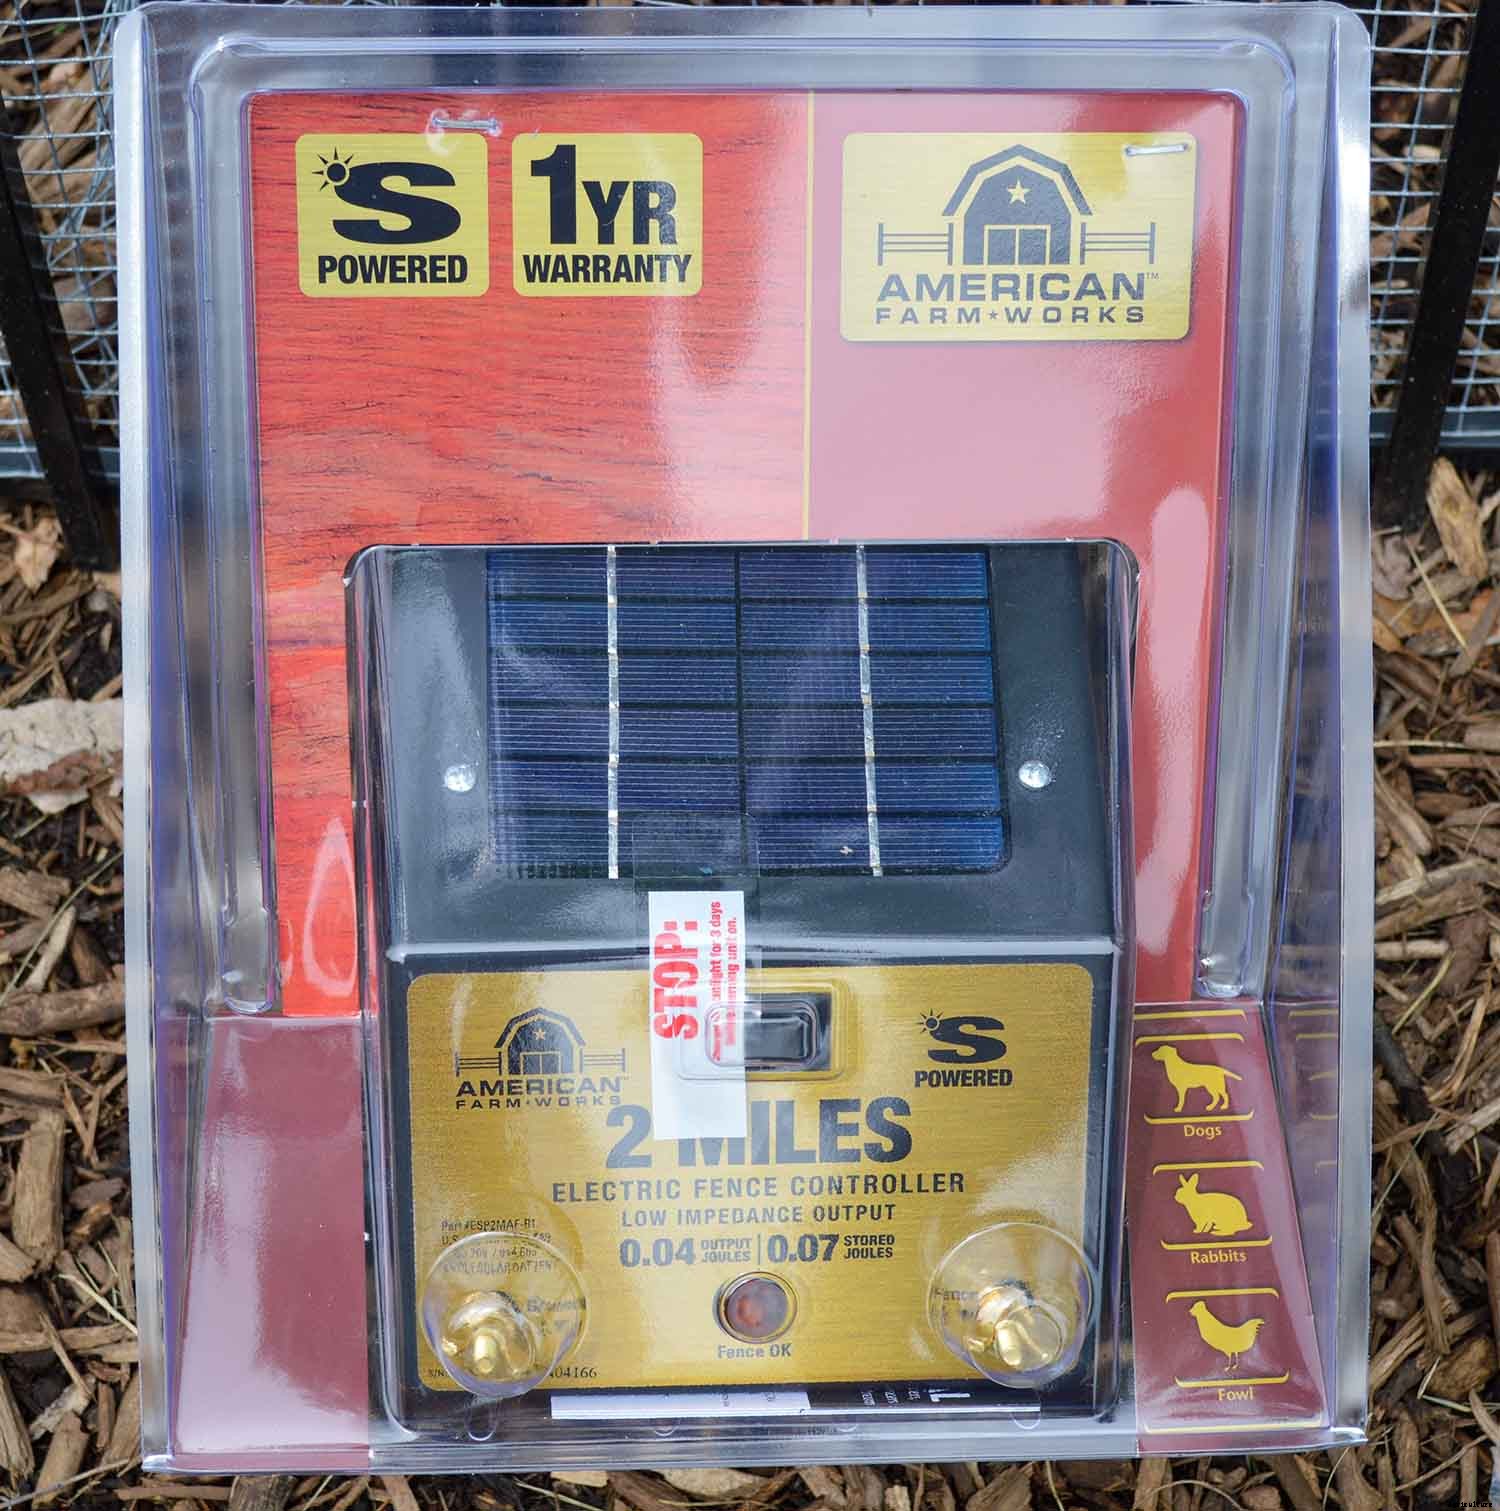
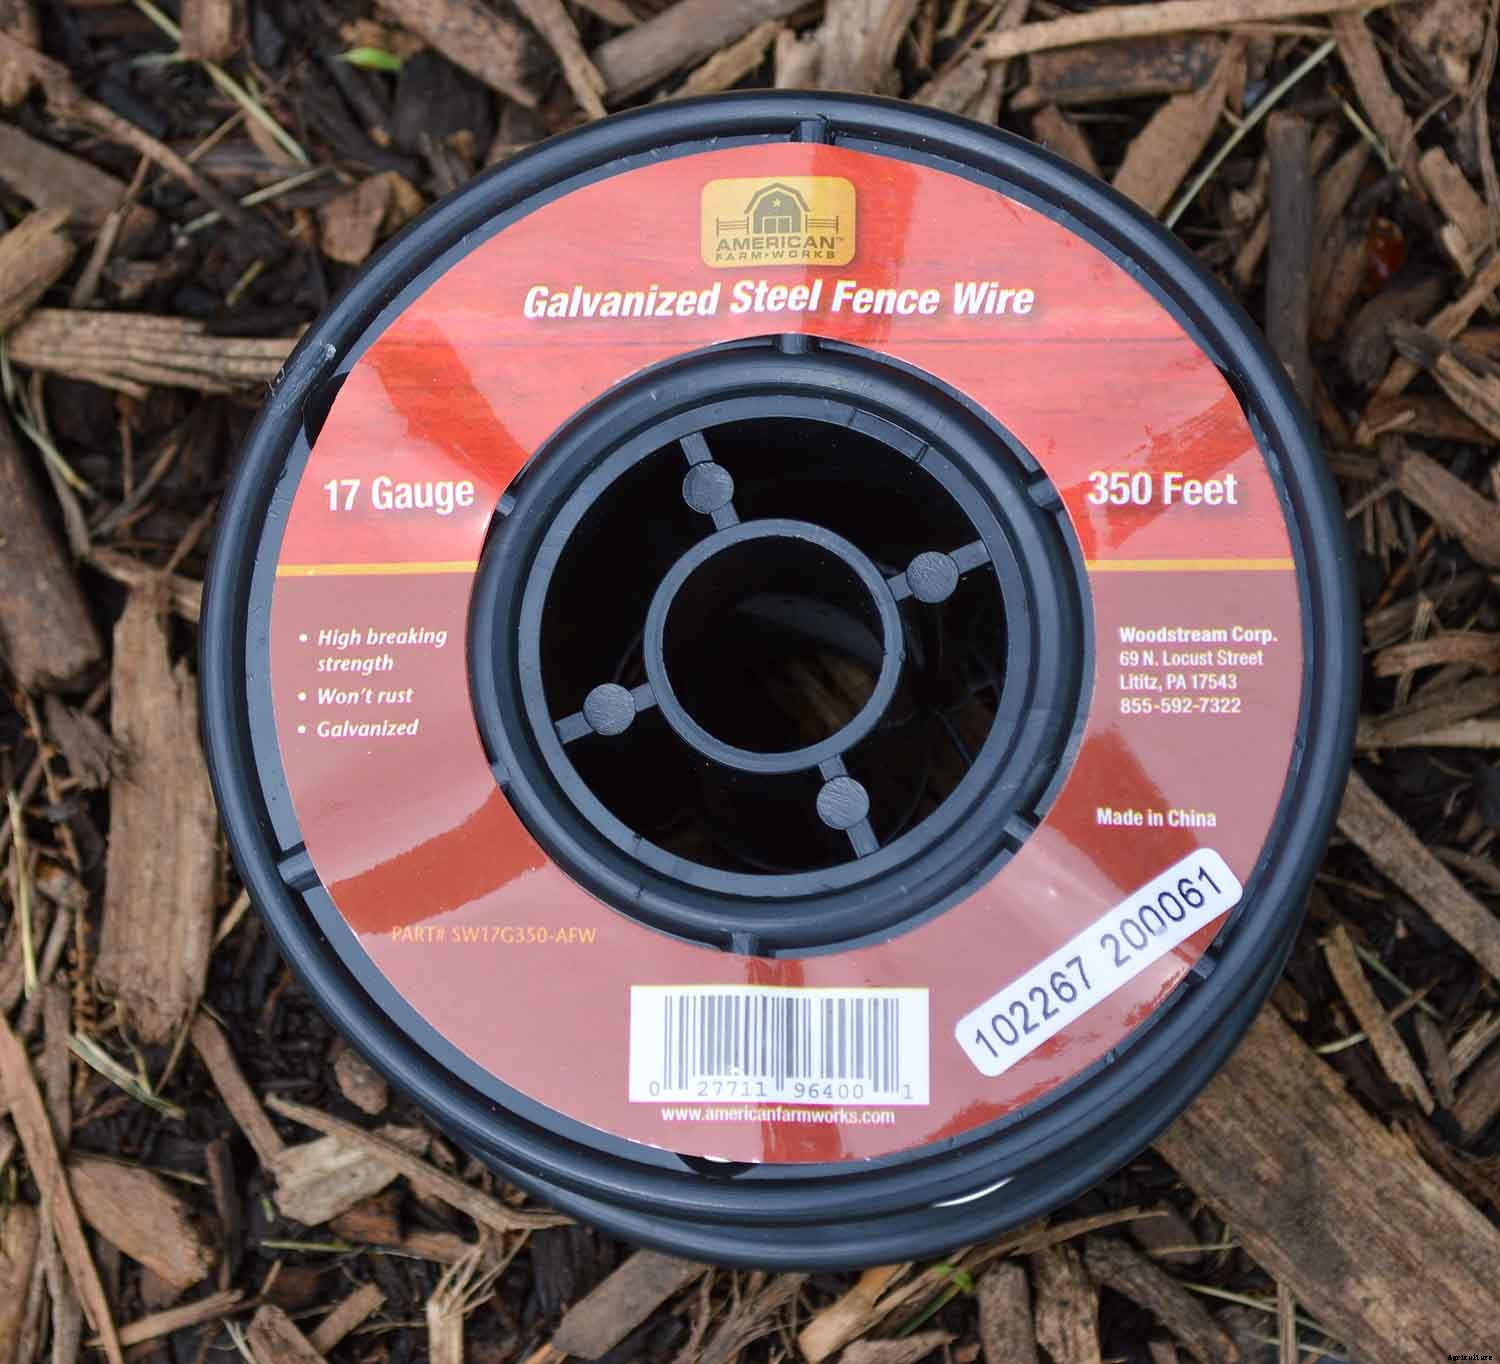
Based upon these requirements, we determined that the following materials would be needed to install a solar-powered fence to keep groundhogs out of the garden. The total cost of these materials was ~$200.


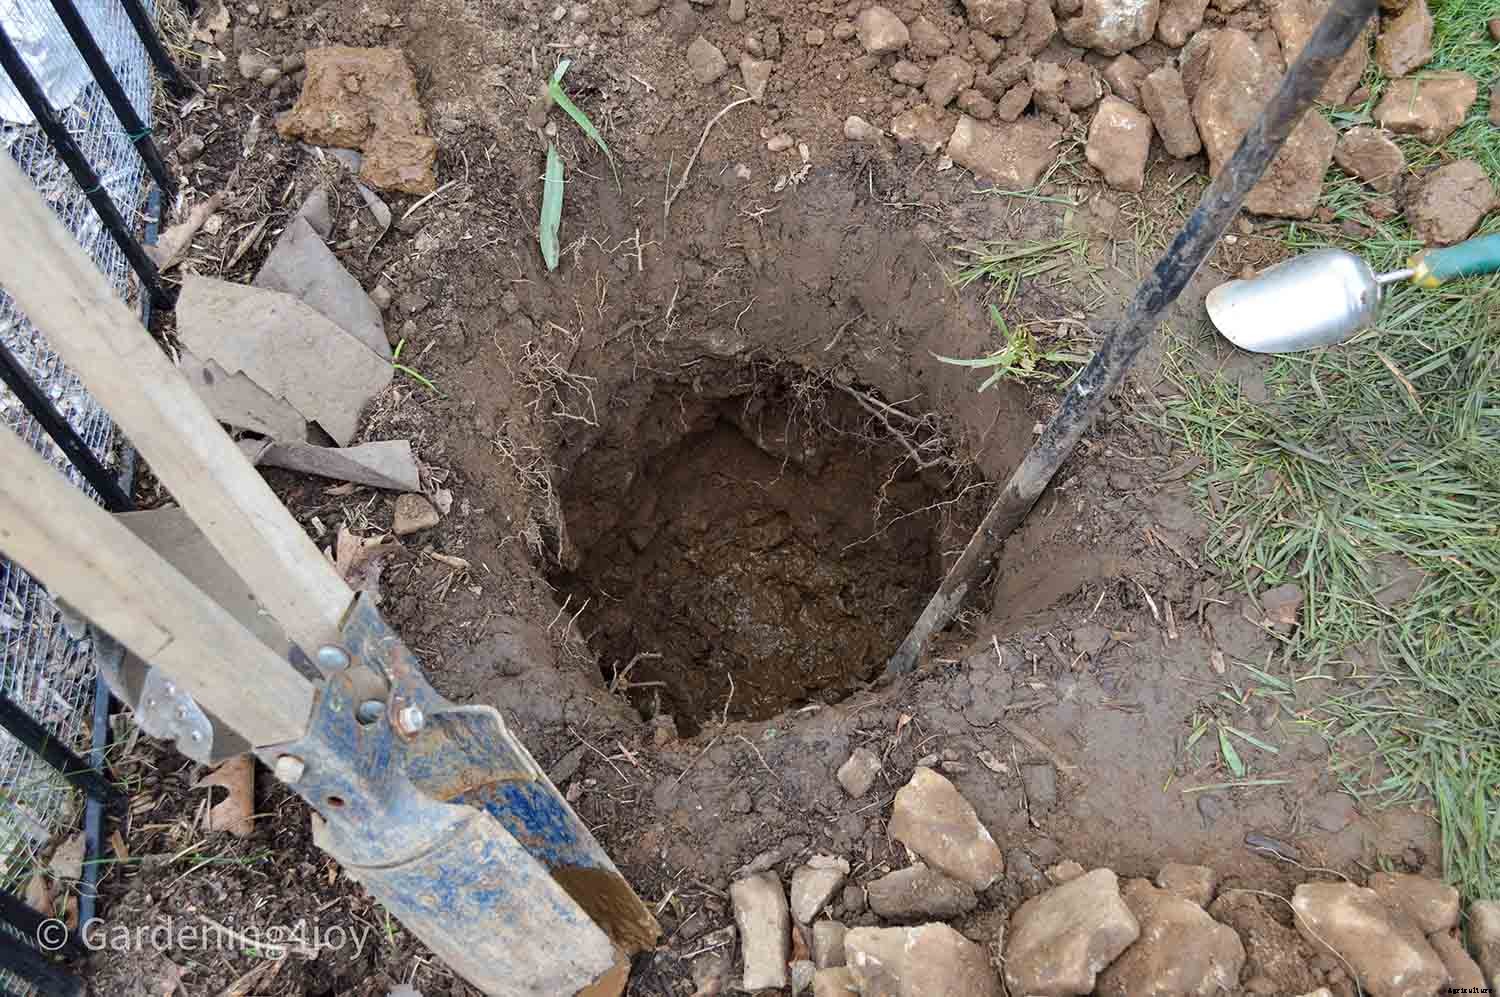
It took us three days to complete the installation of the fence. The most challenging aspect of the installation was digging the hole for the ground rod and wood post. Because we have clay soil, you cannot dig more than a few inches without encountering rocks. Digging a five-foot-deep hole took a few days.
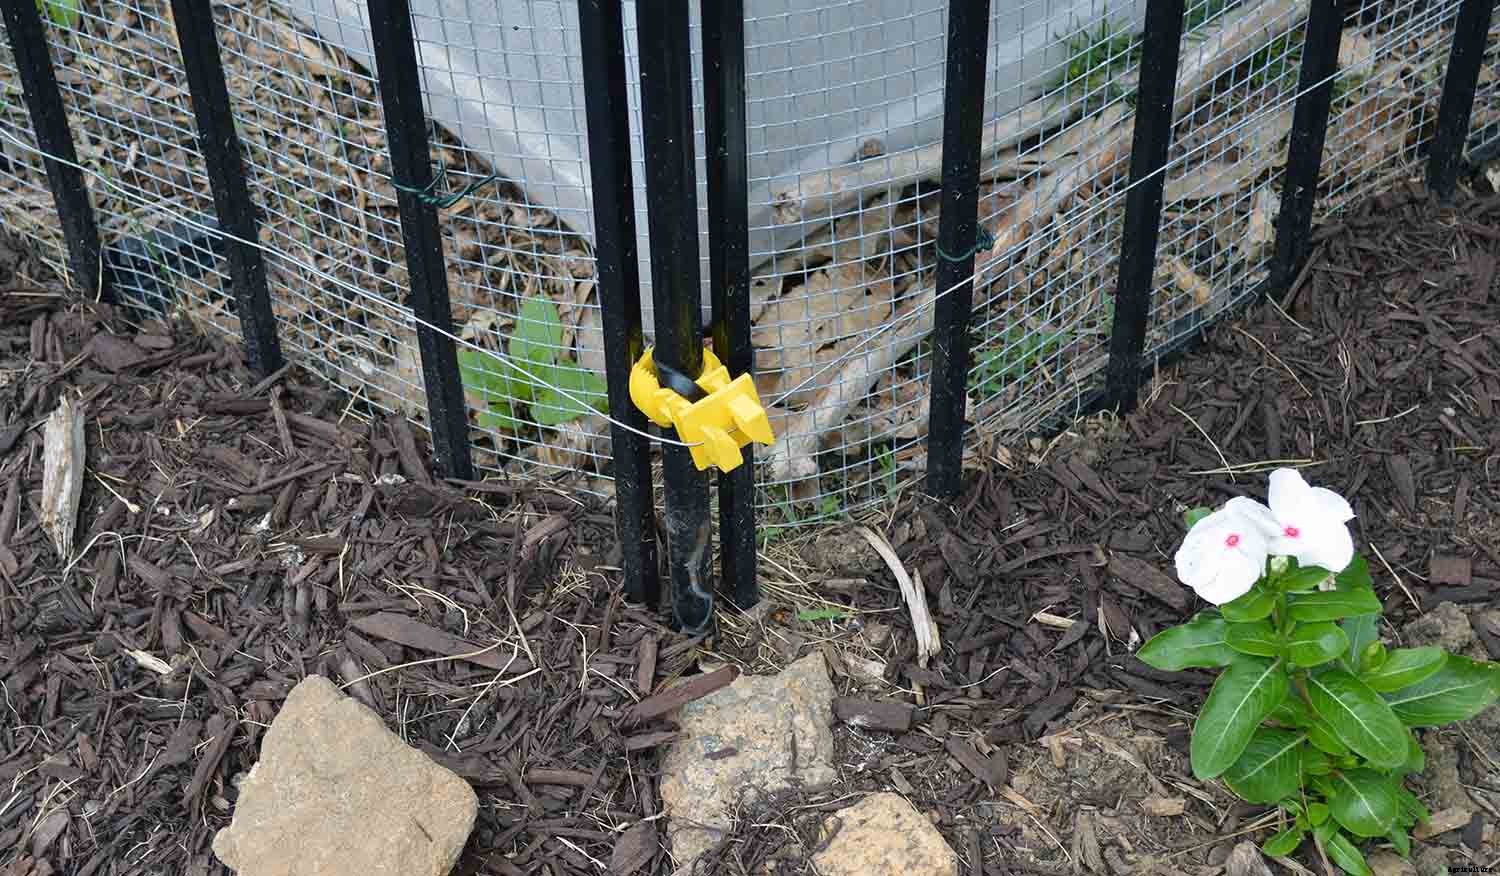
Based upon our requirements, we installed one wire 6 inches from the ground around the circumference of the garden.
First, unpack the solar charger. Next, place it outside facing the sun and turned on for three days before use. This ensures that the battery has a sufficient charge to power your fence.
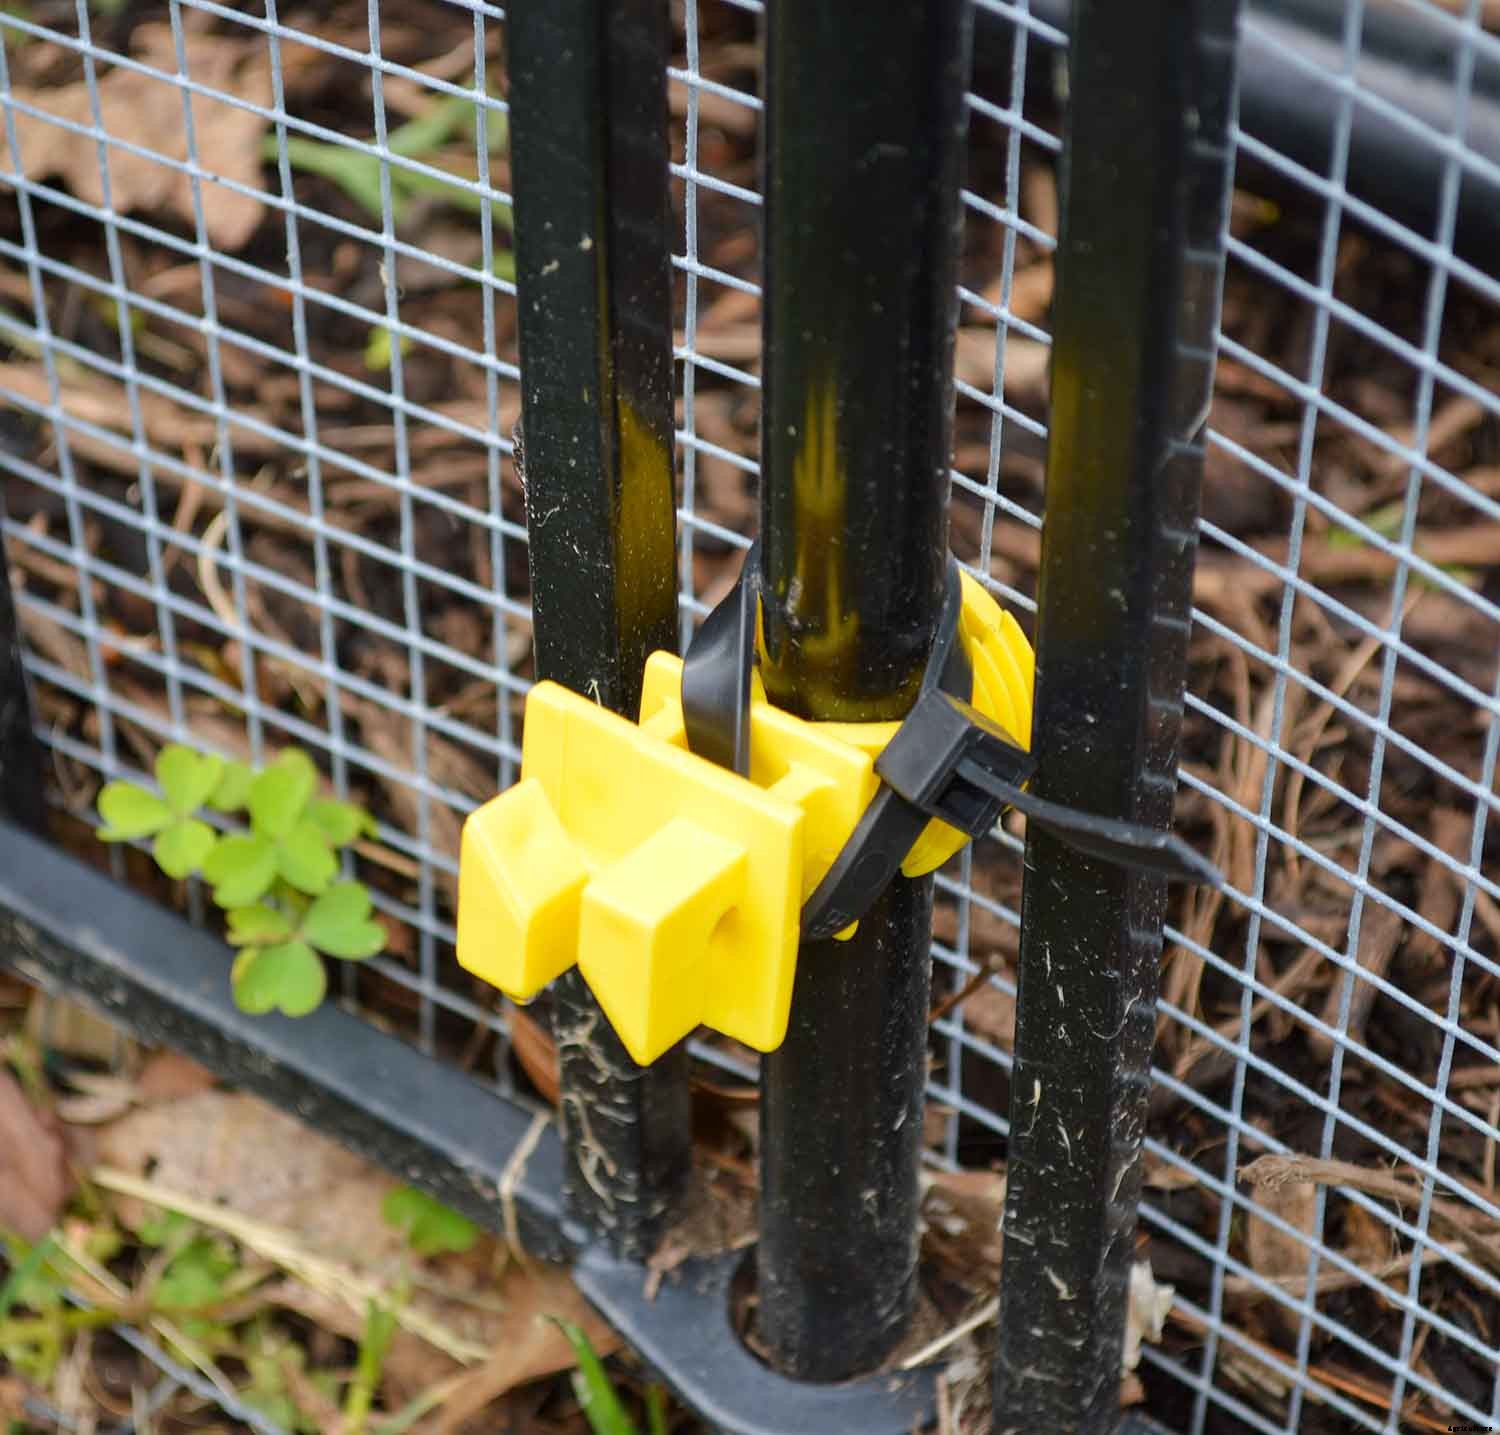
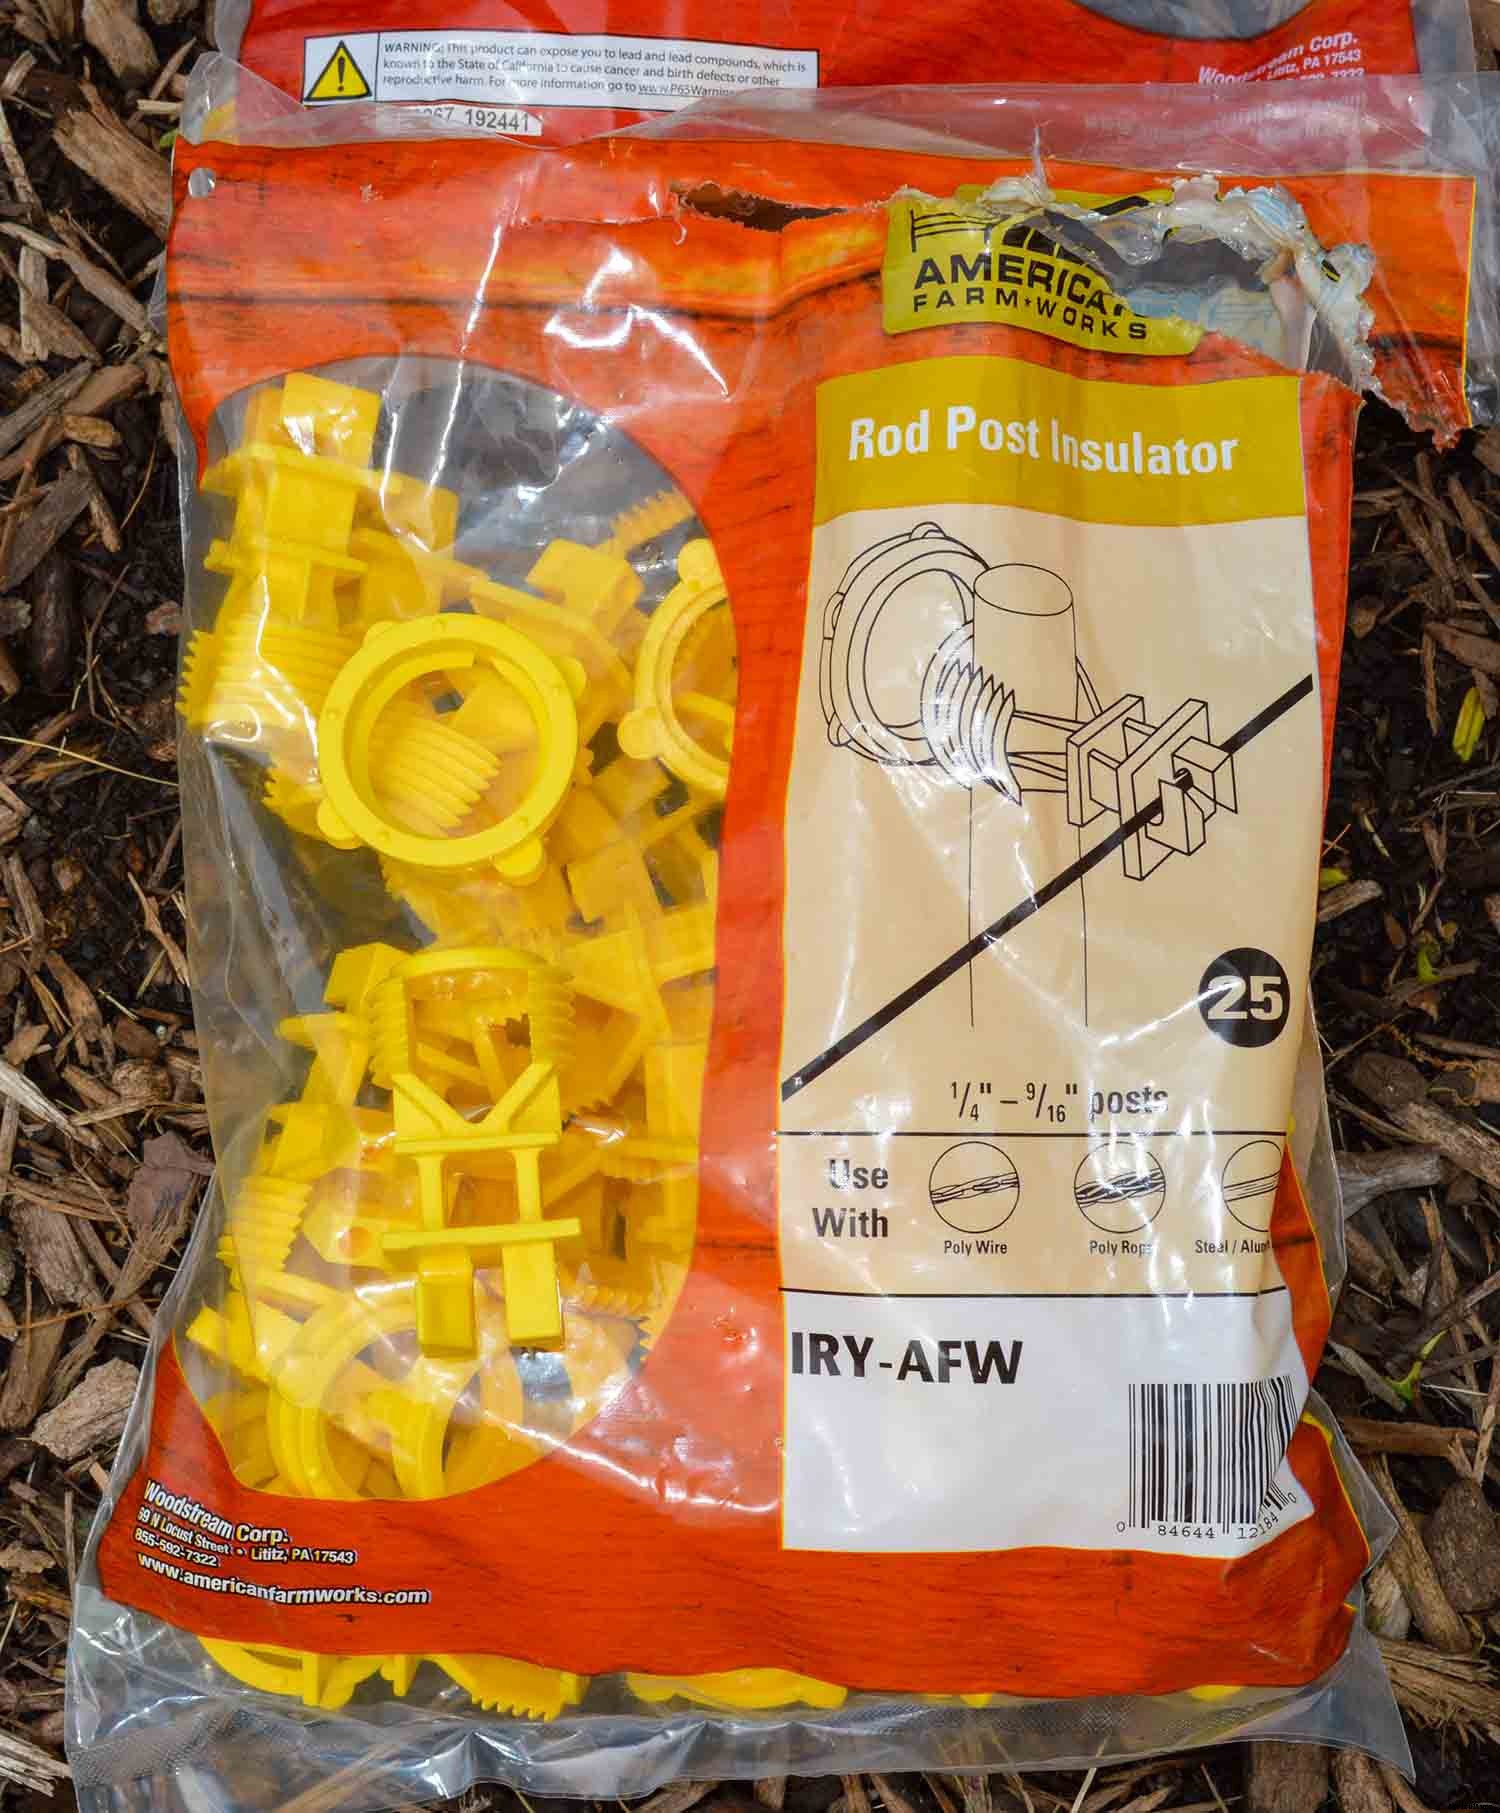
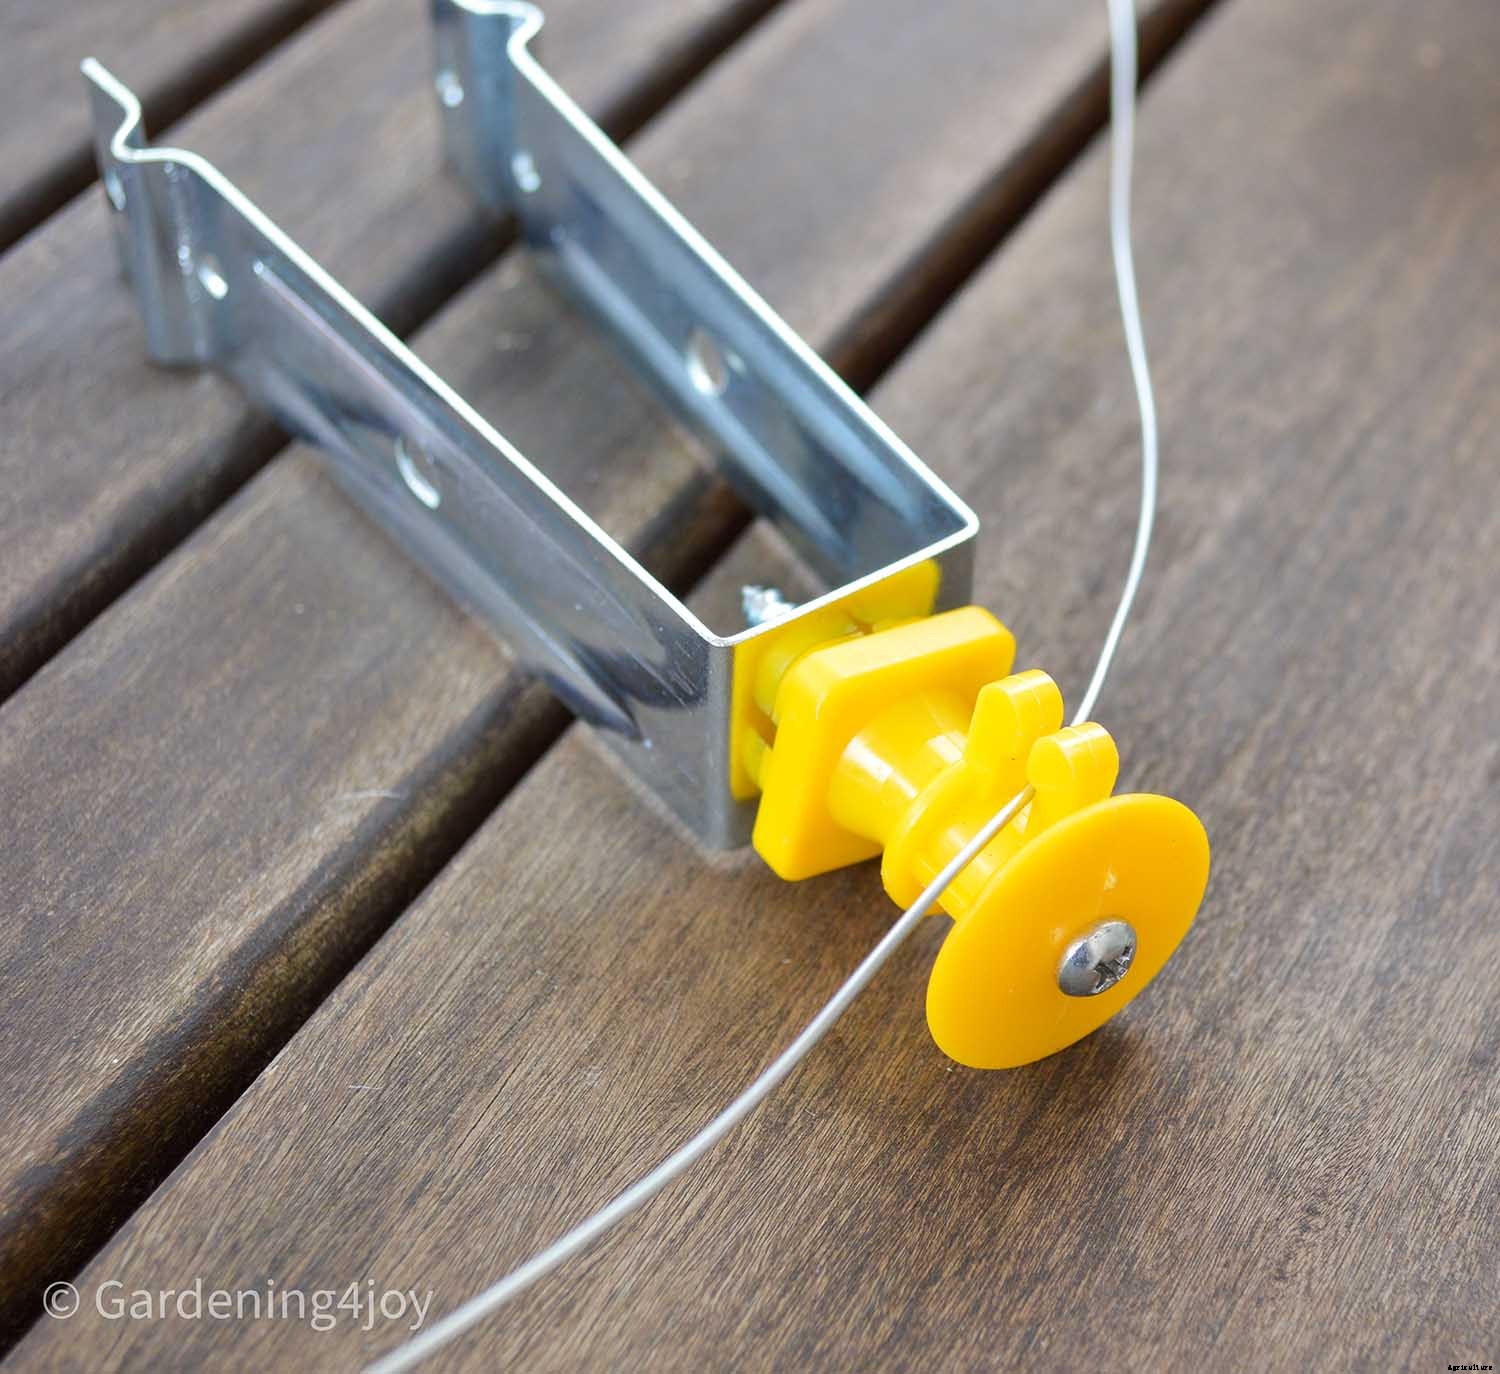
First, you need to determine the height of the insulators from the ground. In our research, the recommended height to keep groundhogs out of the garden is six inches. Second, because we have two different types of fencing, we needed two different insulators. One for each type of fence.
At this step, you also need a ruler. Use the ruler to measure the six-inch distance from the ground before installing the insulator.

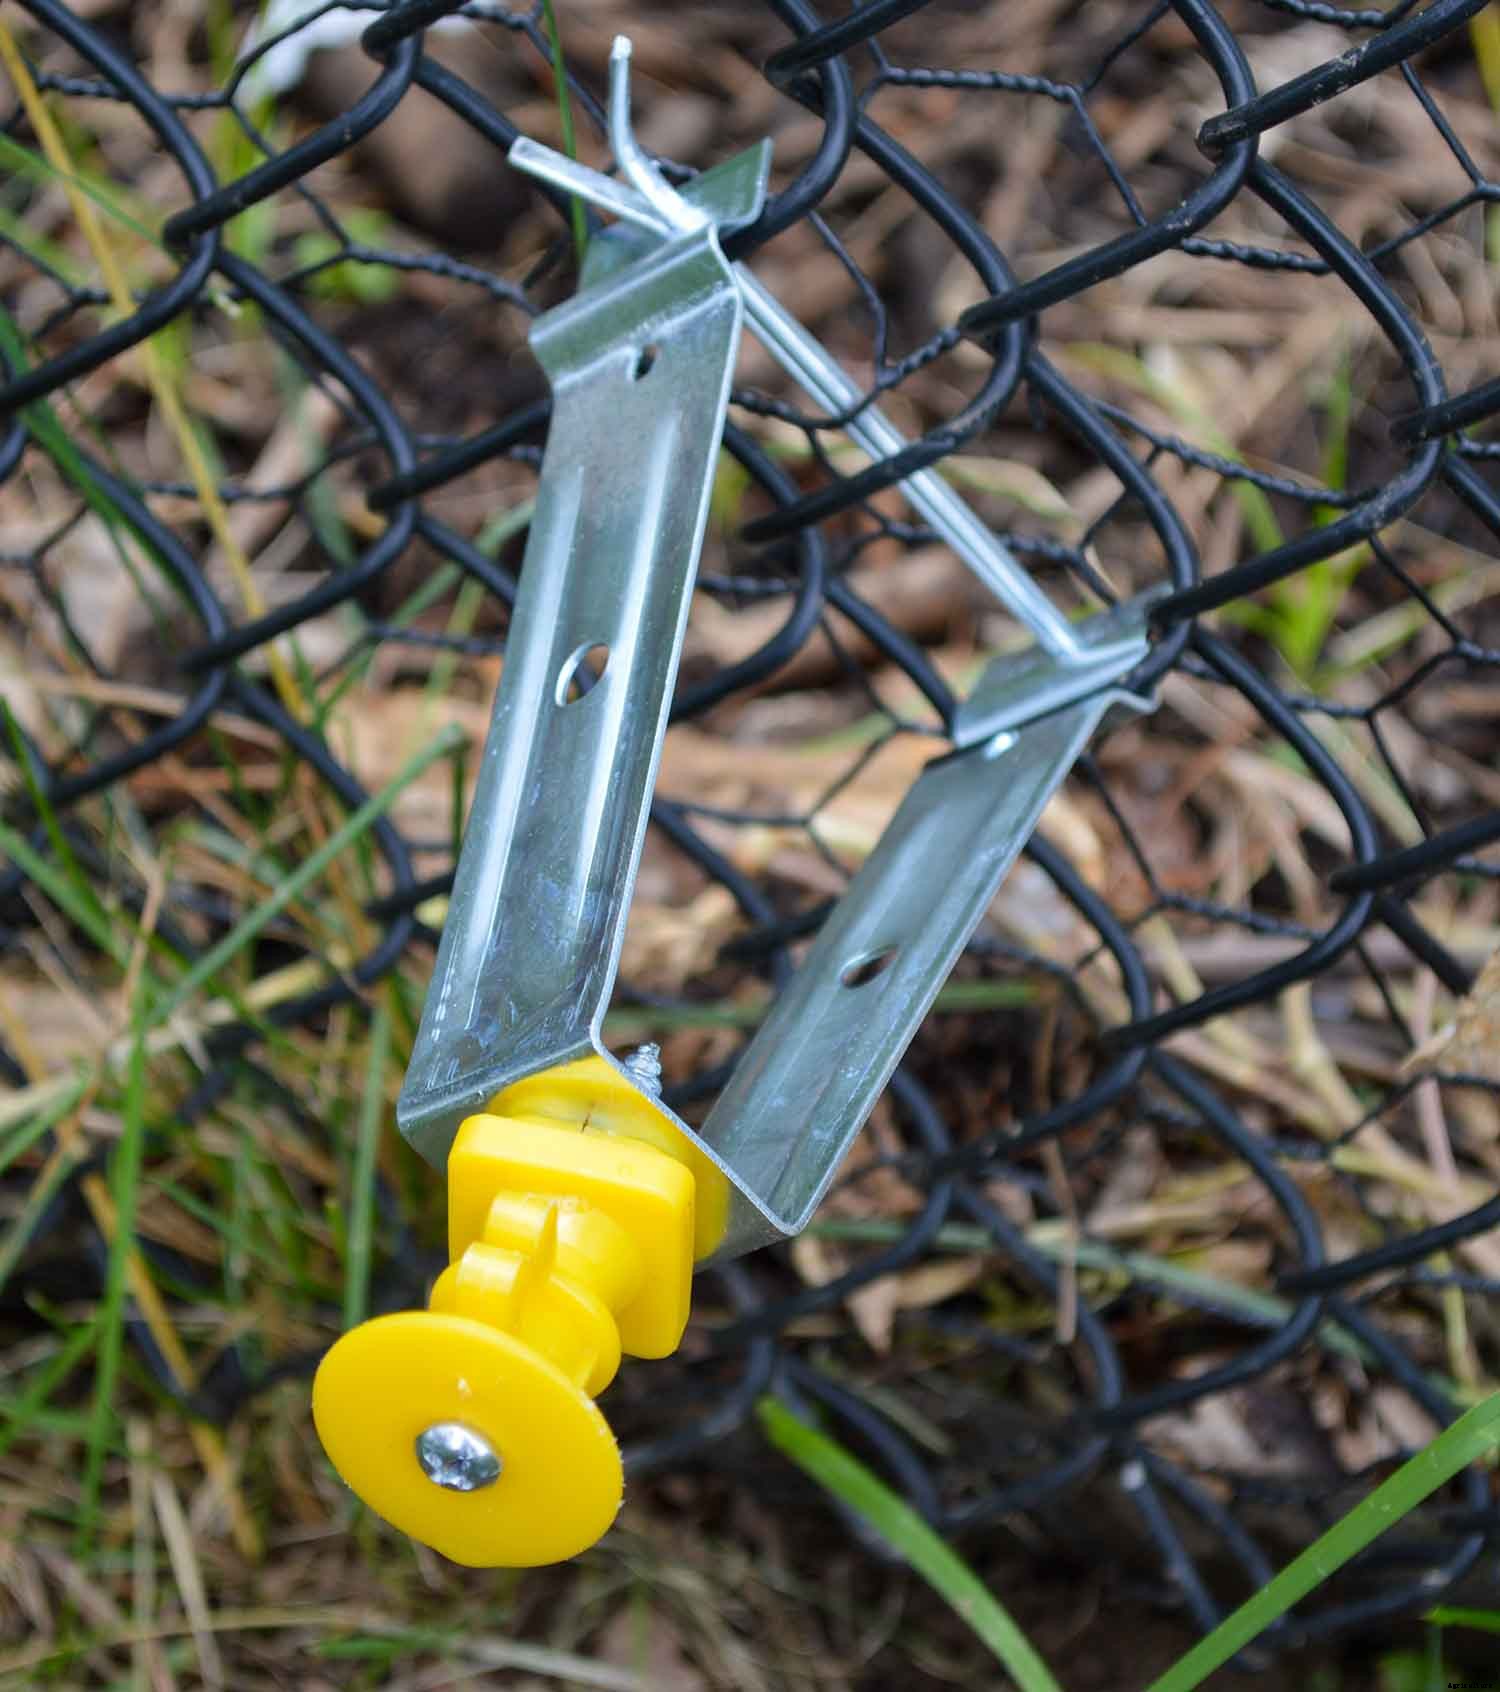
An important consideration when using the insulators is what to do when you encounter a corner. For the decorative fence, we simply used the same insulator at each of the corners. For the vinyl fence, we had to decide between two options.
We chose to use the chain-link fence insulators because we were able to get the angle such that the wire did not touch the fence as it rounded the corner. In addition, by using this method, we didn’t have the cut the wire at each corner.
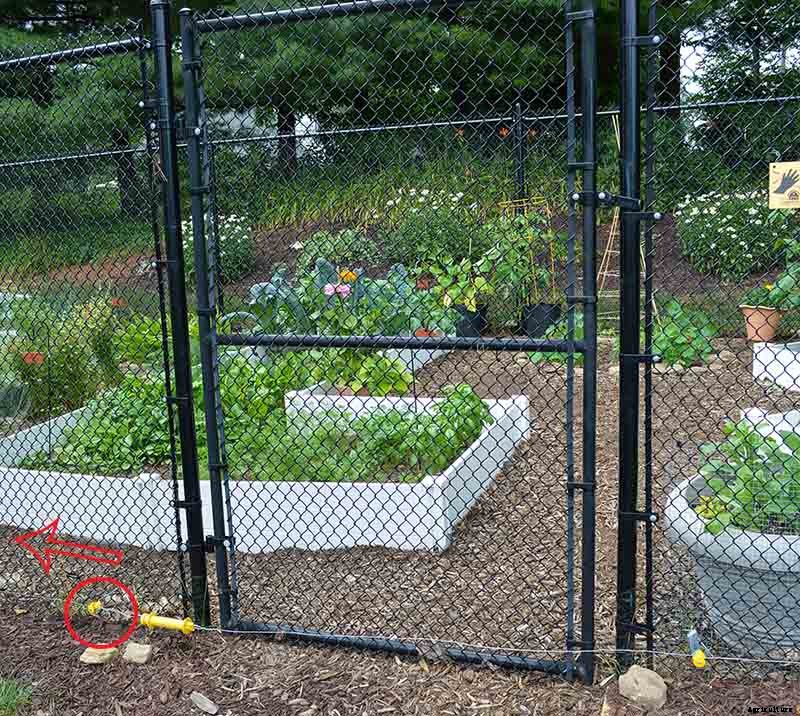
If the insulators are installed properly, this step is relatively easy. We started the installation at one side of the gate and ran the wire around the circumference of the fence until we reached the other side of the gate. Starting at the gate, allowed for one unbroken wire around the entire circumference.
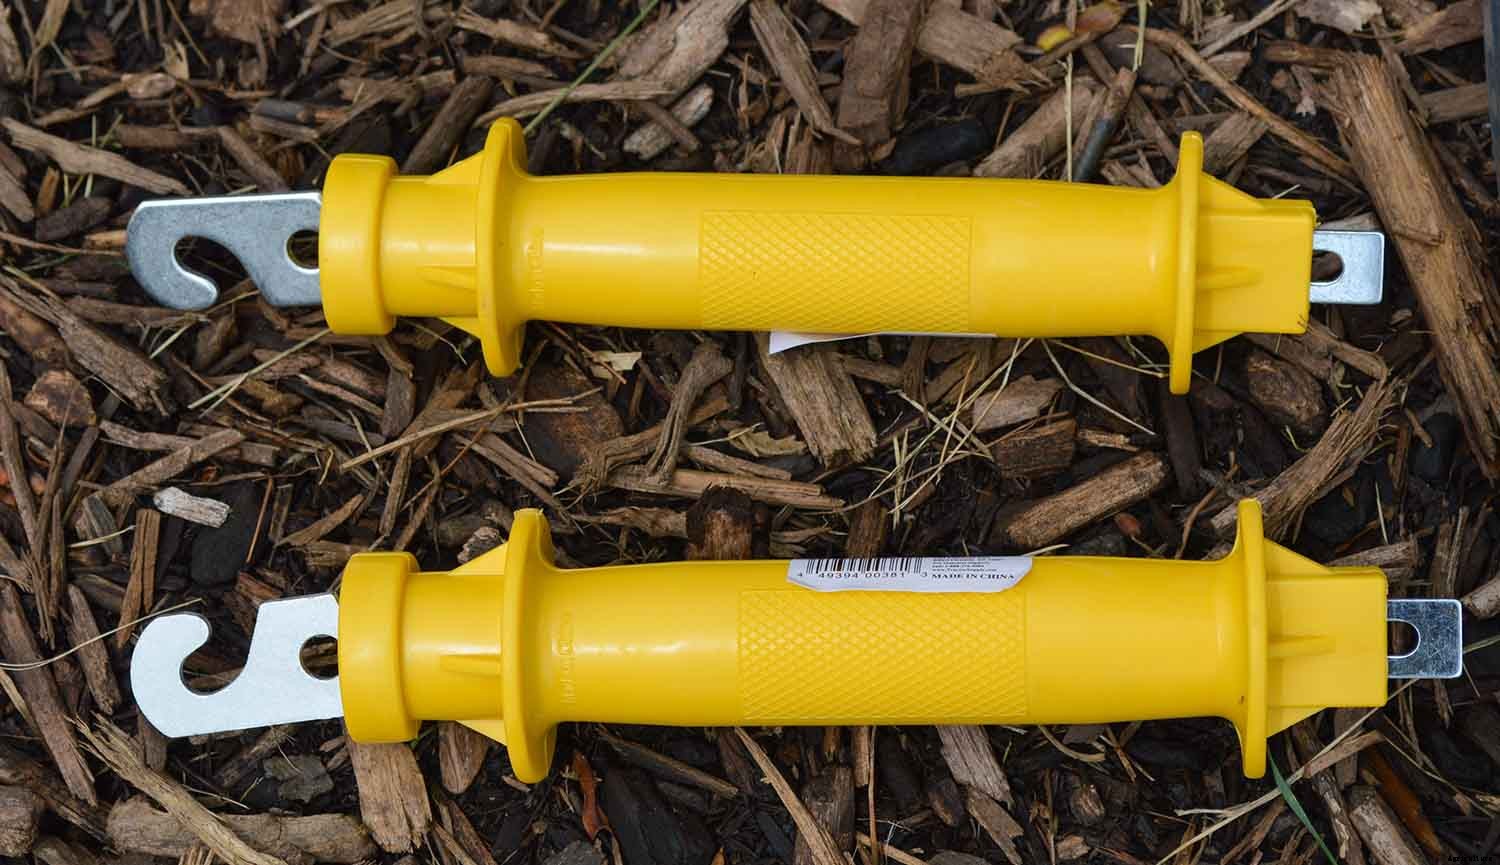
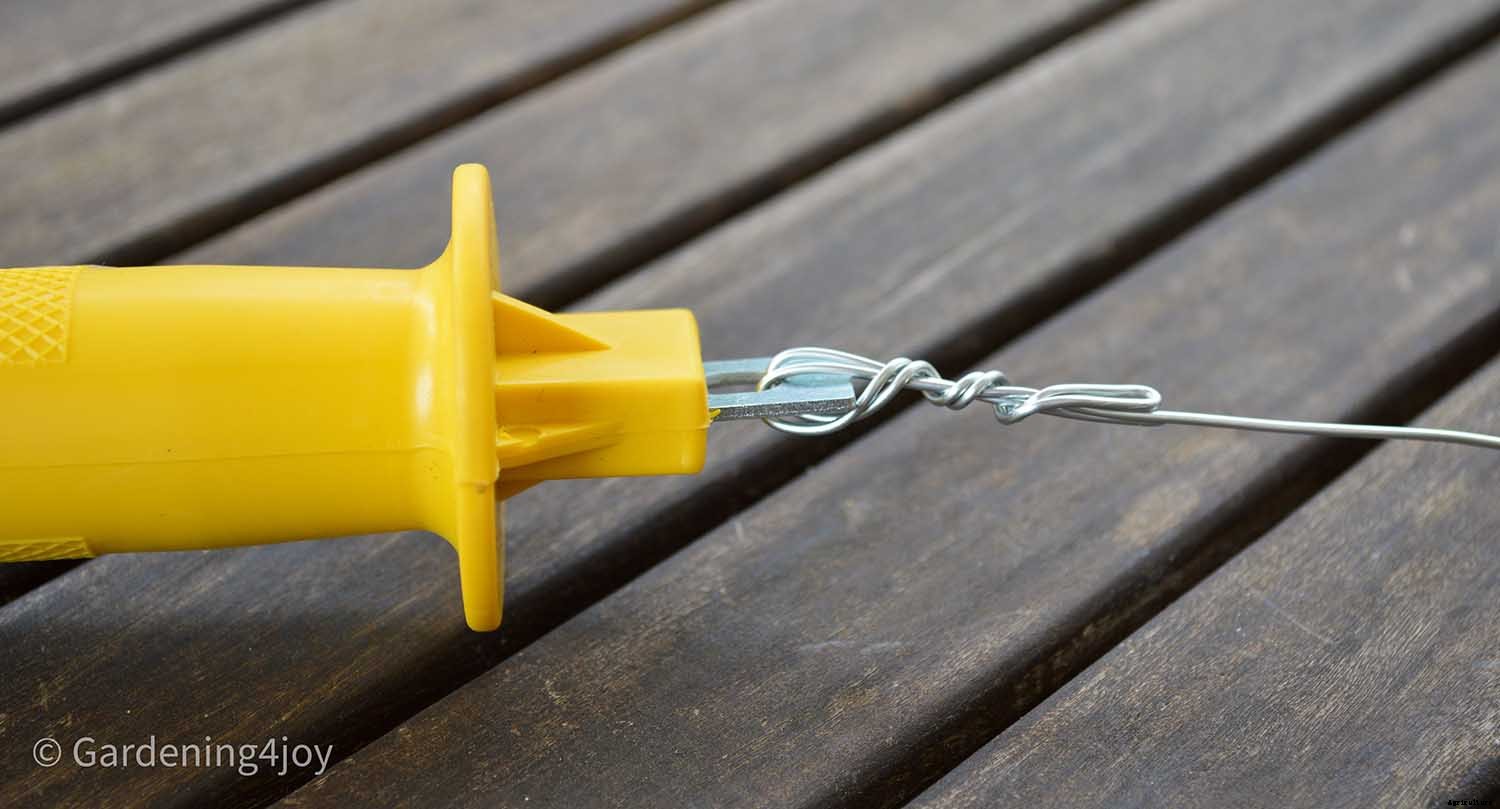
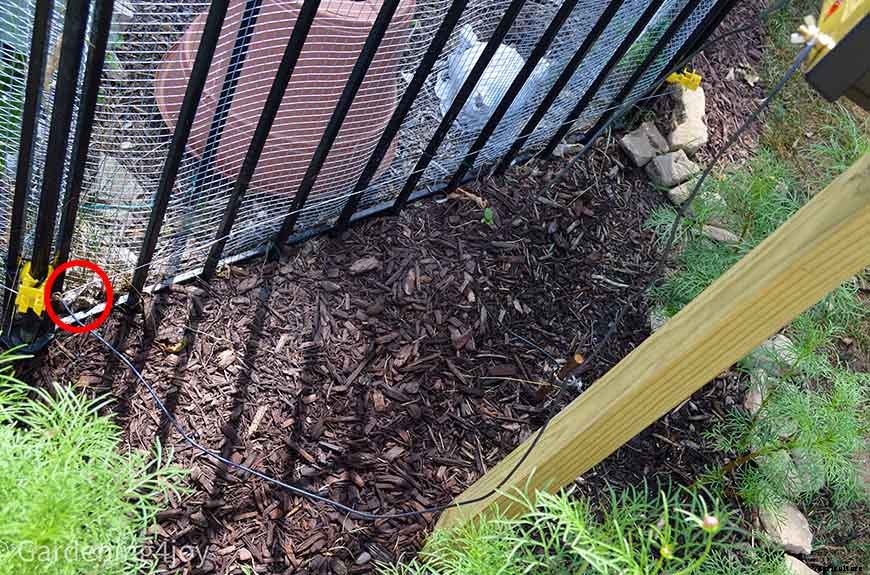
Let’s discuss the gate handle and how we began the process.
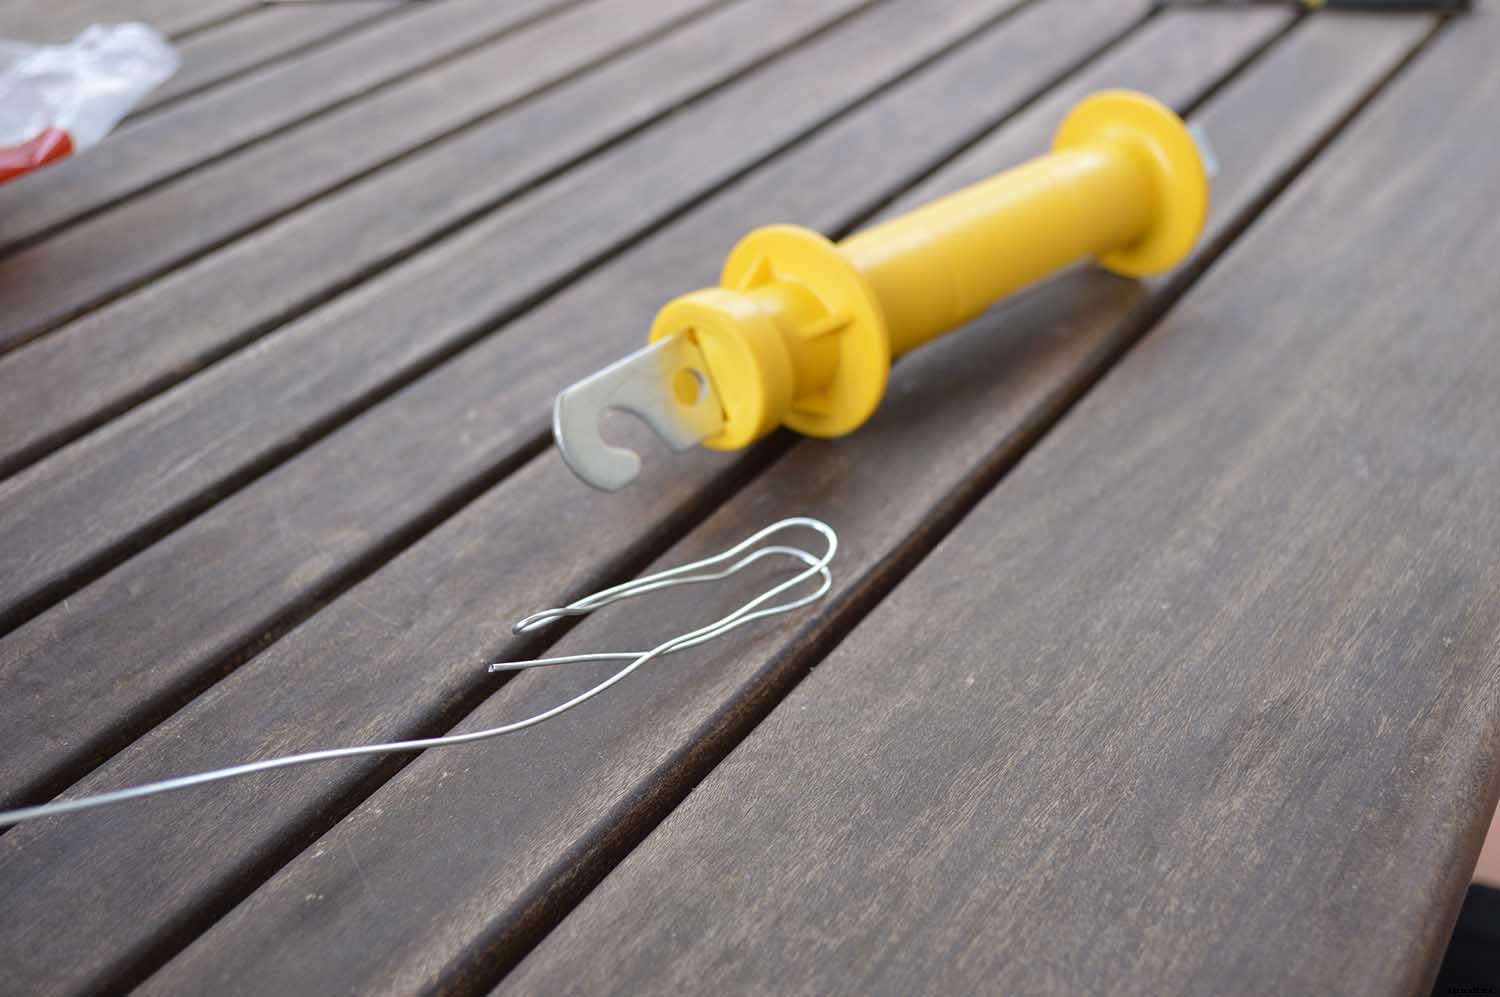
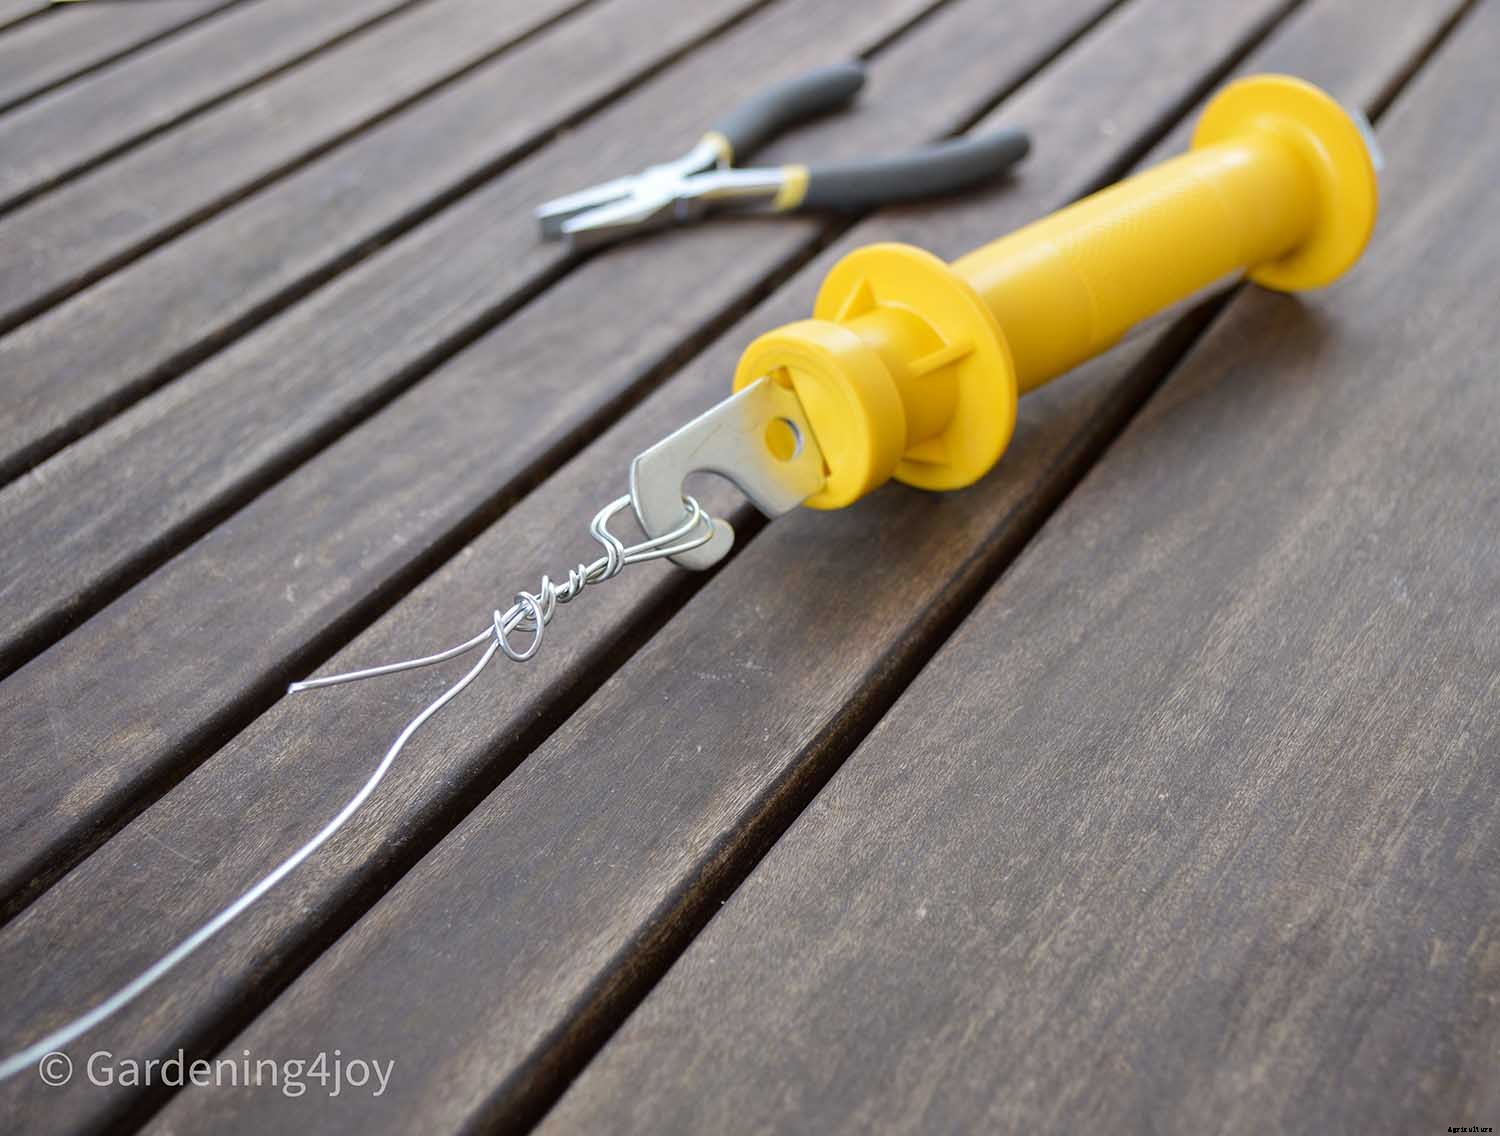
From this point, wrap the wire around the entire fence circumference securing into the pre-installed insulators. At each insulator, wrap the wire around the plastic part of the insulator once. Keep the wire taut around the fence. After you have installed the wire around the fence, you will find yourself back at the other side of the gate. Therefore, you will need to secure the wire to the other end of the gate handle to complete the process.
A properly installed ground rod(s) is the most important component of your fence. What worked for us, may not work for you as it is dependent upon your situation including the dimensions of your garden, the amount of moisture in your soil, and the wildlife you are trying to keep out. If your fence is not properly grounded, a shock may not be felt or may be too weak to deter a groundhog from entering the garden.
The basic principle of an energized fence is as follows. First, an animal comes into contact with the wire of the energized fence. Second, the power leaves the positive charge of solar panel and travels along the fence wire. Third, the current goes thru the animal and down their feet into the ground. Forth, the current travels through the earth back to the ground rod. Finally, from the connecting wires on the ground rod, the energy travels back to the negative charge on the solar panel thus completing the circuit.
In our situation, one ground rod driven 5 feet into the ground worked. Some manufactures of solar chargers recommend that three ground rods be installed. Do your homework when determining what is needed. For example, talk directly to the solar-charger companies.
Digging a five-foot-deep hole was not easy in our clay based rocky soil. This took three days of manual effort to complete. Once the hole was dug, we placed both the 4”x4”x8 foot pressure treated wood post and the copper-clad ground steel rod into the hole and backfilled with dirt and rocks. Next, we mounted the solar charger to the pressure treated wood post.
At this point, you have completed the following:
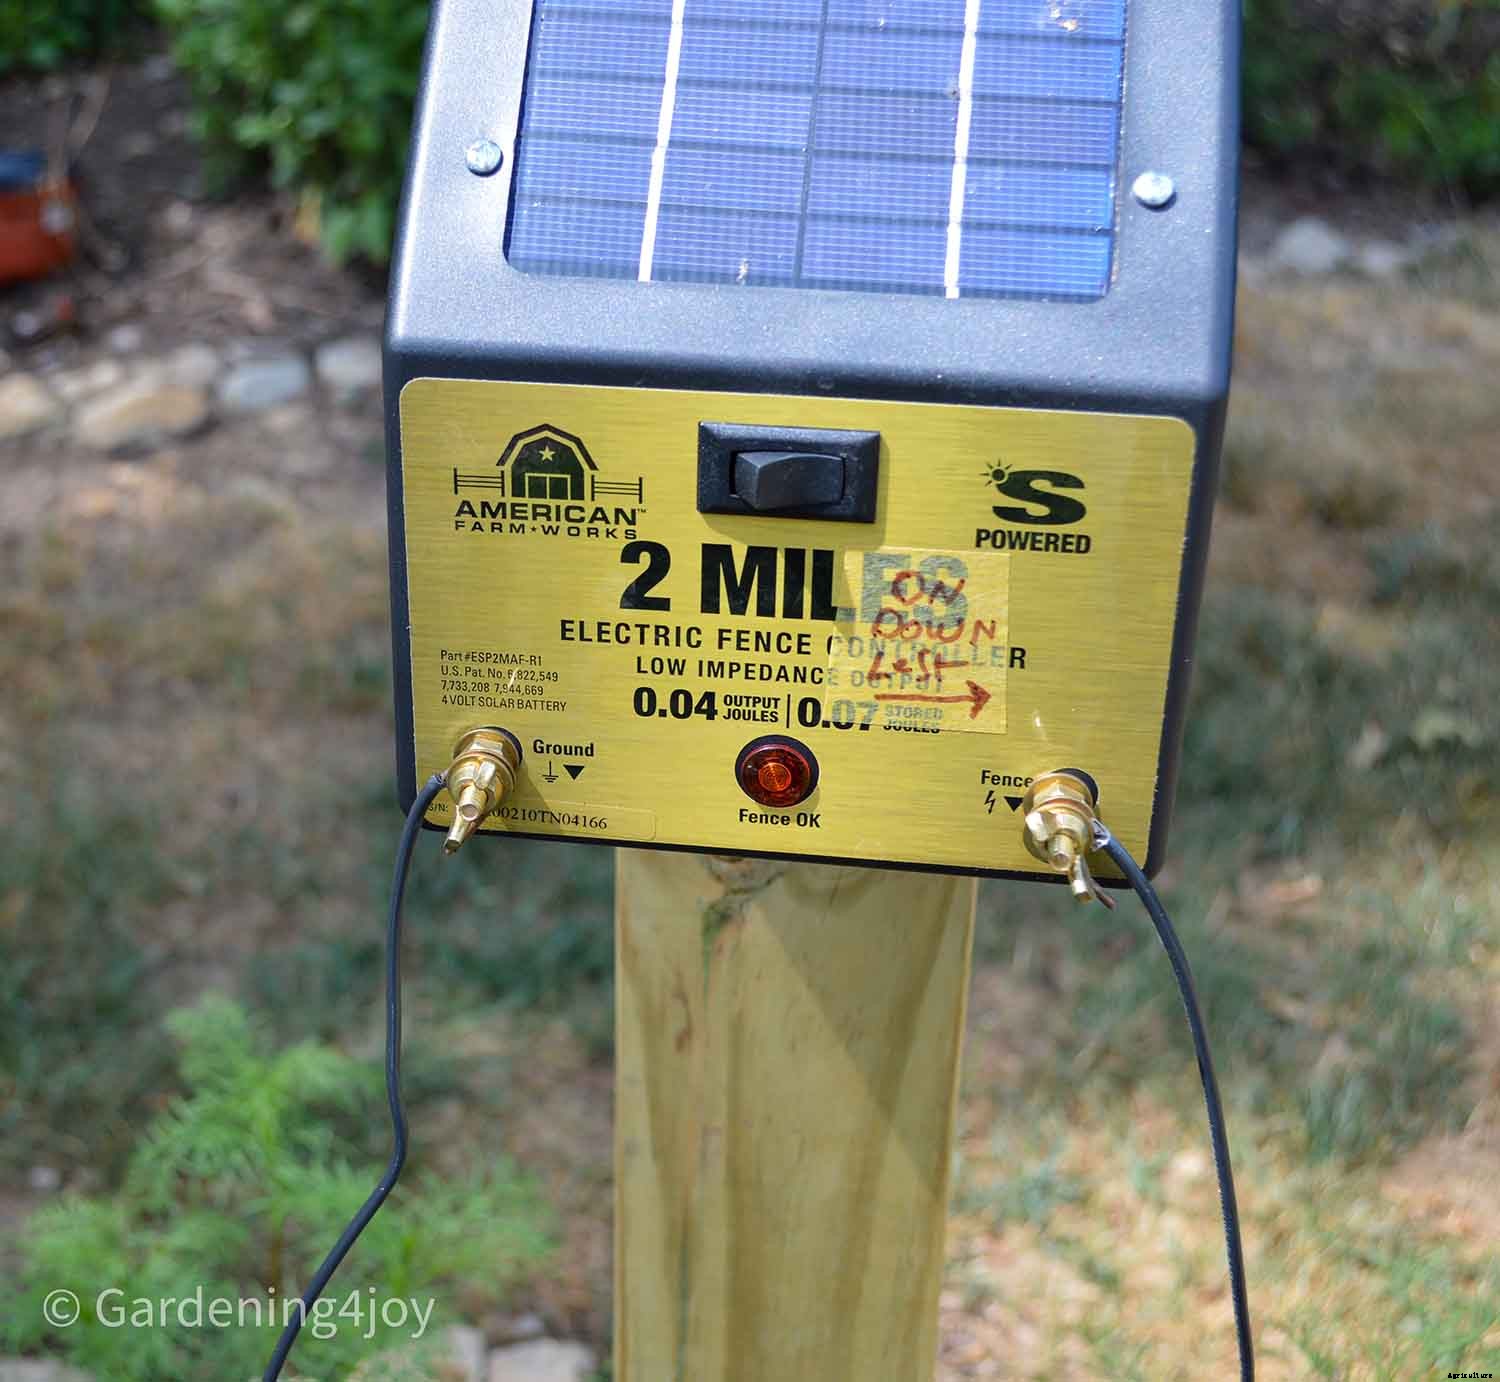
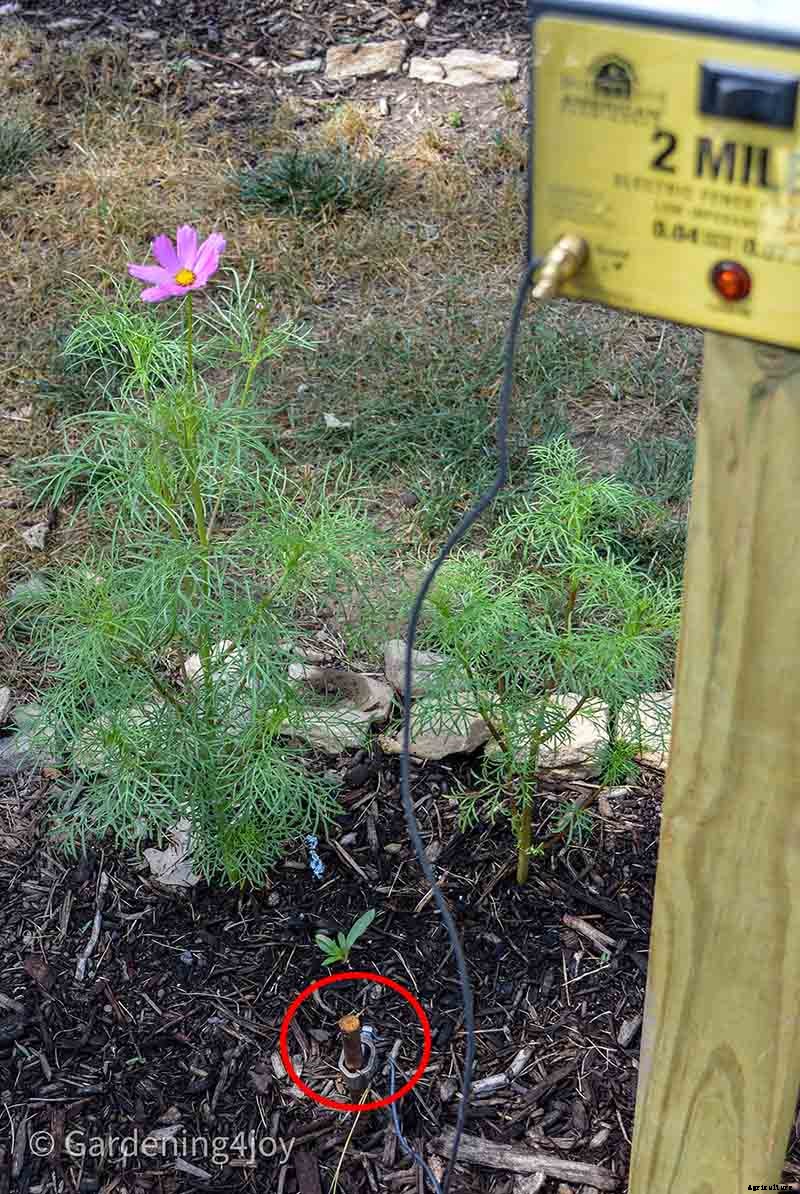
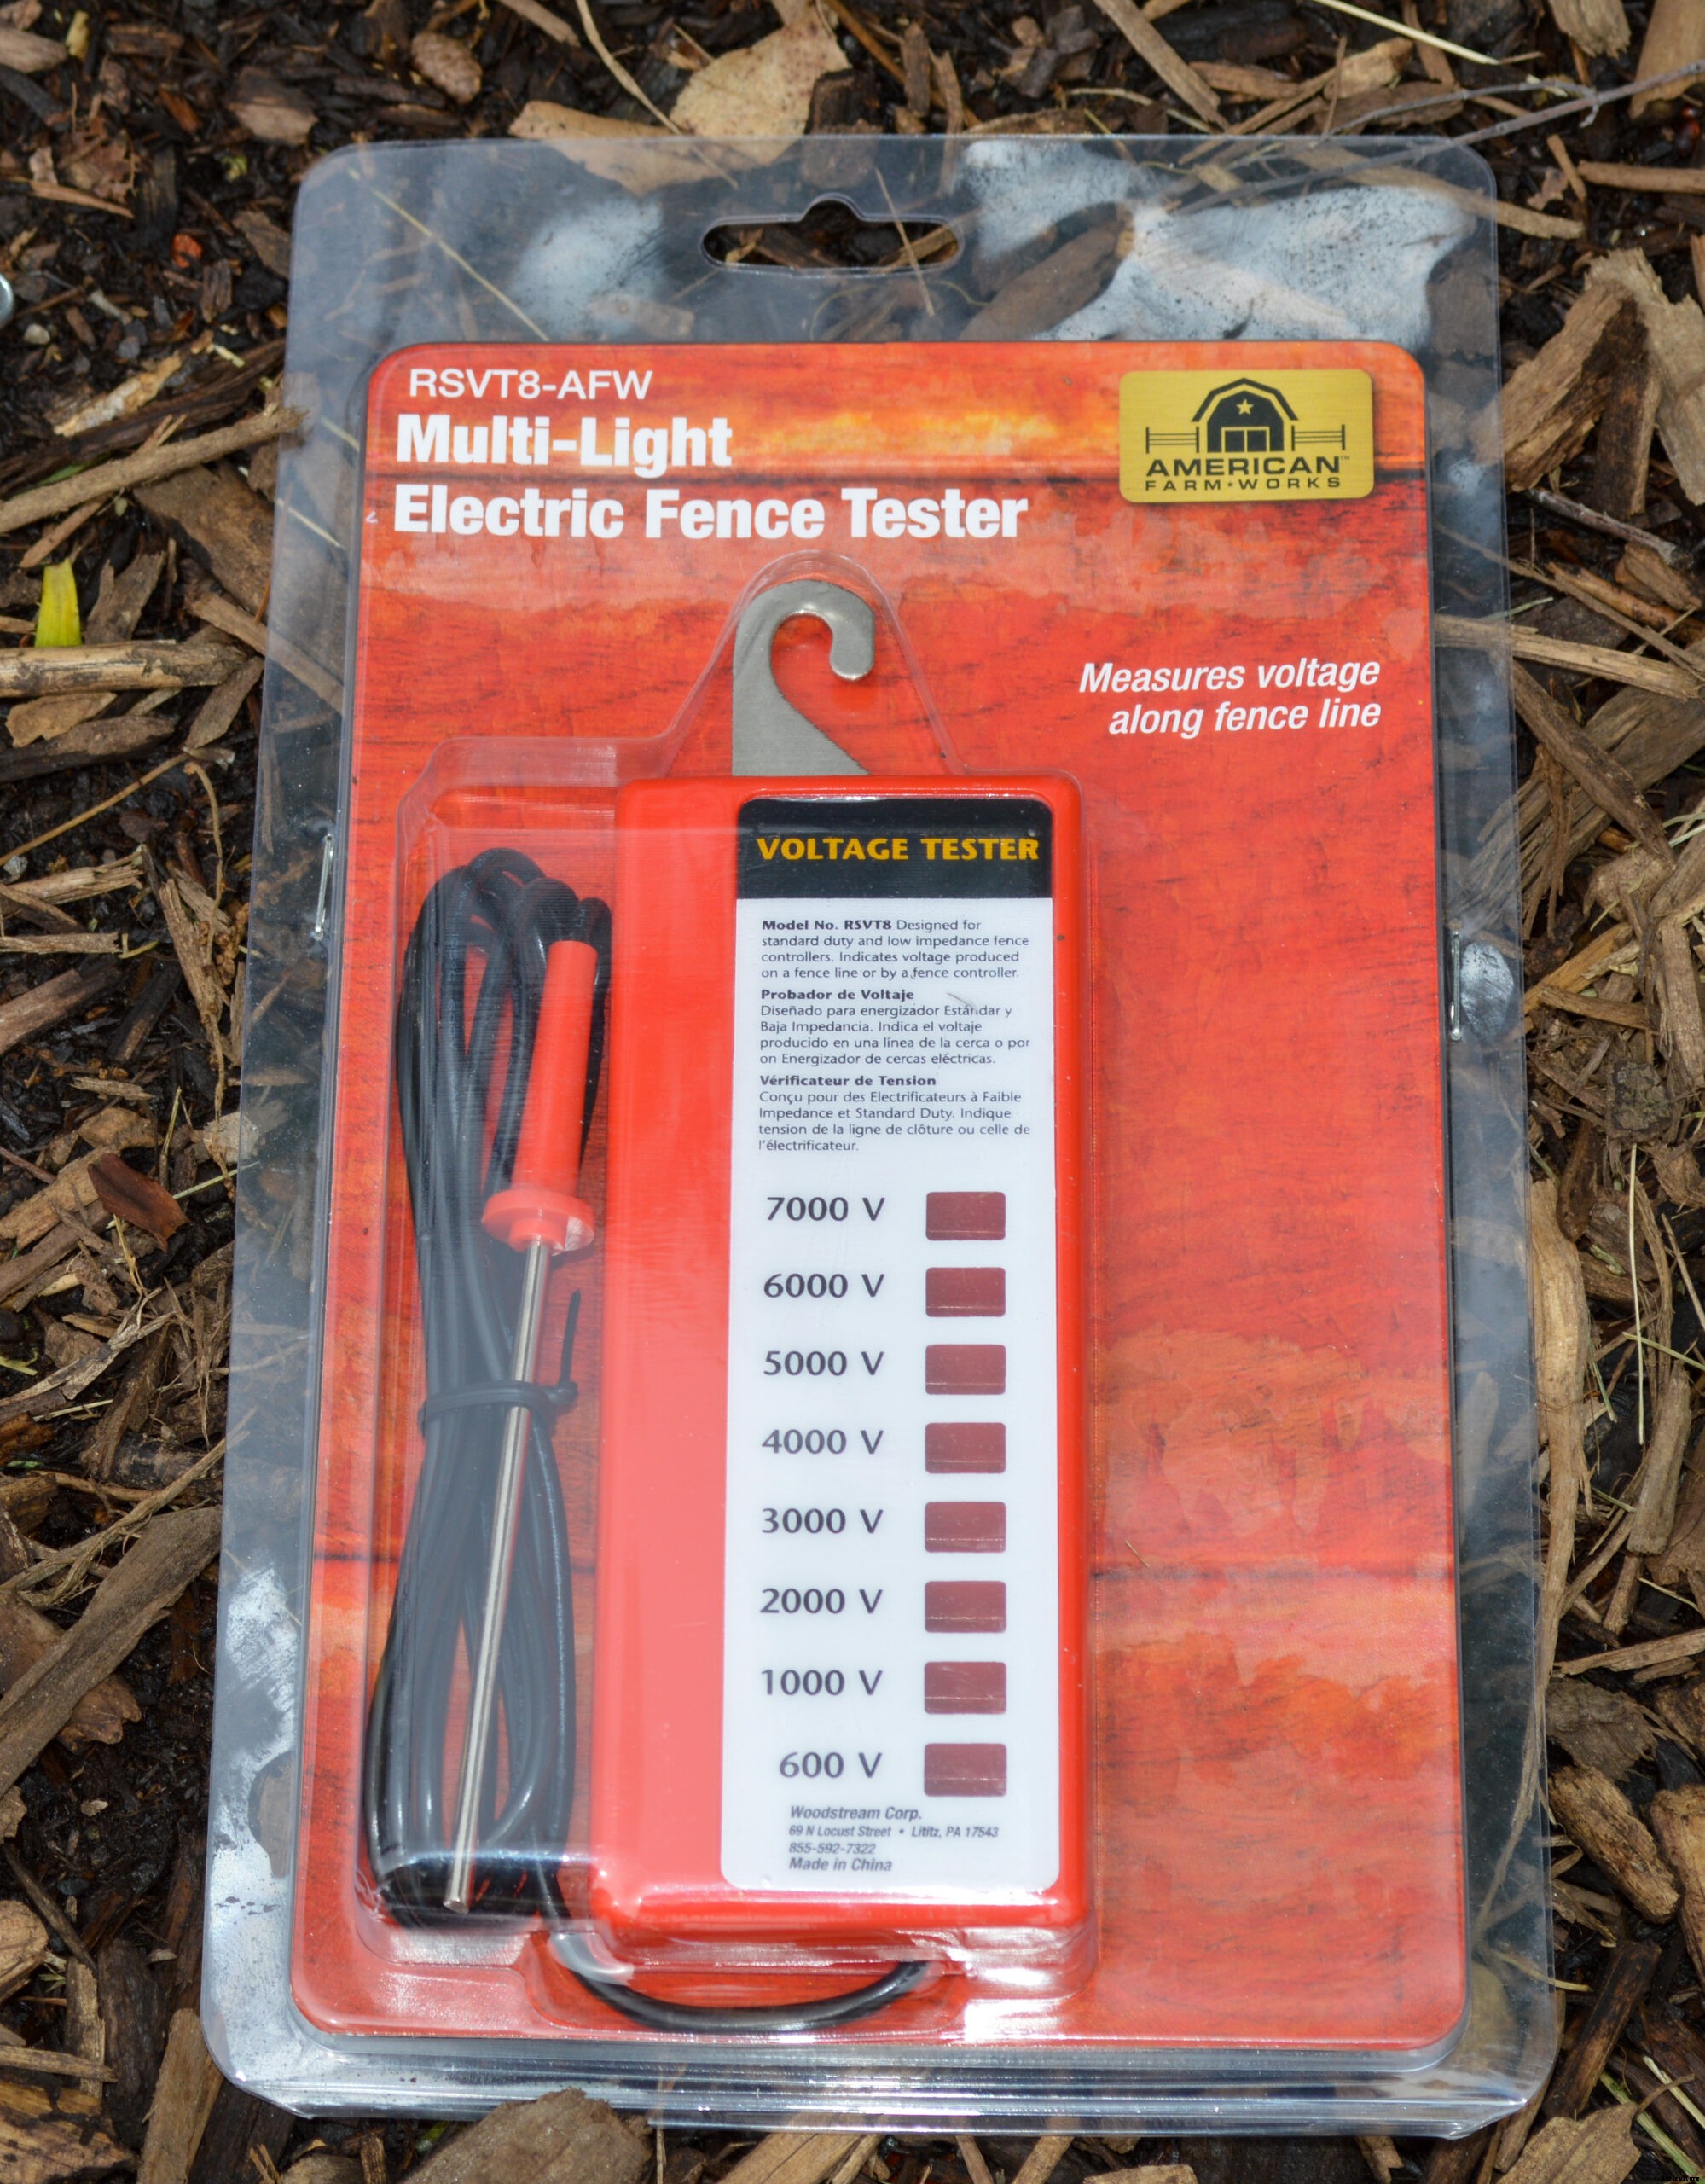
Now, you are ready to energize the wire. Make sure the solar charger is in the off position. First, cut and install a length of the ground wire long enough to travel from the ground rod over to the negative ground charge on the solar charger. Second, cut and install another length of ground wire long enough to travel from the fence wire over to the positive charge on the solar charger. Third, turn on the solar charger and test the charge on the fence using the electric fence tester.
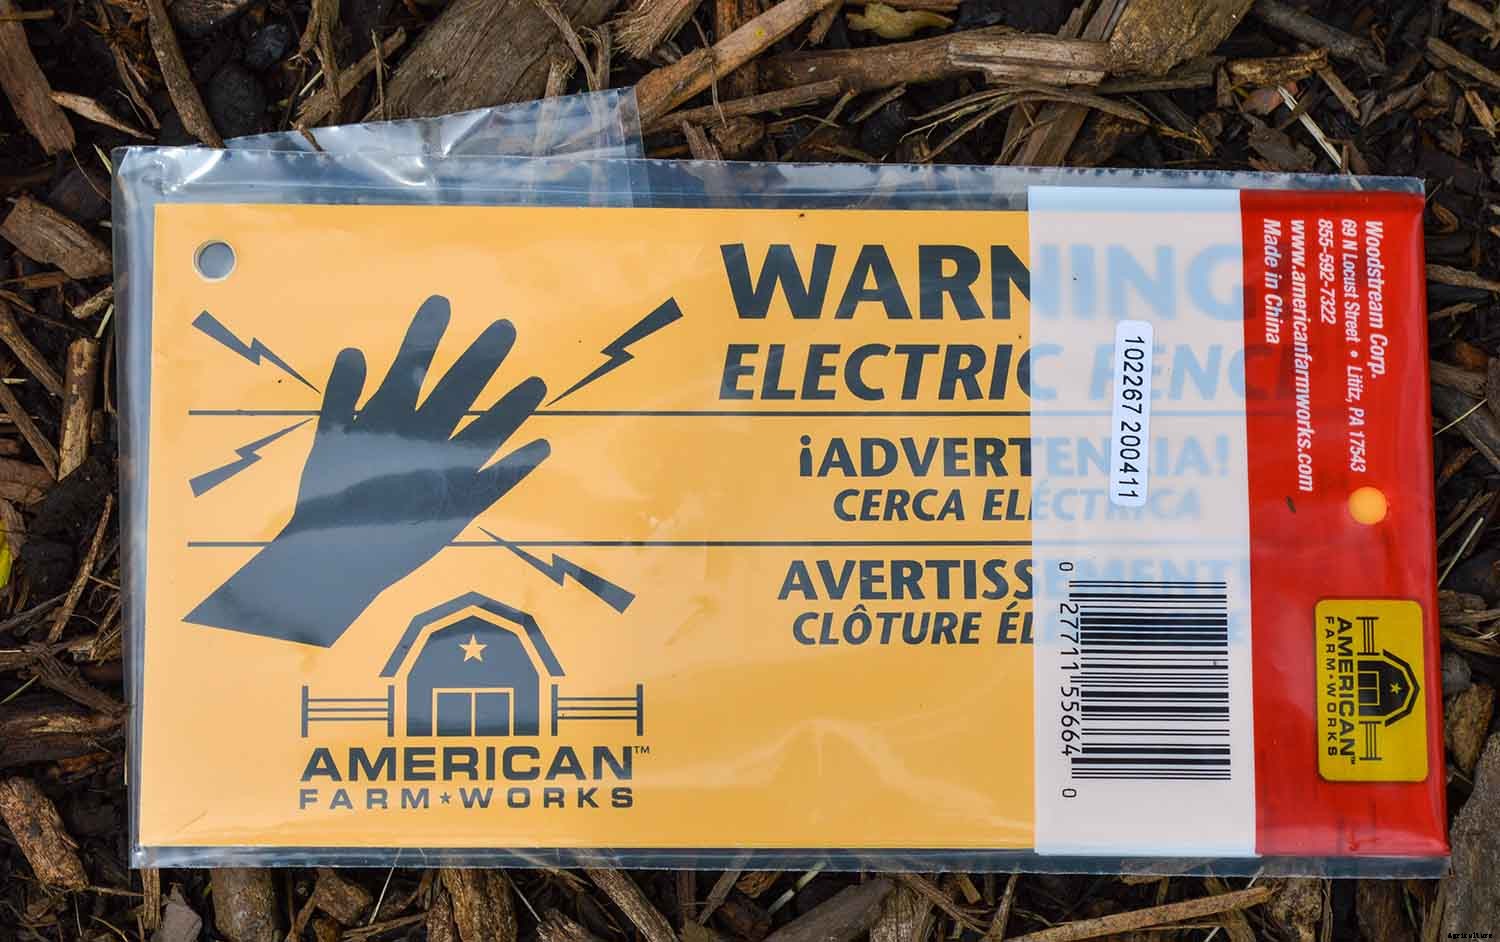
We hung three signs around the fence (the signs came in a package of three).
Keep vegetation from growing up to and touching the energized wire. Vegetation touching the wire may reduce the voltage of the fence. We solved this problem by laying down a 1 foot wide strip of cardboard around the perimeter of the fence. Next, we covered the cardboard with mulch.
Visually inspect your fence each week. Check the insulators and the connections for the gate. Finally, test the fence periodically to see how the charge is holding up.
In conclusion, I wish you good luck with deterring groundhogs or other wildlife from entering and causing damage to your garden. We have found the single wire solar powered fence to be a good deterrent. I hope you have found this post useful in your research to install a solar-powered fence to keep groundhogs out of the garden.
If you have other pests in your garden, check out this post on Managing garden pests with an integrated approach.


