
Welcome to Modern Agriculture!

I really love starting seeds indoors because there is such a joy when the seedlings emerge. Next, watching as the seedling matures enough to be planted is equally rewarding. Finally, the biggest excitement, of course, is from either harvesting a food you have grown or seeing a beautiful flower develop. In addition, I like having complete control over how much I plant and when I plant. In this post and accompanying video, I discuss three aspects of starting plants from seeds: supplies needed, the planting process, and caring for seedlings.
Before I get started on these topics, I want to mention planning. Whether you are planting one variety of seed or multiple varieties, planning will help you know what to expect at various points in time. I invite you to reference my blog titled “How to create a simple crop management plan” for information and resources on planning. Good planning will also ensure that you don’t start your seeds too early, something that I was guilty of when I first began seed starting.
Here is a list of the key supplies that you will need.
Start with fresh quality seeds that have been packaged for the current growing year. However, it is possible to use seeds as old as five years. Just beware, the germination percentage (e.g. number of seeds that will sprout into seedlings) will go down the older the seed gets. The seed packet has lots of information that will help you with planning. There are three key date related pieces of information that you may find on a seed packet (I say ‘may’ because each seed company provides different pieces of information).

This is the mixture you will use to plant the seeds. It’s important that you purchase a quality growing medium. There are commercially available mixtures, specifically formulated for starting seeds, that you can purchase for a reasonable price. Many of these mixes are referred to as ‘soilless’ which means, as the name implies, there is no soil. These soilless mixes ensure that no bacteria or fungi are introduced into the medium. In addition, these mixes are usually made up of some combination of peat, coconut coir, perlite and/or vermiculite. When you open the bag, there should be a pleasant earthy smell and the mixture should be light and fluffy. The mixtures may also contain lime (for ph adjustment) and macro-nutrients (nitrogen, potassium, phosphorus) and micro-nutrients (chlorine, copper, iron, manganese).
It’s important to read and understand the contents of your mixture so that you will know how to care for the seedling. If there are nutrients in the mixture, then additional fertilization may not be necessary.

This is where you have the most flexibility. Just about any container can be used if there is good drainage in the bottom. Plastic trays are my favorite for three reasons: reuse, there is a water-catching tray, and there is a dome.

After you plant your seeds, label what you planted. You can be creative and make your own or you can purchase plant markers as shown.

Here is the six-step process that I follow when planting seeds.
Start by wetting the growing medium you will be using. I use a bucket and put as much mixture as I will need into the bucket. Then add water, a little at a time until the mixture is moist but not soggy.

Fill the planting container with the growing medium and gently compact down, you want a good foundation into which to plant your seed.
The seed packet may indicate the ‘seed planting depth’, check your packet and plant accordingly. I use a folded legal size envelope and a toothpick to assist with planting seeds. I have found this so much easier than using my palms and other seed planting devices. Here is my process that is demonstrated in the video.

While this step is optional, I like to use vermiculite because it is light and helps retain the moisture in the growing medium. Vermiculite is a mineral that undergoes expansion when heated and forms light particles.

Cover with either a dome or with plastic wrap to hold moisture during the germination process. Once the seeds germinate, remove the cover.

There are four primary things that seeds need: oxygen, moisture, light and a good growing medium. If you followed the steps above, then you already have a good start on the planting medium, oxygen (a function of the medium) and moisture. Let’s now look at the different stages of care:
For the germination process, the seeds will continue to need moisture and should be checked each day. The plastic dome or plastic wrap will help keep the environment moist. Seeds also need warm soil temperature, and this can be aided by placing the seed tray in a warm place (65-75 degrees F) and/or on a specially designed seed heating mat (these are available in garden stores and online). I have found the heat mats to be especially helpful in speeding up germination. If you don’t have a heat mat, you can use the top of a refrigerator or a radiator. Once germination has occurred, the extra source of heat can be removed (e.g. heat mat, radiator).

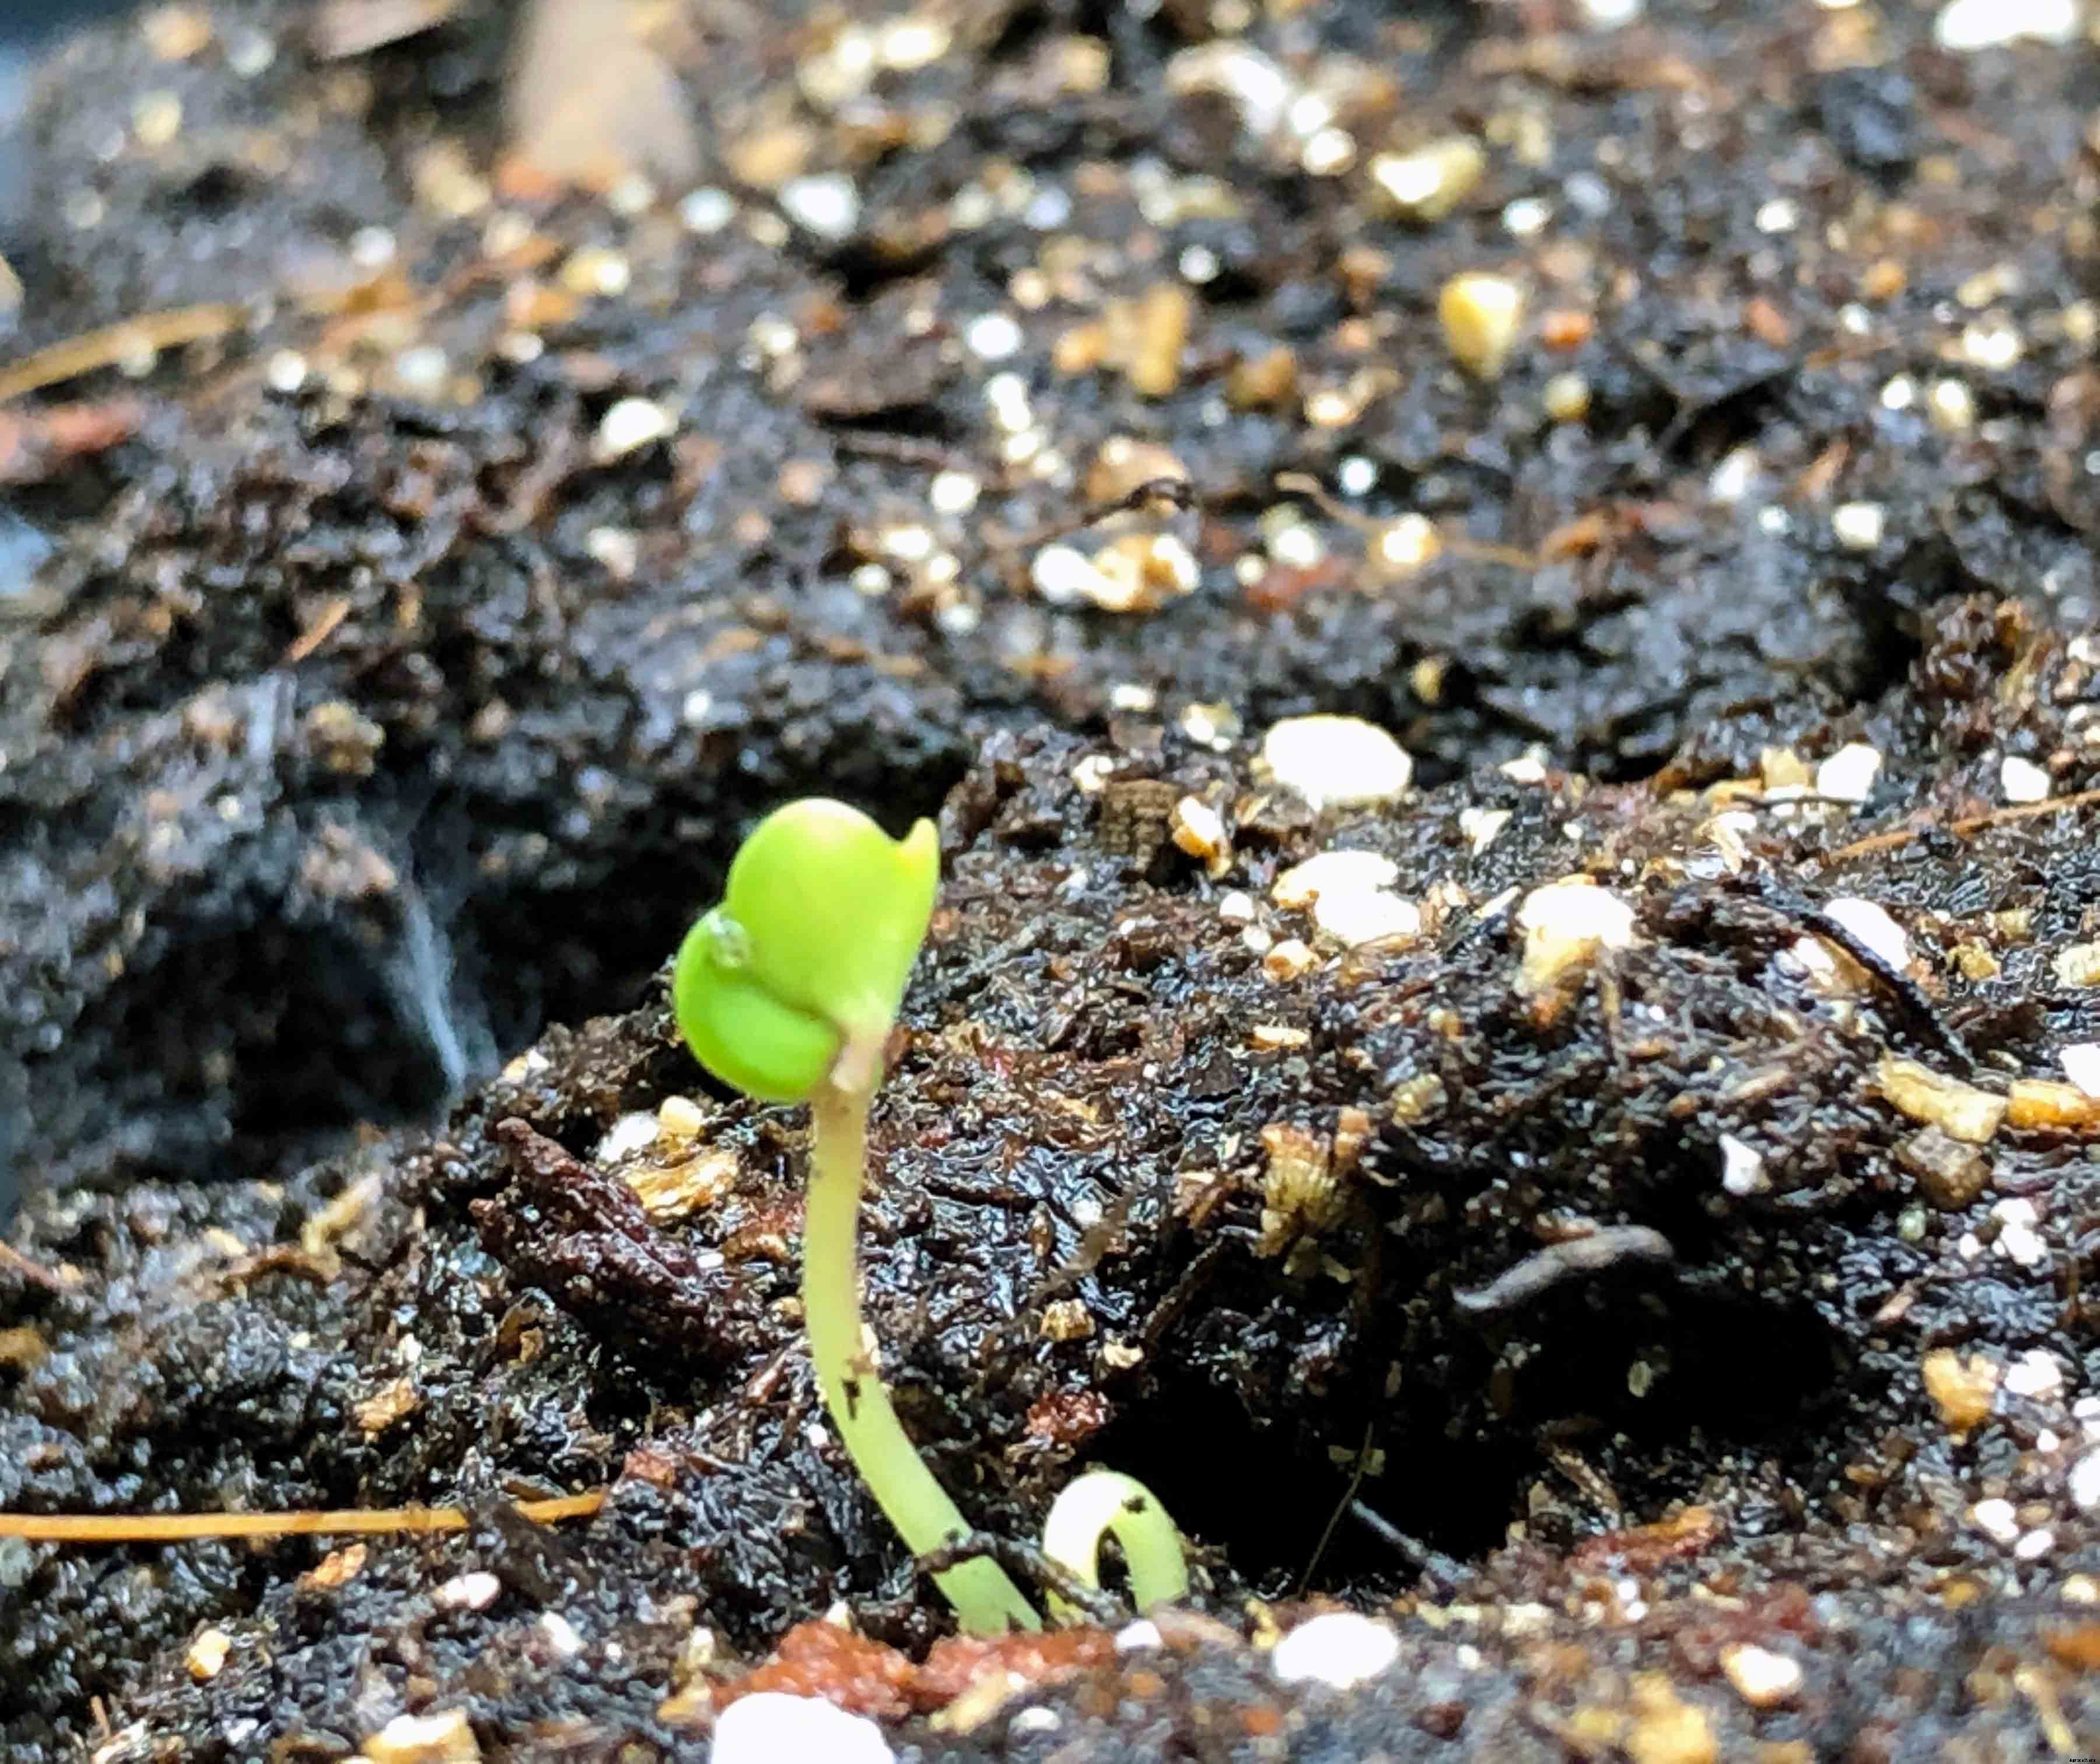
Once germination has occurred; the dome or plastic wrap should be removed. The following requirements should be maintained. It is important to remember that the first set of leaves that develop are called the cotyledon or seed leaves (leaves that live within the seed, how fascinating). The second set of leaves are referred to as ‘true leaves’. You can see these in the picture of the spinach at the right.
In the image, you will see the cotyledon (seed leaves), which are the long slender leaves. You can also see the true leaves, which look more like a spinach leaf. These are the rounder, shorter leaves.

The seed tray should be placed near a sunny window or under fluorescent/led lights. I use full spectrum led grow lights and have had good success. There are a lot of opinions about lights and I encourage you to read the following article from Texas AgriLife Extension Service. Without the right amount of light, the seedlings will become leggy and weak and may not develop their true leaves. I leave the lights on for 16 hours and off for 8 hours. It is important to give the seedlings a rest.
Check your seedlings each day and water as needed. You can usually see, via visual examination, when the mixture is dry, and you can also feel the mixture. The smaller the size the of the container, the quicker it will dry out. I like using a cleaned dish detergent bottle for watering. This allows a very accurate watering process.
If the medium did not contain any added fertilizer, then you should fertilize after the seedling has emerged. This will ensure strong and rapid growth. I fertilize once a week using half the strength recommended on the fertilization container. Apply when you water.
A fan is useful for promoting two positive effects: preventing disease and developing strong, sturdier seedlings. I run the fan on the same cycle as my lights (16 hours on, 8 hours off).
If you planted your seedlings in individual containers and planted multiple seeds per container, then you may have multiple seeds germinate. To ensure that there is one strong seedling, it is necessary to remove the weaker of the seedlings. This is best accomplished by using a scissor and cutting the stem of the weaker seedling(s) right at the soil level.
Some seedlings will need to be transplanted to larger containers prior to being transplanted into the garden. This is true if the seeds were broadcast into a planting container (e.g. each seed does not have an individual container) or the seedling grows too large for its initial container. Carefully dig up the seedlings and gently pull them apart. Handle the seedling by the leaves as opposed to the stems and roots. Place in the new container and water. If the medium used does not contain any fertilizer, then the seedling will need supplemental nutrients. Follow the same directions as mentioned above for fertilization.

Full spectrum grow light

Clean dish detergent bottle for seedling watering

Small clip on fan to strength seedlings after germination
When multiple seedlings emerge in a single cell, keep only one
This is the process of acclimating the seedling to the outdoors. The timing of this process is based upon whether the seedling is a cold-season (lettuce, spinach) or warm-season plant (tomato, cucumber). Also, the seedlings should have multiple sets of true leaves before starting the hardening off process. New growth is a sign that the hardening off process is going well and the seedling is ready for transplanting (generally 1-2 weeks). There are a couple of methods to harden off plants.


The final step in the process. After the hardening off process, you are ready to transplant your seedlings in their final growing space. Take care to understand the spacing requirements between individual plants and between rows of plants (usually found on the seed packet). I find it helpful to first plan out the spacing, dig the holes and then plant the seedlings. In addition, it’s helpful to prepare the hole with a generous dose of fertilizer to give the transplant a good start. See fertilization above in seedling care.
There you have it. If you provide the seeds with a good growing medium, moisture, light and oxygen, and supplement that with care, then you should have good healthy seedlings. Remember approach your work with enthusiasm, enjoy!

University of New Hampshire Cooperative Extension Seed Starting Fact Sheet
University of Connecticut Seed Starting Seed Starting Fact Sheet
Rutgers Cooperative Extension Seed Starting Fact Sheet
Utah State Cooperative Extension Seed Starting Fact Sheet


