
Welcome to Modern Agriculture!

How to Grow Organic Kale
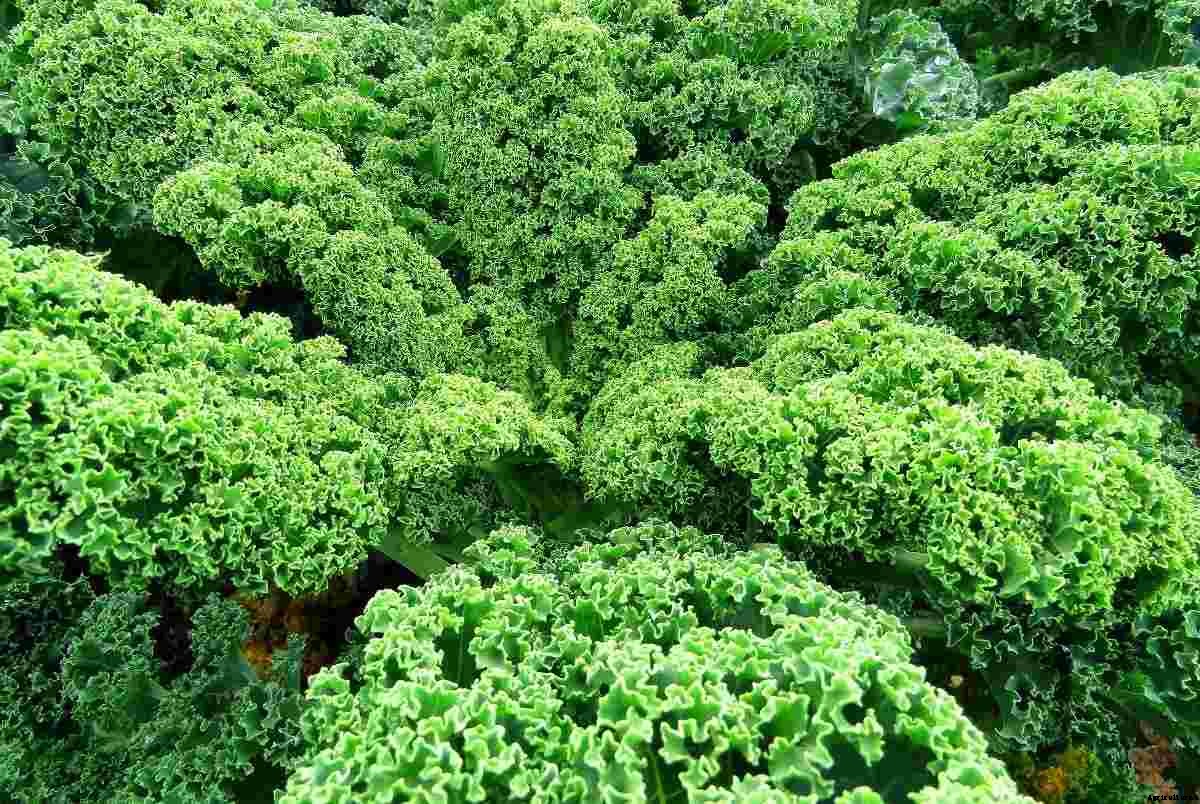
Hello friends, today we are here with a new topic called ” Growing Organic Kale”. Kale is a member of the Brassicaceae family and it is closely related to Broccoli, Cabbage, and Cauliflower. Growing Kale organically is an easy process. Everyone can grow this Kale vegetable in their home garden, even the beginners. Also, it is super healthy for skin and hair. Kale is rich in vitamins A, C, and K as well as potassium, manganese, iron, and copper; the leafy vegetable is also tasty.
Some of the popular Kale varieties are given below;
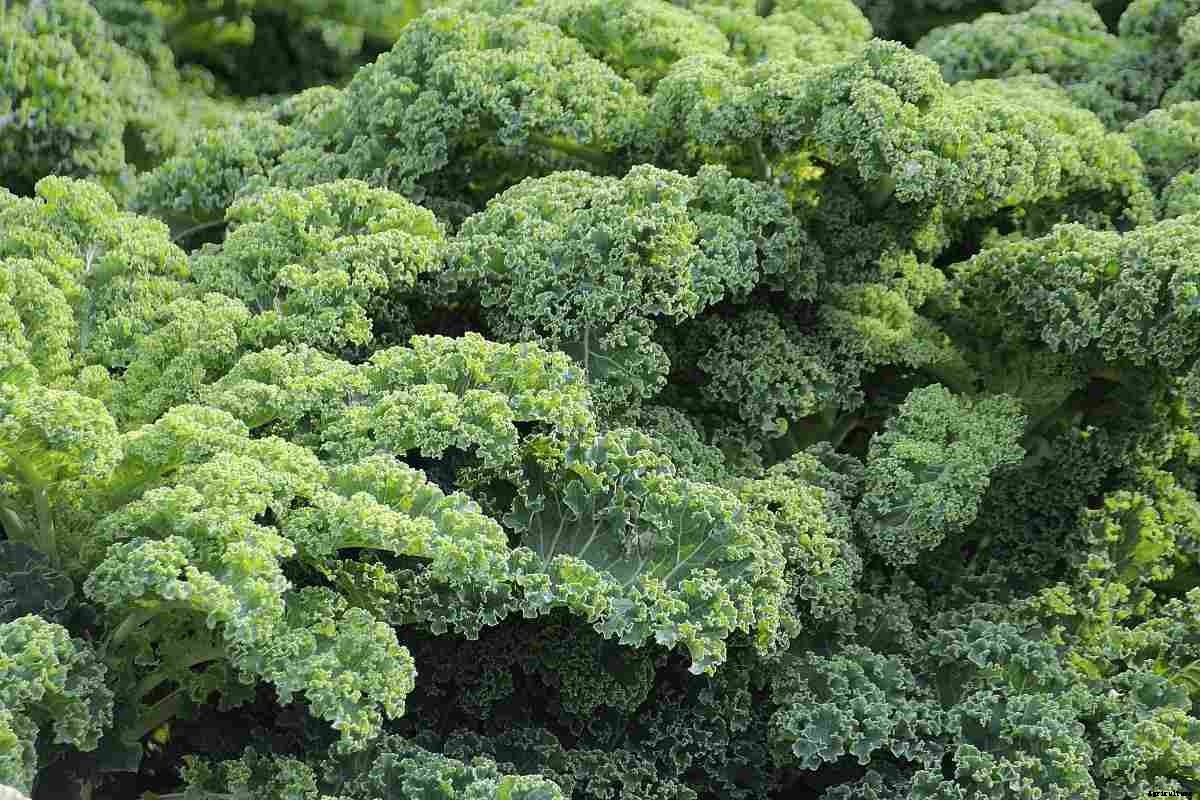
There is a wide variety of Kale vegetable varieties that can be grown, and all of them have different advantages for growing them. Kale varieties are categorized into several types depending on their leaf type. Then, these leaves are bumpy-leaf, curly-leap, and plain-leaf. Choose the right variety for home gardens depending on their availability and surviving ability in your area. You can consult with any local home gardener for better plant recommendations.
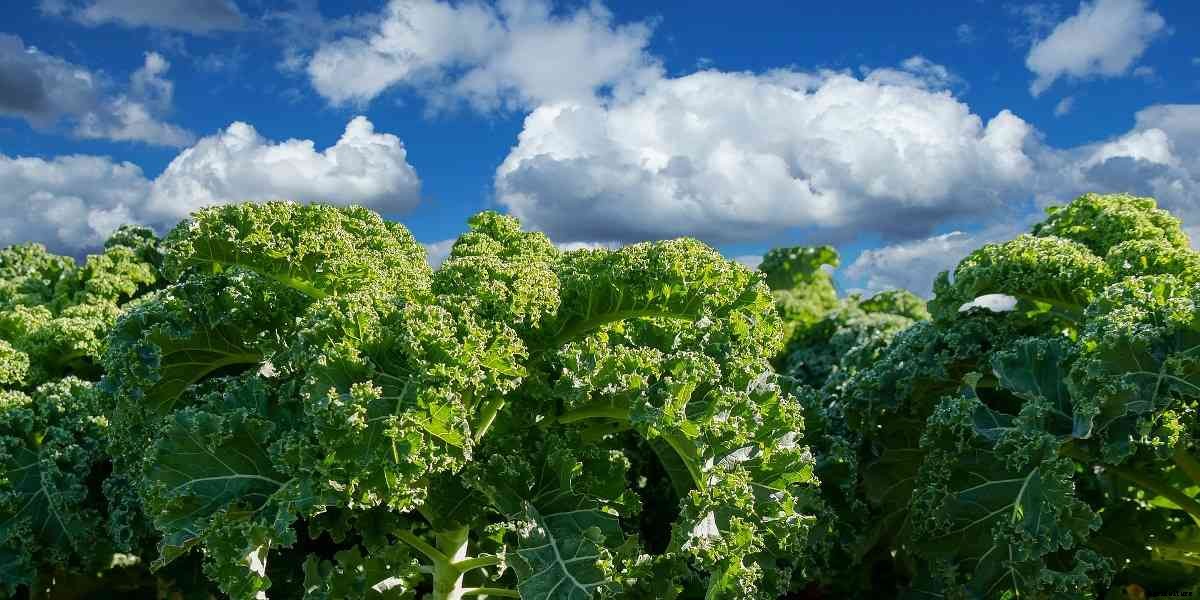
When planting during the cool season, choose a spot that will receive abundant sunlight. Approximately 8-10 hours of sun is recommended per day. Because the Kale plant is grown for its leaves and not its flowers, it can handle full sun to part shade. If you live in a warm, dry climate, provide your plant with some shade, particularly during hot afternoons. Heat can make the Kale leaves wilt and lose their flavor.
Kale is an extremely cold-hardy vegetable, and they flourish in full sun and hot weather as well. Exposure to frost will improve the flavor of Kale leaves significantly. All Kale plant varieties will thrive in temperatures anywhere between 4-37°C. Mulching also helps maintain a steady temperature around the plants. These plants grow best in full sun and cool, moist soil that is enriched with organic compost.
Generally, the Kale plant is propagated through seeds from October to November. You can either grow these plants in a container or yard. For growing Kale in pots, choose a well-draining, regular potting mix. And after 4 to 6 weeks, once the leaves start emerging, transplant them to the garden. For outdoors, sow its seeds 15 to 18 inches apart and half inches deeper in well-draining, loamy soil or use a seedling tray filled with seed starting mixture and then transplant the seedling in the garden after 5 to 6 weeks.
Start the Kale seeds indoors 5 to 7 weeks before the last expected frost. If directly sowing Kale seeds outdoors, do so 2-4 weeks before the last frost. Fertilize with fish and seaweed and kelp extract to encourage more plant growth. Mulch around Kale plants with a heavy layer of garden compost and this keeps the soil cool and provides readily available nutrients to the shallow feeder roots.
For propagating Kale from cuttings, snip off 3 to 4 inches cutting from the main stem of a healthy Kale plant. After that, dip this cutting in a rooting hormone before planting. Mist it regularly and then keep it in partial shade. Shoots will emerge within 3 to 4 weeks. You can transplant this later in the garden or bigger pot after 2 to 3 months when it shows good growth.
Generally, there are two methods of growing Kale by seeds. You can directly sow the Kale seeds right into the garden soil or can start the Kale seeds indoors in seedling trays and transplant the seedlings later in the soil.
1. Direct sowing method
You need loose and well-drained soil to grow Kale. Direct sow your Kale seeds about 0.5 cm deep. After that, cover Kale seeds with soil and water them around the Kale seeds.
Thinning – Once the Kale seedlings emerge, thin them to be about 18 inches apart. i.e., remove the extra crowded seedlings.
2. Transplantation method
Sow the Kale seeds in seedling trays filled with seed starting mixture such as the organic vegetable mix. Sow about 2 seeds in each cell. Transplant Kale seedlings after 5-6 weeks. To plant Kale, dig a hole in the soil about twice the size of a root ball. Then, place the root ball even with the soil level and backfill the soil.
Hardening – When you have started your Kale plants indoors, you slowly acclimate them to the outdoors. The hardening process is done to Kale seedlings by exposing them to sunlight every day and transplanting them into the soil.
Kale seeds germinate quickly in warm soil and sprout seeds within 5 to 8 days. If temperature levels are at the lower end of this germination range, your seeds may take an additional week to germinate. If you don’t have a warm spot to germinate your Kale seeds and then you can buy soil warming mats. Heating pads work well, but heat settings changing from manufacturer to manufacturer and can make the soil too warm or cause it to dry out quickly. When stored Kale seeds properly, your Kale seeds should last up to 5 years.
To help with the germination process, make sure your seed containers stay moist, but not wet. Start by watering the plants every 24 hours, but they look damp hold off and check on them again in a few hours. When the daytime temperature levels are over 7°C, you can start putting your Kale seedlings outside in the direct sun.
Generally, Kale is a cold season plant; it can also be planted in the warm season with sufficient shade. It must be planted around 3-5 weeks before the end of the cool season, or 3-5 weeks before the end of summer.
Kale plants are grown from seeds and you can plant the seeds at any time, from early spring to early summer.
You can direct sow Kale seeds in the garden 4 to 6 weeks before your last spring frost date, or start Kale seeds indoors about 4 weeks before your last frost. Plants mature in 50 to 65 days, depending on plant variety, but you can also pick leaves much sooner small, tender Kale leaves can even be eaten raw in salads.
If you plan for growing Kale plants late in summer, then you can expect to harvest from fall until the ground freezes in the winter season. Level the soil and then mark several rows for planting Kale seeds. Planting the Kale seeds in rows will make the caring process much easier. While planting, sow the Kale seeds about 1/4 to 1/2 inch deep. Kale germination time can vary depending on the temperatures.
Kale plants are started from seeds. Read seed starting methods before planting Kale. For tropics, planting Kale seeds can be done at the start of the winter season. Growing Kale is very easy. Then, sow the Kale seeds in potting mix or soil roughly about 1 cm or 0.5 inches deep and keep the soil moist to speed the germination process. Generally, you can plant kale in the outdoors or in a container that is big enough.
Kale plant enjoys companion plants like Beets, Celery, Herbs, Onions, and Potatoes, but does not grow as well if planted near beans, strawberries, or tomatoes. Because Kale is a brassica; you should avoid planting it where other brassicas have been planted recently to prevent some diseases.
Kale plants get at least 1 inch of water per week, either from rain or the hose. Fertilize the Kale plant once a month with fish emulsion or compost tea. Kale plants don’t need additional fertilization if you already have prepared the soil by adding organic fertilizers.
The Kale plant is a hardy and easy plant to grow and great in cool temperatures, making it ideal for fall gardens. But there are some issues you may run into while trying to grow Kale.
Main problems growing Kale include discolored leaves, drooping, stunted growth, and insect infestations.
Sufficient watering will be required for the healthy growth of the crop. Please ensure you do not overwater the plant. Kale plants at least an inch of water a week during the hottest part of the growing season. Monthly injections of fish emulsion or compost tea can go a long way towards healthy leaf development.
You can keep Kale leaves clean and hydrated by mulching heavily under each plant. This prevents rainwater from splashing dirt onto the leaves and then allows the soil to retain moisture longer. Watering is important for a better germination process. So, water regularly after sowing the Kale seeds. Also, water the Kale plants regularly when they are growing. But be sure not to overwater the Kale plants. Use organic materials for mulching such as straw, compost, dry leaves, and grass clippings, etc.
Kale plants can be attacked by cutworms, cabbage loopers, and imported cabbage worms. Control these pests by handpicking or spry with Bt (Bacillus thuringiensis).
Pests and diseases tend to leave Kale plants alone, but there are a few that have the potential to wreak havoc on your Kale plants. The most common pest when you’re growing the Kale plant is the cabbage worm. To control this problem, pick them off by hand and squish them, or use Bt if you have a large infestation. The best method to control cabbage worms is to pick them off your leaves and squish them, or use an organic pest control spray to get them back under control.
The other problem while growing the Kale plant is that the leaves toughen the older they get. Try to harvest young plant leaves that are smaller than 12 inches. The best method to ensure plenty of tender Kale leaves is to harvest regularly; the Kale plant will keep producing new leaves from its center.
The Kale plant does not have many diseases or pest problems. Rotating crops helps to discourage many diseases such as downy mildew and black rot. Identifying and eliminating some common Kale pests can go a long way in your Kale plant protection program. Common pests affecting Kale include;
Aphids – Allow natural predator insects to do as much of the work of controlling Aphids as possible. If you should use an insecticide, use a soap-based product or neem oil. You may have to spray several times. These are a family of small insects with soft bodies and sucking mouthparts. Large groups of aphids appear on Kale plants, causing a fuzzy or spotted appearance. To use neem oil, dilute it based on product instructions, and spray it on your Kale plants. Also, insecticidal soaps can be used to kill aphids. Though, the best time to apply insecticidal soap is in the morning or evening. You must avoid spraying Kale in sunny conditions, as this can burn the leaves and damage your plants.
Flea beetles – For controlling this problem, choose an insecticide labelled for use against flea beetles and the label states the product is safe to use on Kale.
Caterpillars – For this problem, you’ll probably notice moths darting around the Kale plant before you see the caterpillars. In most cases, you can handpick them. In severe cases, or if you can’t bear to touch the pests, you can use Bt (Bacillus thuringiensis).
Whiteflies – Whiteflies tiny, white flying insects rise in a cloud above the Kale plant. By using insecticidal soap or neem oil and spray every few days until the Whiteflies are gone.
In case if you miss this: Cold Pressed Oil Project Report.
Kale can be harvested within about 1 month of becoming established. Leaf color is the best sign of harvesting and rich green leaves of firm texture are ready for cutting. If too dark and heavy, the plant leaves are tough and not as flavorful. Kale leaves can be harvested after the plants are at least 1 month old, or when the leaves have reached the size you desire. Deep rich color and firm texture is a sure sign that the Kale leaves are ready for harvest. Smaller leaves make great salads while the bigger and darker ones are excellent for cooking and stir-fries. To harvest Kale leaves, simply push on the Kale stalk until they snap off. Harvesting Kale leaves throughout the season helps to stimulate the plant to continue to produce new development.
You may also check this: Beans Farming Guide.
How long does it take to grow Kale?
Kale has a relatively fast growth rate and can grow from seed to harvest in about 2 months.
Does Kale need direct sunlight?
One of the most nutritious shade-loving vegetables around, the Kale plant thrives in just a few hours of sunlight per day.
Why are my Kale plants not growing?
Water is essential for crops, but too much or too little can cause some plant problems. If you’re planting a vegetable garden, the general rule is to give crops about an inch of water per week. If you live in a particularly moist climate, for example, an inch of water can be too much.
Does Kale regrow after picking?
When the Kale plant is harvested carefully, it works as a cut and comes again vegetable that grows back to regenerate its leaves for multiple harvests. For Kale to grow back, harvest the oldest leaves first the ones on the outside of the plant at the base. Use clean and sterilized shears to clip the leaves from the plant along with their stem.
Can Kale grow in pots?
Yes, the Kale plant can be grown in containers. Kale growing in containers must be fertilized every 7 to 10 days with a water-soluble 8-4-4 fertilizer mixed into water.


