Welcome to Modern Agriculture!

One of the easiest ways to propagate violas, aside from sowing or dividing them, is to take cuttings.
Taking cuttings also guarantees that you’ll get identical plants to the original, as most varieties won’t come true from saved seeds. Cuttings tend to be easy to root, taken either in spring from vigorous young plants or later in summer when established plants are growing back again, having been cut back and tidied up.
More advice on taking plant cuttings:
Take cuttings from your violas in quick six steps, below.
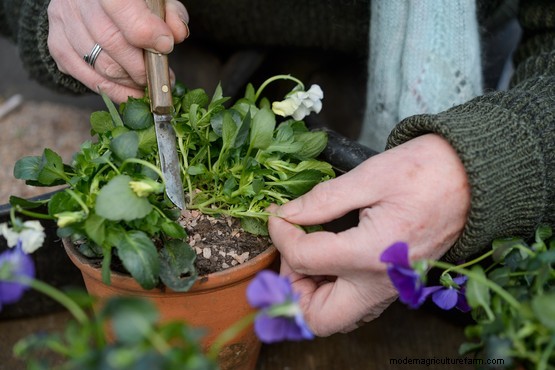
Look for short stems, without flowers or buds, and cut with a sharp knife. They’ll lose moisture quickly, so place in a damp polythene bag.
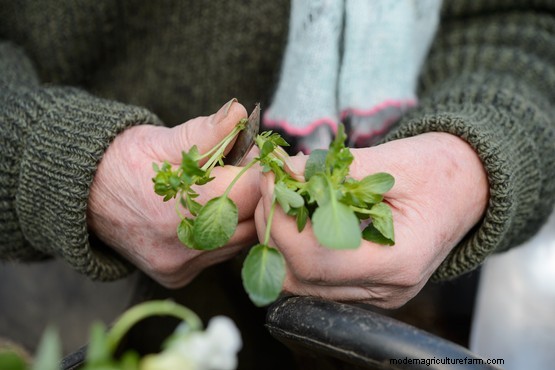
Trim each cutting at the base, just below a leaf node to give a neat end. Remove the bottom leaves.
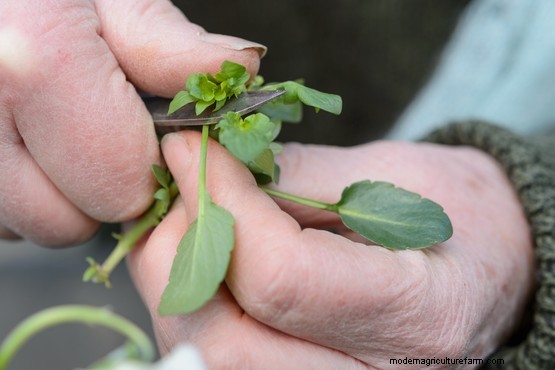
Nip out the growing tip to encourage sideshoots to form. Keep doing this to create bushier plants and more flowers.
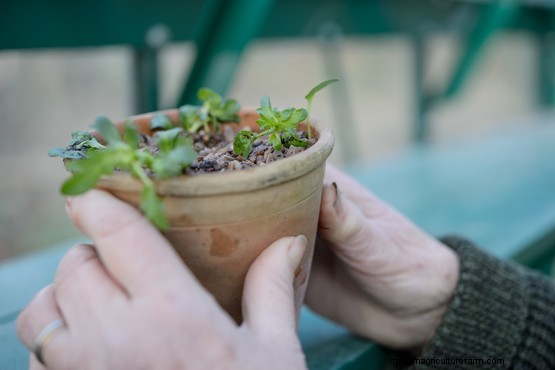
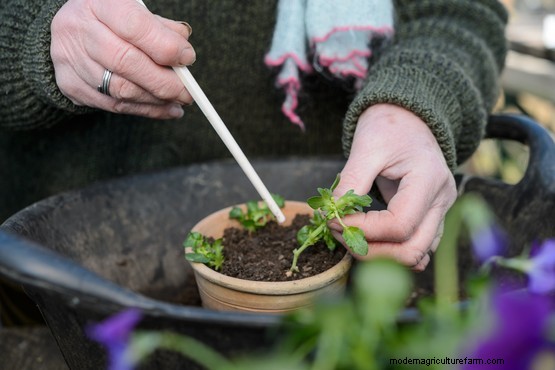
Fill small pots with gritty compost. Make holes at the edge of the pot and pop in the cuttings up to their bottom leaves.
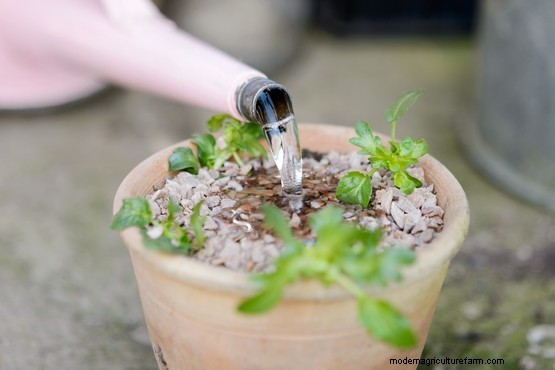
Cover the surface of the compost with grit. Water carefully from above to help settle the cuttings in the compost.
Place the cuttings in a cool, sheltered spot. Re-pot into individual pots when you see new growth and roots poking out the drainage holes.