Welcome to Modern Agriculture!

Hostas are low-maintenance plants that grace the garden with lush, green foliage and bell-shaped blooms throughout the spring and summer season. While these plants thrive even with little attention, there are a few things you should know about winter care for hostas. Proper preparation for the colder months will help your garden experience less disease and pest problems, bigger hostas, and overall healthier plants when spring comes around again.
As the colder temperatures of fall approach, the leaves of your hosta plants will begin to turn yellow and then brown. Don’t worry—this is normal! Your hostas are dying back to prepare for their dormant phase during the winter season. They’ll re-grow in the spring.
Most gardeners agree that it’s good practice to remove the old foliage during this time of year—before the cold temperatures of winter set in. With proper care, your plants will grow new, lush foliage next spring.
(See tip #1 below for more instructions on how to remove dead leaves.)
This post may contain affiliate links, which simply means I may earn a commission off of links at no extra cost to you. Thank you for supporting my site!
Unlike many plants, hostas don’t need a lot of winter protection. In most zones, they don’t need frost covers or blankets, even during harsh winters. In fact, a season of frost and dormancy actually helps them to thrive during the next growing season.
While hostas require little attention during the winter, they can benefit from mulching around the plants before the ground freezes. This is especially helpful for young plants and potted plants.
(See tip #4 below to find out more about how to mulch your hostas.)
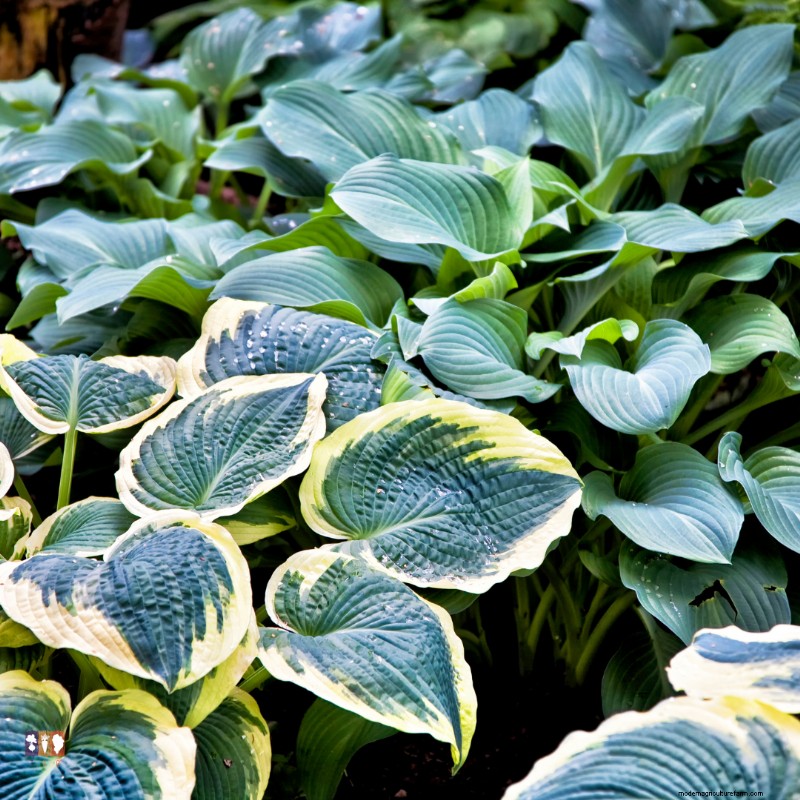
There are a few simple things you can do for your hosta plants to help them be even more resilient over the winter months and come back stronger than ever next spring.
Hosta leaves will begin to yellow, then brown in the autumn months. By late fall in most zones, all of the leaves will be thoroughly dead. (After the first frost, they may become a bit mushy, too.) Once the leaves are dead, cut back the hosta foliage at the base of the plant, about an inch above the soil line.
Why remove the dead leaves? Two main reasons:
First, cutting back your plant at the end of the season allows it to conserve energy for new growth the following spring. It’s a great way to prepare your plants for a healthy start next year.
Second, browned foliage creates a perfect place for slugs, snails, and other pests to hide under the shelter of the dead leaves. One of the biggest enemies of hostas are nematodes—microscopic roundworms that love to overwinter in dead plants and come out in the spring months to cause damage. (Note: if you notice that your plants are infested with nematodes before they are thoroughly dead, go ahead and cut them back sooner.)
As long as the dead leaves are still healthy and not infested, add them to your compost pile! They make great organic materials. Otherwise, throw them away to prevent the spread of disease.
Fall is the best time to divide oversized plants. While you can technically do this any time of the year, dividing them up at the end of the season gives them time to adjust to the soil and build a strong root system so they’re ready to shoot up again in the spring. Plus, it’s a little easier to make any necessary rearrangements to your hosta garden at this point in the season, when you can better see the size of your plants and where you may need to fill holes in other parts of your garden.
When dividing your plants, it’s a good idea to water them a day before, if possible. This will make them easier to dig out. Then, carefully lift the root ball out of the ground and divide.
If it’s a dry fall, it’s helpful to water the new plants a few times before winter comes. This will help them re-adjust to the soil. I use this Hori Hori Gardening Knife to help divide up plants. It’s easy to use and is a real work horse in the garden!
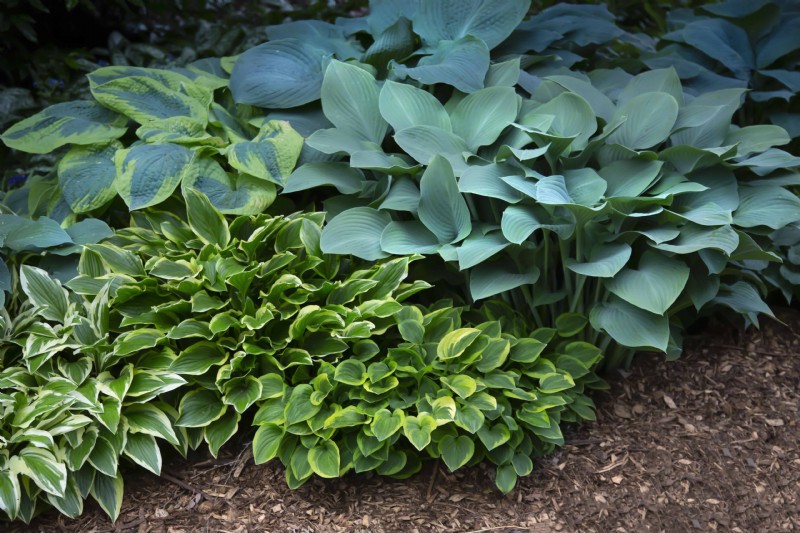
After cutting back your plants and dividing, it’s time to get them cleaned up and snug for the winter. Just like the dead leaves on the plants, any dead vegetation and debris that’s collected around the plants can provide a welcoming home for slugs, other insects, voles, and even fungal disease and root rot (from the moisture). So, clean up any dead vegetation, weeds, or other debris that are hanging out in the surrounding soil.
Next, spread a layer of mulch around your hostas (see my full article on the best mulch for beds). This provides a protective layer that can help to insulate them from the cold. As an added benefit, it’ll also help to ward of any weeds that want to grow back in the springtime with your hosta plants! It can also help maintain adequate moisture levels.
Don’t worry about adding any fertilizer at this time. In fact, fertilizing in the fall can have a negative impact on your plants, since it may encourage new leaves or root growth at the wrong time.
You can, however, cover the crowns of your plants with a few inches of organic matter (like pine needles, straw, or compost) to help protect them and provide more of a slow-release fertilizer.
Potted hostas tend to have a bit harder time during the winter months compared with in-ground hostas, so they need a little extra care! Plants that live in pots aren’t as well insulated as those in the ground, and freeze-thaw cycles can also tempt containers to crack and break. As winter approaches, bury the pot in the ground to protect it from breakage. The extra insulation will also help regulate the soil temperature and keep your plant a bit warmer.
The best time to bury your containers is after the leaves have died back and the plant is dormant, but before the ground freezes.
You can also overwinter your hosta plants in an unheated garage or another sheltered area to add extra protection from extreme cold. It’s best to wait until after the first frost before moving them. Then, be sure to keep them from drying out—without overwatering.
Once you’ve trimmed your plants back, and especially if you’ve divided any, it can be a good idea to mark the individual plants so you know exactly where each one is as you put in your garden next spring.
Most gardeners agree that it’s best to remove dead hosta leaves in the fall, as they can provide shelter for slugs and other harmful insects, as well as create a habitat for fungal disease. In addition, removing dead leaves in the fall can help the plant to focus its energy on healthy, new shoots and bigger blooms the next spring.
Some, however, vote that dead leaves should stay, since they can provide some insulation and natural mulch for hostas over the winter months.
Hostas typically come back in the mid to late spring, depending on your zone. If you don’t see new growth emerging by late spring, it may be because of rodent damage, very depleted soil, or extreme freezing and thawing.