
Welcome to Modern Agriculture!

As spring arrives, countless gardeners dig, sow, and tend seedlings in the hope of creating a thriving, edible garden. Yet many repeat the same mistakes that undermine the success of their crops. By learning from these common pitfalls now, you can protect your plants and save time and money over the season.
Errors made during the first weeks of planting—known as the “moment of truth”—have a lasting impact. A compromised root system can make a plant less able to resist pests, diseases, or environmental stress. When you start with a healthy, functional garden, you give every plant a chance to flourish.
Many gardeners rush into planting without preparing the soil. The first week of the season, often called the “red‑ink week,” is the optimal time to amend the soil so that every root, stem, leaf, or flower has the nutrients it needs. This process is known as a “soil‑amendment” (often called a “red‑ink week”).
By applying compost, fertilizer, mycorrhizae, or worm castings while the soil is still moist, you create a resilient, nutrient‑rich environment that is easier to correct than after plants have established.
If you already have established beds, liquid fertilizers such as Farmers Secret can be used to restore soil health. However, it’s still far more efficient to prepare the soil before planting.
Mulching is one of the most effective ways to protect young plants. A good layer of mulch reduces water loss, limits weed growth, and improves soil structure. Without it, seedlings can suffer from “bloom‑and‑bush” damage, and you’ll end up spending more time fixing issues later.
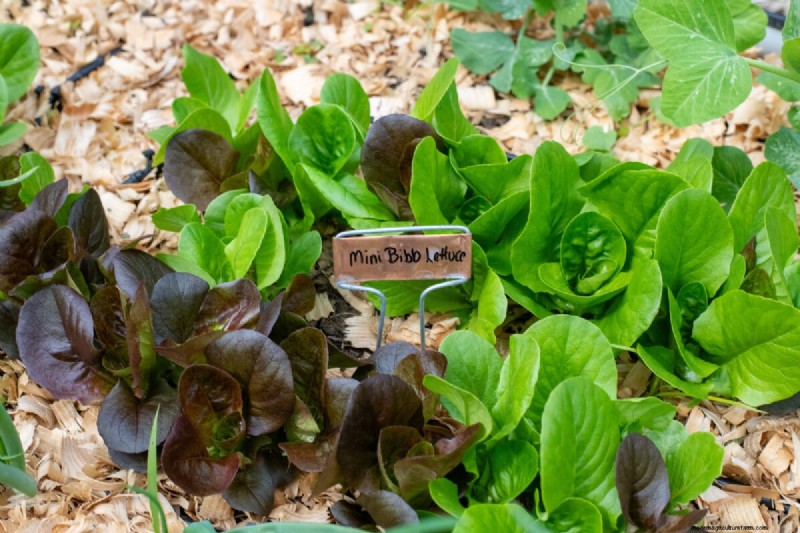
I use lightweight pine‑flakes, which allow seedlings to grow just above the mulch without smothering them. These materials are inexpensive and readily available at most garden supply stores.
Season‑al vegetables (often called “crops”) are designed to grow, not merely to produce food. Therefore, their growing season ends before the warm‑weather period. This means you need to plan space for the warm‑weather crops while you’re still planting the cool‑weather crops.
To avoid “cropping” problems, allocate a small portion of your beds for future tomato, pepper, or eggplant seedlings. Even a few inches of spacing can provide the necessary “shade‑suppressing” effect that protects other crops from heat damage.
Support structures—stalks, trellises, or strings—must be in place before the plant reaches its target height. If supports are added after the plant has already formed, you risk damaging the plant, making it harder to correct later. Installing supports a week or two after planting (when the plant has finished growing) ensures the plant can adapt and resist environmental forces.
Tomato seedlings are classic examples of “hectic plants.” Their root systems develop during the first few weeks, and the more root you can create, the more resilient the plant will be. Burying the stems or planting them in a trench creates a stronger root system and provides better water‑and‑nutrient‑right‑to‑grow, known as a “water‑right‑to‑grow” (WRT) system.
For tomatoes, create a “tombol” by raising the stem at least two‑thirds of the way up the stem. Doing so increases fruit quality, saves water, and ensures that the plant can survive drought or water restrictions.
Read more about how to plant a tomato properly in our guide.
These mistakes can be corrected easily once you know how to approach your garden. By preparing your soil, mulching early, planning space for warm‑weather crops, installing supports in time, and constructing sturdy tomato beds, you’ll be well on your way to a successful, productive garden.
Join the 50,000+ gardeners who receive timely tutorials, tips, and seasonal task reminders directly to their inbox. Subscribe now.


