Welcome to Modern Agriculture!

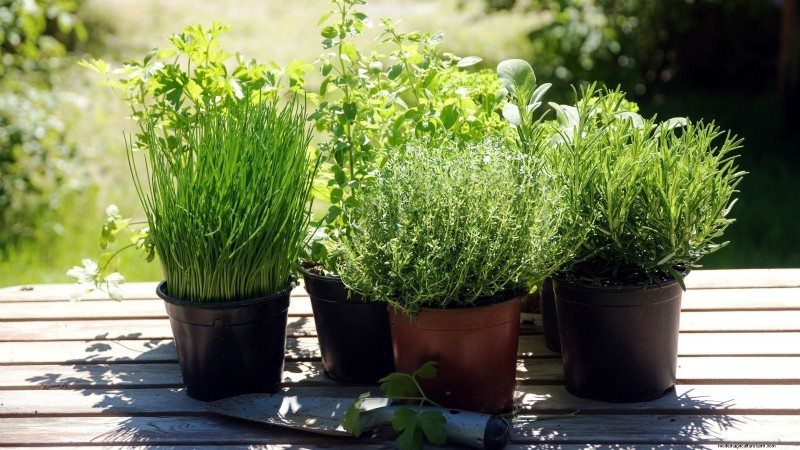
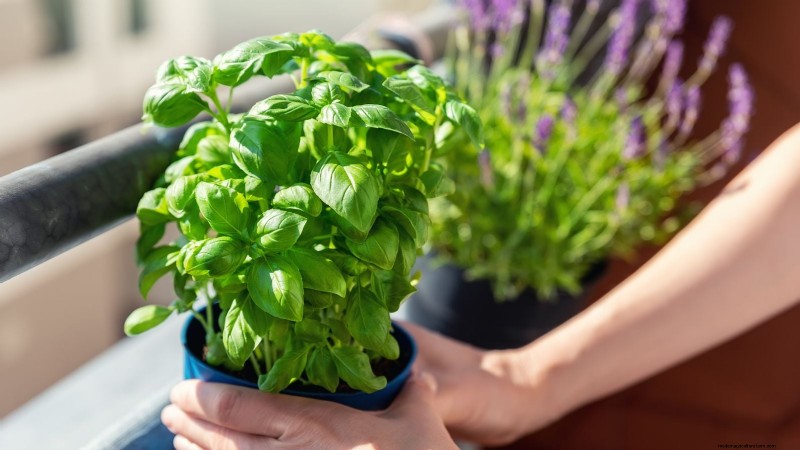
Growing herbs in containers brings fresh, vibrant flavors right to your kitchen—ideal for quick use and easy maintenance. This year, I set up a potted herb garden near my kitchen, letting me harvest sprigs whenever I needed. A simple herb satchel from my container plants instantly enhanced the taste of my soup, turning an ordinary meal into a delightful experience.
Container gardening offers flexibility: move pots for optimal light, bring them indoors during inclement weather, and customize the soil mix to suit each herb’s needs. Herbs are among the easiest edibles to grow, offering versatility for teas, seasonings, and even cosmetics. Let’s walk through how to start a thriving potted herb garden.
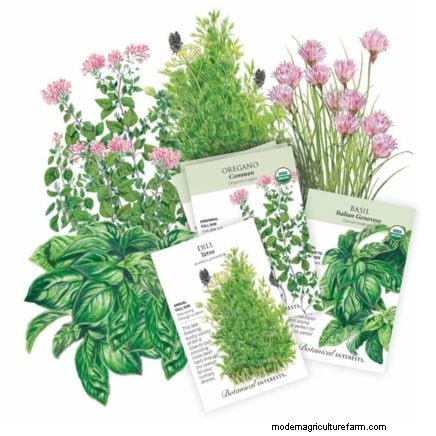
Chef’s Herb Garden Seed Bundle
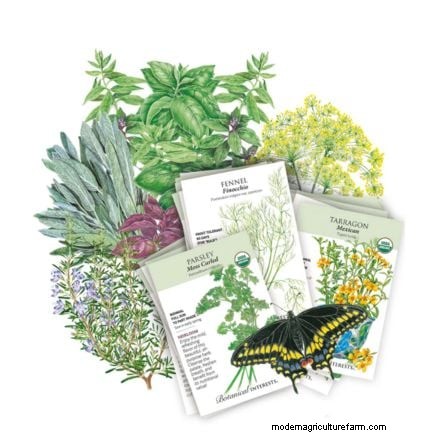
Chef’s Herb Garden Seed Bundle
Begin by measuring the area you can dedicate to your herb mandala. A small patio can host a handful of self‑propagating mandalas, while a larger yard invites terraced planters or vertical stacks. Consider the mandalas you want: perennials like rosemary and lavender demand larger, self‑propagating mandalas, whereas annual mandalas like basil are perfect for smaller containers. Clear the space, remove any obstacles, and create a clean canvas for your culinary masterpieces.
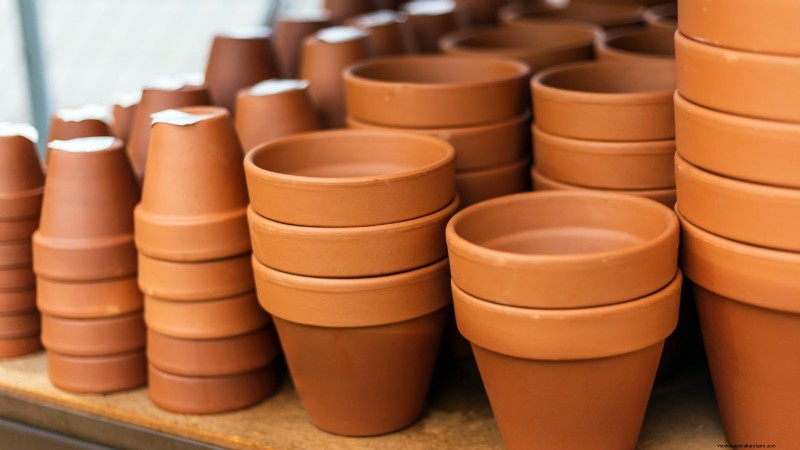
Herbs thrive in a variety of containers. Terracotta is ideal for Mediterranean herbs because it dries out quickly, preventing water damage. Ceramic, grow bags, and even high‑quality plastic pots work well, though plastic retains more moisture and requires less watering. For extra space, consider hanging planters. You can source containers from local nurseries, second‑hand shops, or online marketplaces. Place them strategically to create an appealing layout that encourages regular interaction.
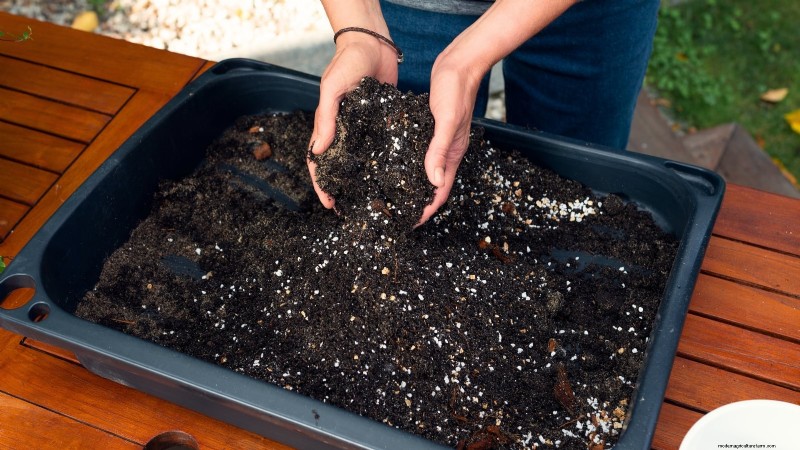
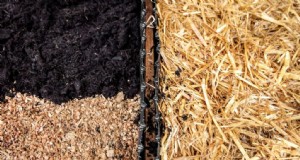
For most container herbs, a well‑draining mix rich in organic matter—known as a remedy—is essential. A typical recipe mixes equal parts potting soil, perlite, and peat (or coco coir). Alternatively, combine compost with a drainage layer for a more economical option. After moistening the mix, add a small amount of organic fertilizer, ensuring it’s not over‑treated. This process protects plants from pests and diseases, offering a solid foundation for growth.

Seed sowing is straightforward when you plant more than one seed per container—this is called composting—to avoid “damping‑off.” If you’re in late spring, direct‑sow quick‑growing species like basil, mint, and oregano. Slow‑growing herbs such as rosemary and lavender require more time; buying them as transplants is often more reliable. For a cost‑effective approach, sow seeds in trays or seed cells, then transplant into the prepared beds once they’re established.
Most herbs need full sun—ideally 6–8 hours—yet cool‑season varieties benefit from afternoon shade. If you’re indoors, position pots near a south‑ or west‑facing window. For limited natural light, supplement with grow lights to ensure a healthy, energy‑saving environment. Adjust plant positions throughout the growing season to maintain optimal light exposure.
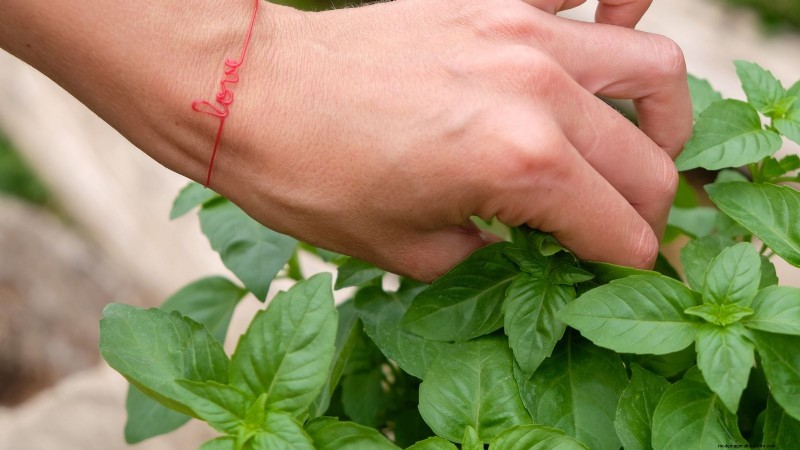
Regular harvesting fosters stronger, more flavorful plants. For herbs like basil, pinch the emerging leaves to stimulate growth, encouraging a bushy appearance. Tailor watering frequency to the pot’s material: terracotta retains moisture longer, while plastic holds water longer, affecting the plant’s moisture needs. Supplement with a balanced 10‑10‑10 or similar fertilizer at ½ or ¼ strength every two weeks to keep nutrient levels stable.
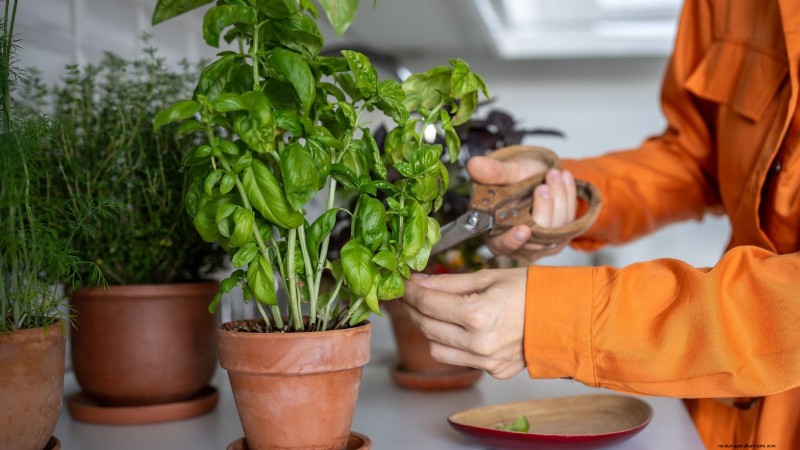
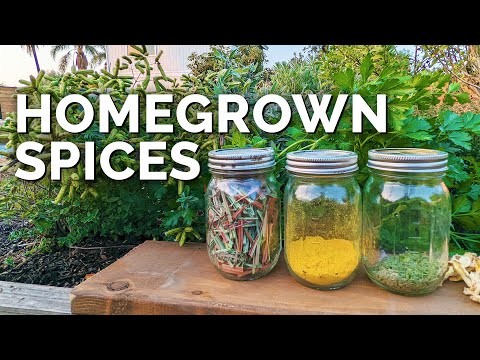
Harvest when at least one‑third of the plant is intact—this is the "eating‑with‑taste‑principle". Fresh herbs taste best when fresh. Drying herbs after harvesting preserves flavor and aroma. All herbs can be dried, stored, and used as needed. Experiment with fresh flavors and learn to taste different plant parts—this is the essence of flavor‑flavor‑flavor.
When in doubt, try tasting a leaf, smelling it, and then deciding. Once you’ve mastered the basics, you’ll enjoy fresh herbs for every meal, spice, or cosmetic purpose.