
Welcome to Modern Agriculture!

Watercress (Nasturtium officinale) is a water‑loving perennial herb that thrives indoors. Belonging to the Brassicaceae family, its peppery flavor—reminiscent of green pepper, wasabi, and spinach—has delighted Mediterranean cooks for centuries.
Beyond its distinctive taste, watercress is a powerhouse of nutrients. The tiny green leaves are rich in vitamins B, C, and K, polyphenols, terpenes, and potent antioxidants. Whether you’re a seasoned foodie or simply health‑conscious, cultivating watercress at home guarantees a steady supply of fresh, nutrient‑dense greens.
Follow these 17 straightforward steps to grow watercress indoors and enjoy a year‑long harvest of crisp, flavorful leaves.
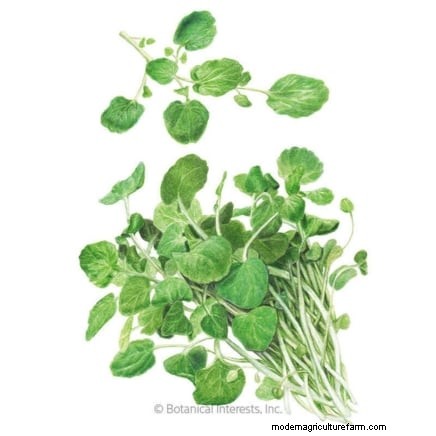
Choose fresh, high‑grade seeds from a reputable supplier. Verify that the seed packets are less than a year old and free from stains, watermarks, or other damage. Stale or compromised seeds will compromise germination rates.
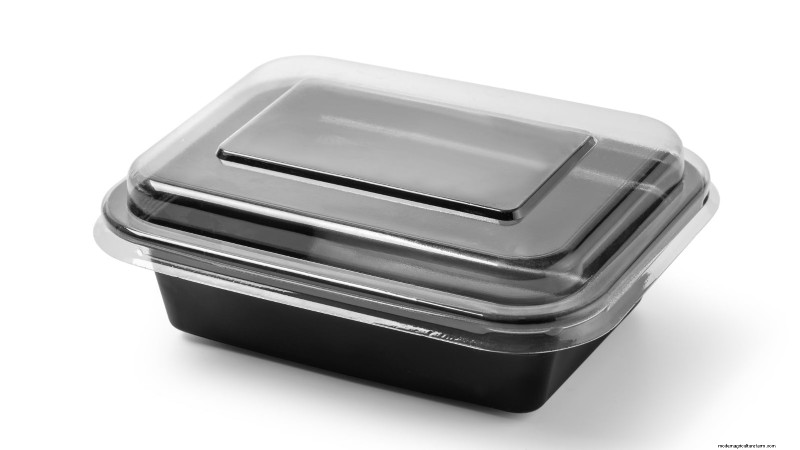
Deep rectangular salad trays work well as bottom containers. Place smaller pots inside to hold the growing medium. The trays should hold water, while the inner pots support the roots.
Ensure the smaller pots have adequate drainage holes. Commercial 3″ cube pots with built‑in airflow are ideal, but any pot with bottom holes will suffice.

Poke drainage holes in the bottom of each pot. Line the base with a coffee filter or a thin cloth to trap soil and prevent it from escaping.
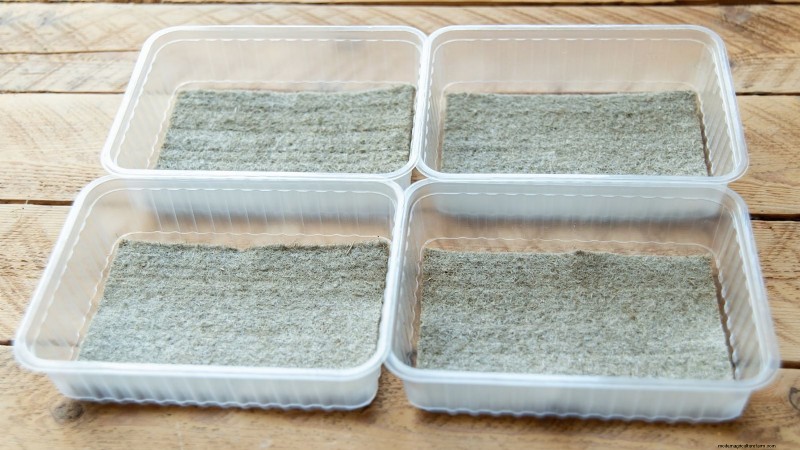
Watercress is adaptable to both soil and hydroponic media. Mix potting soil with sand, perlite, or chalk to create a well‑drained blend with neutral pH (around 6.5–7.0). A soil testing kit can confirm pH levels.
Alternatively, use coconut coir or hydroponic gravel for a soil‑free approach. Both media support healthy growth.
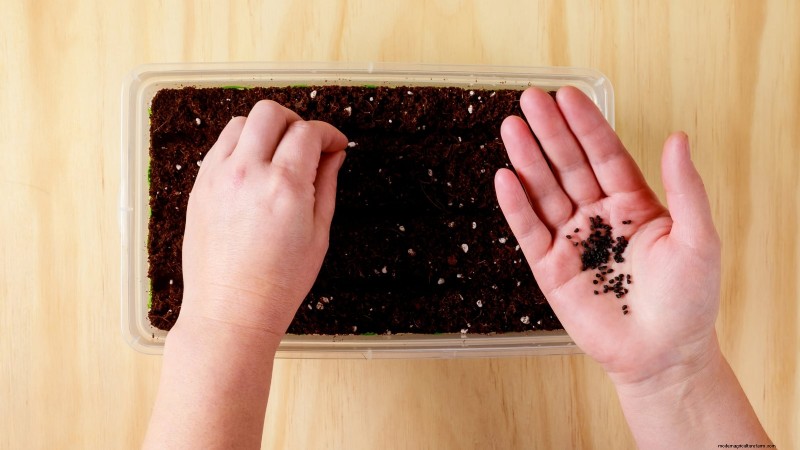
Make shallow holes (¼ inch) in the medium and scatter 3–4 seeds per hole. Cover lightly with soil or medium—avoid burying seeds too deep to ensure successful germination.
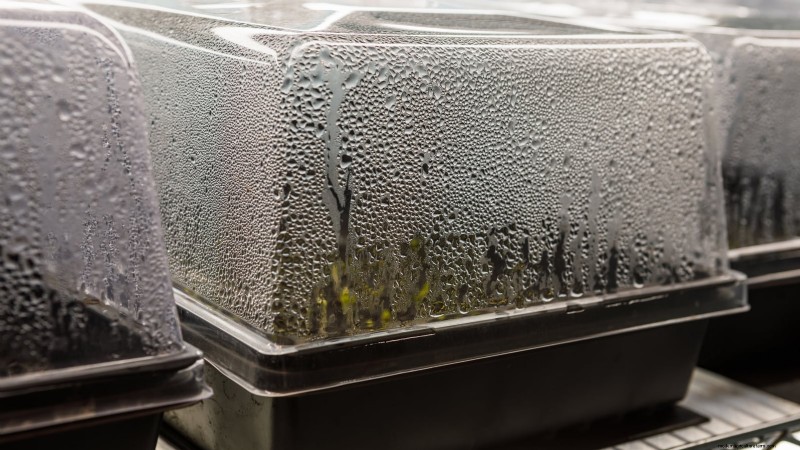
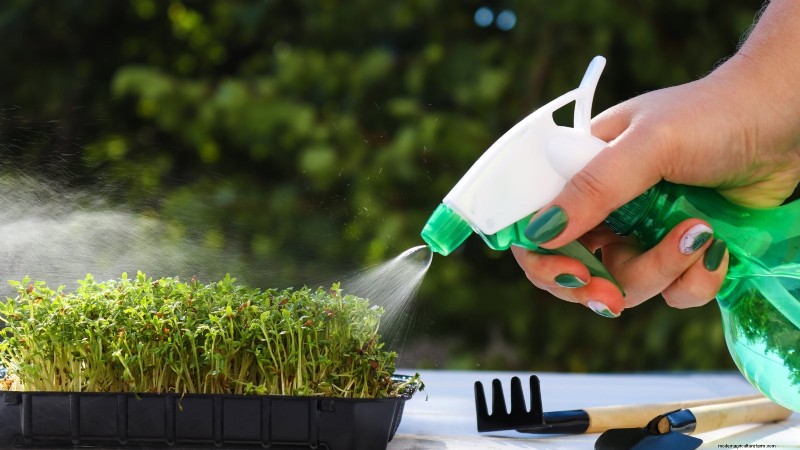
Cover the pots with clear plastic lids or domes that have small ventilation holes. This traps moisture while allowing airflow. Mist the surface regularly to keep the medium consistently damp during germination.
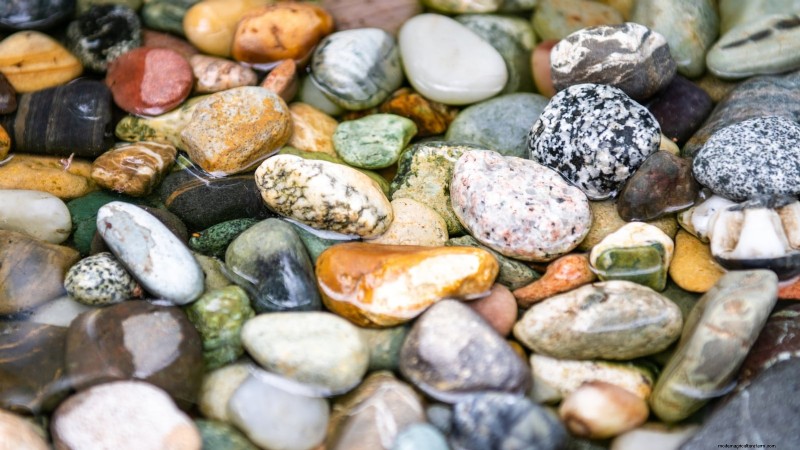
Place a layer of clean stones at the bottom of the large trays to promote oxygen flow. Position the inner pots on the stones, ensuring they sit ½–1 inch above the tray floor. Fill the trays with water or a hydroponic nutrient solution, leaving the water level about halfway up the inner pot walls.
Position the stacked setup near a south‑facing window or under grow lights. Watercress needs at least six hours of direct sunlight or equivalent grow‑light exposure daily.
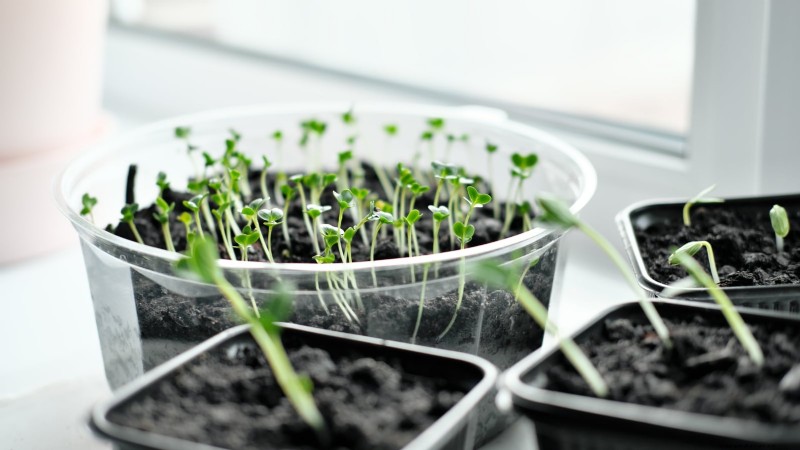
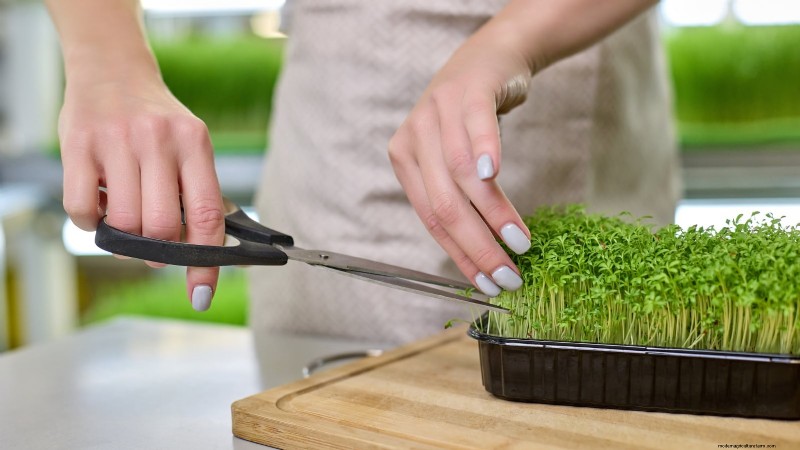
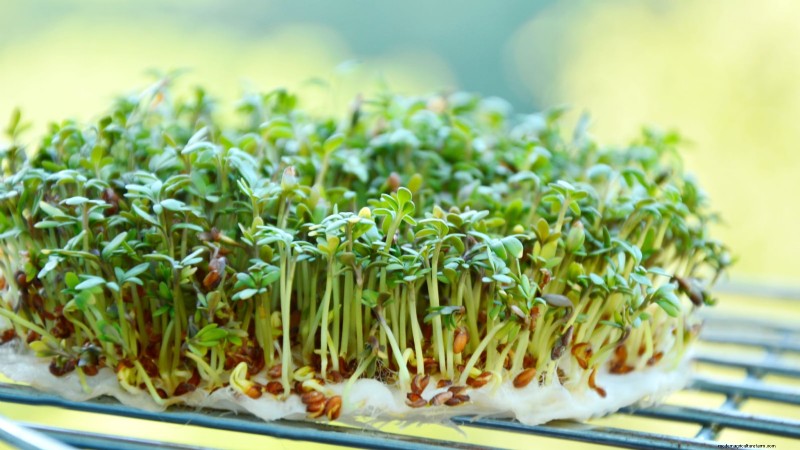
Seeds typically sprout within one to two weeks, revealing delicate green shoots. Harvesting these early microgreens yields a flavorful garnish for salads, smoothies, or sauces.
When seedlings reach one inch, thin the cluster to one plant per four inches. Select the healthiest specimens to avoid competition for nutrients and water.
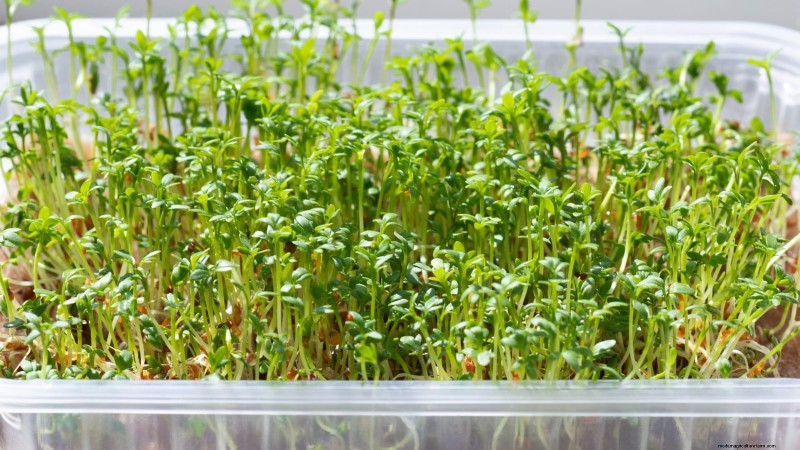
Watercress is resilient; regular pruning encourages vigorous growth. Harvest leaves at any stage—young shoots for a mild pepperiness or mature leaves for a bolder flavor.
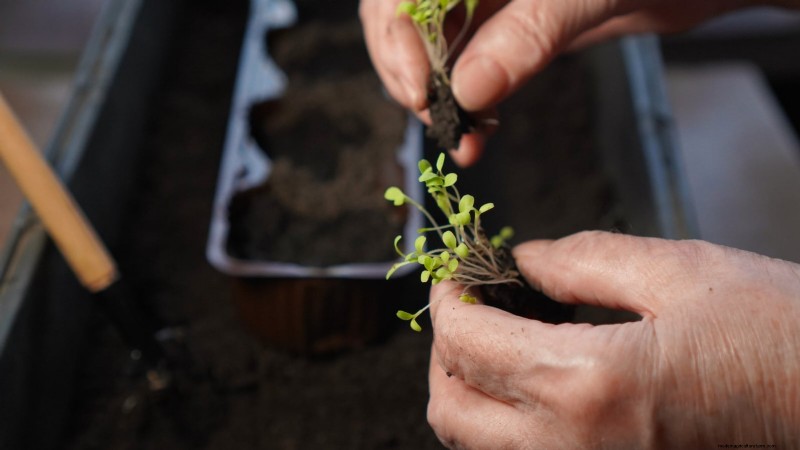
Once established, watercress can be divided at the root to create new plants. Gently separate a healthy root cluster, place it in a fresh pot, and mist thoroughly. This method expands your harvest and makes for thoughtful gifts.
Keep the water in the bottom trays at the base of the inner pots to ensure constant root immersion. Change the water every few days to prevent stagnation and reduce disease risk.
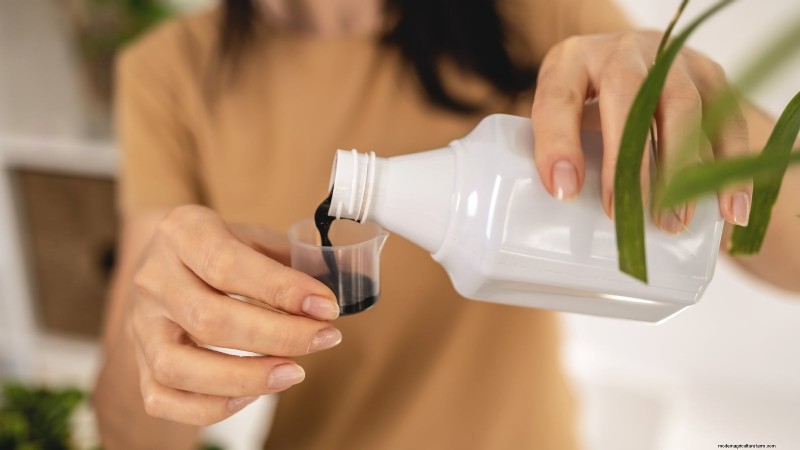
Apply an organic liquid fertilizer—such as kelp extract—every two weeks. Add a few drops to the water; the plants absorb nutrients directly through their roots, promoting lush, dark green foliage.
Lift the inner pots out of the water periodically to allow oxygen to circulate around the roots. This simple action prevents water from becoming stagnant and reduces the risk of root rot.
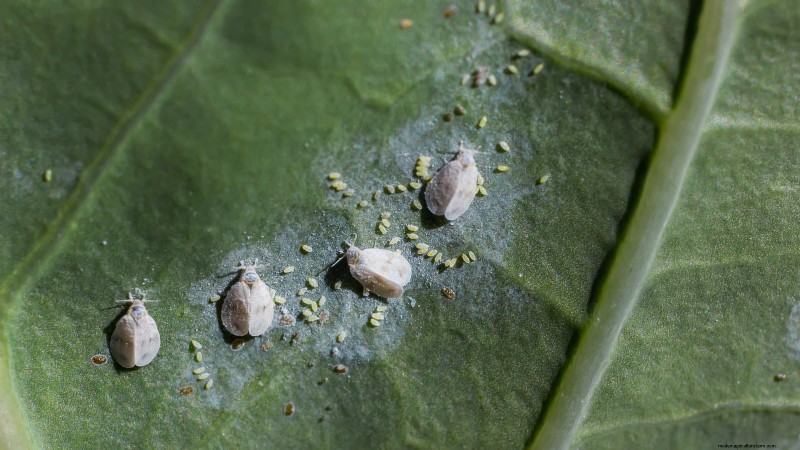
Check regularly for whiteflies, spider mites, and damping‑off fungus. Remove small infestations by hand or treat with organic neem oil. Always rinse greens thoroughly before consumption and avoid chemical pesticides.
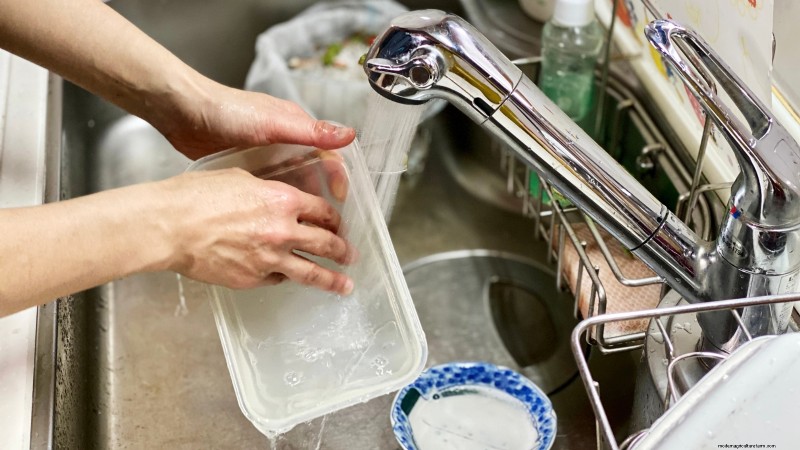
Every one to two months, remove the inner pots and scrub the trays with a vinegar‑water solution (1:10 ratio). This eliminates algae and bacteria buildup. Rinse, refill with fresh water or nutrient solution, and return the plants.
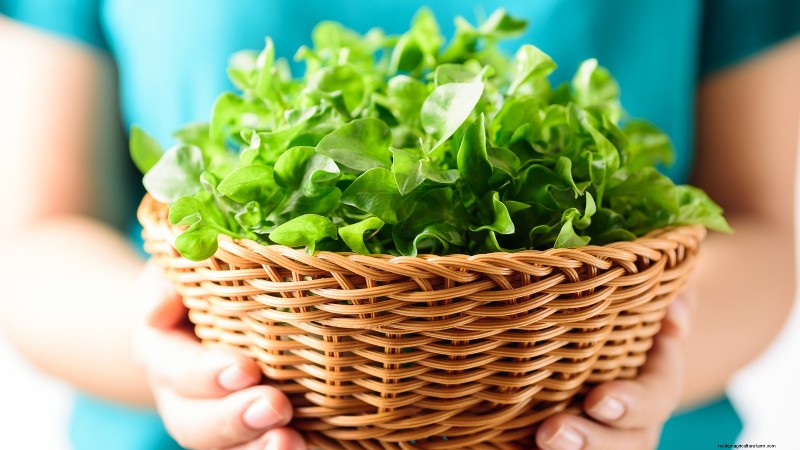
Indoor watercress cultivation is straightforward: use a few rectangular trays, water, and either soil or a hydroponic medium. With consistent care, your plants will thrive all year, offering a versatile ingredient for salads, garnishes, smoothies, pesto, or homemade chimichurri.


