
Welcome to Modern Agriculture!

Introduction to Orchid Gardening for Beginners – How to Start, Planting: Hello gardeners, we are back with one more interesting topic today. Do you want to have beautiful orchid flowers and do you have any doubts about planting and growing orchid flowers? Well and then you will need to follow this complete article to have an orchid plant.
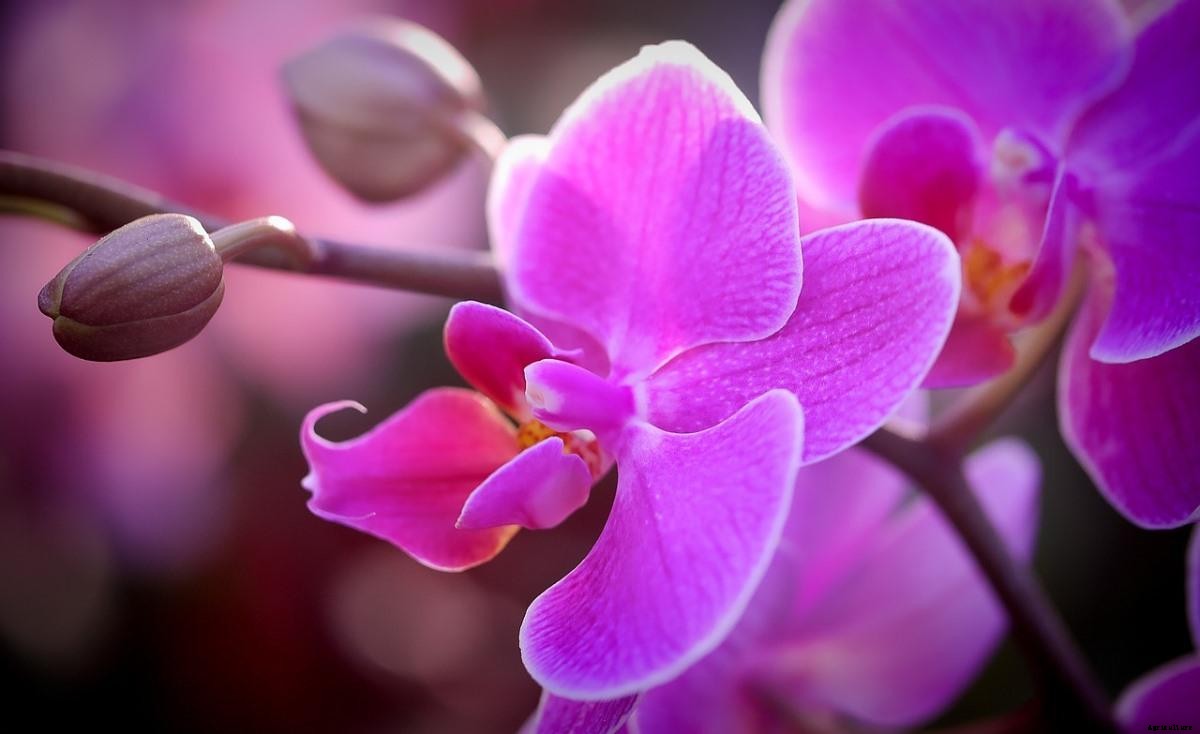
The Orchidaceae family of flowering plants, commonly known as the orchid family, is a diverse and widespread group of flowering plants with colourful and fragrant blooms. They are one of the two largest flowering plant families, along with the Asteraceae.
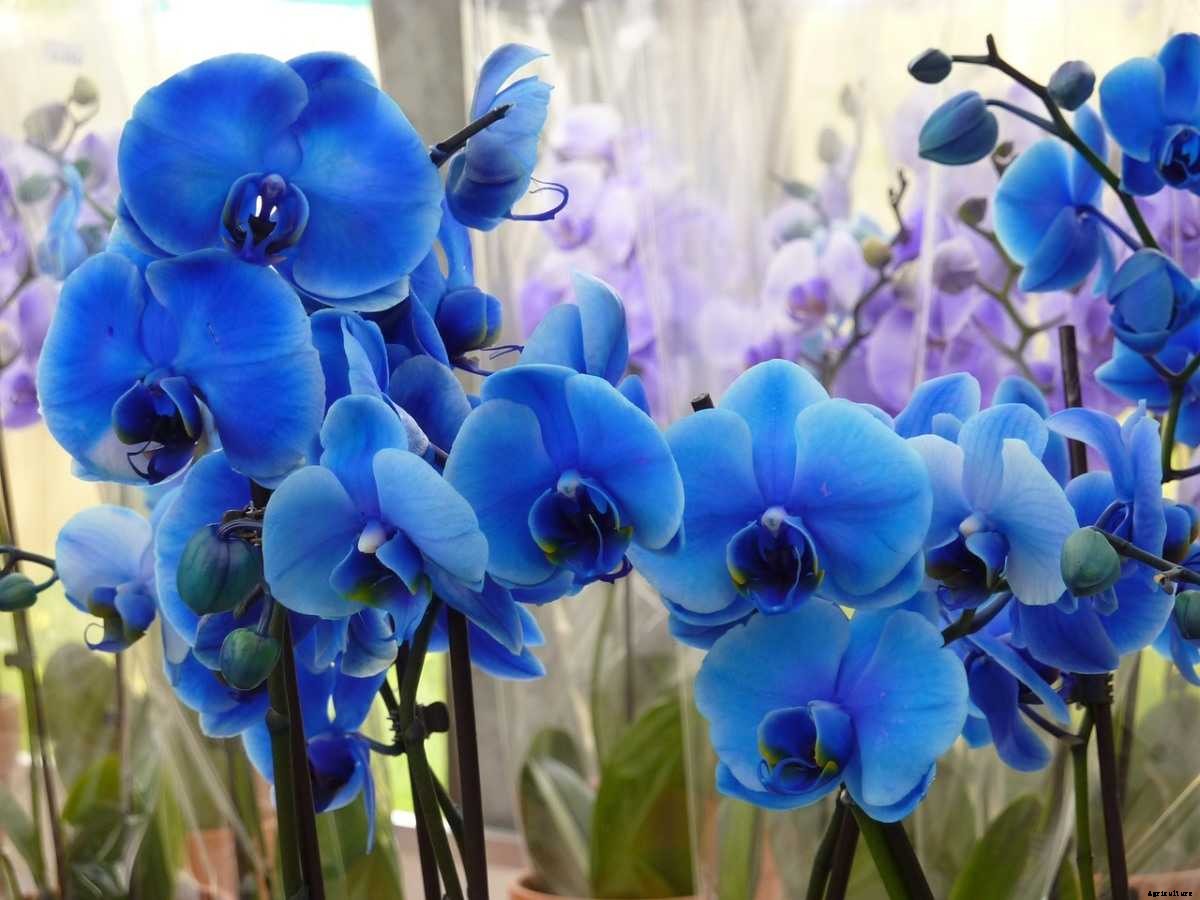
Orchids are among the most beautiful flowers in the world, with exotic appearances and a wide range of characteristics. Orchids are beautiful plants with over 30,000 different species and 200,000 hybrid varieties, making them one of the world’s two largest plant families. Orchids, which can be grown both indoors and outdoors, are unquestionably unique and, unfortunately for some aspiring green thumbs, difficult to grow successfully. Anyone interested in growing orchids should expect both failures and successes when it comes to breeding this lovely plant variety.
Aeration and drainage are the most significant characteristics of orchid soil. Orchids’ roots are not the same as those of other houseplants. The roots will rot if they are exposed to moisture for an extended period. While orchids thrive in moist environments, a small amount goes a long way. Peat moss, perlite, and fir bark are common ingredients in commercial orchid planting mediums. Because each type of orchid prefers a different type of planting medium, making your mix may be the best option if you want to grow a large variety of blooms.
Now, let us discuss some frequently asked questions about orchid planting
Fir bark is the most preferred orchid potting mix for a reason. Fir bark is a well-draining potting material that allows for air circulation around the roots of the orchid while still retaining some moisture. Furthermore, because pine bark decomposes slowly, you can wait for one to two years before re-potting.
Orchids are no exception to the rule that no flowering plant thrives in the deepest shade. Orchids are typically found in areas with a lot of dappled light. The hotter the sun, the more shade is required during the daytime hours. More sun can be supplied in humid or coastal places.
The orchid should be kept in a room that maintains a constant temperature throughout the day, is free of draughts and fruit, and receives indirect sunshine.
Re-blooming Phalaenopsis orchids can take a month, two months, or even several months. Many additional orchid kinds bloom every year. The anticipation of a growing flower spike bedecked with tiny buds, as well as the final reward, are both thrilling.
Orchid growers who are new to the hobby quickly learn that good orchids do not thrive in ordinary potting soil. It’s too dense, doesn’t drain well enough, and most orchids grow in the air—the medium serves only to provide a surface for the roots to adhere to.
Step 1: Gather your supplies.
Step 2: Take the orchid out of its current container.
Step 3: Get rid of the roots.
Step 4: Transfer the orchid to its new container.
Step 5: Fill the container with potting soil.
Step 6: Secure your orchid with a stake.
0.2-0.2-0.2 Miracle-Gro Orchid Plant Food Ready-To-Use Mist Gro Orchid Fertilizer Plus is a fertilizer for orchids. Booster for Bloom is 11-35-15.
In case if you miss this: How To Grow Roses In Greenhouse.

The most important thing to keep in mind is that orchids prefer indirect sunlight and do not like to be overwatered. The good news is that watering an orchid is straightforward. Once a week, three ice cubes will keep your potting soil fresh and your plant alive.
During the day, your orchid will like the warmth, but on hot evenings, it will prefer a cooler climate. It’s fine to leave it on a screened patio if the temperature drops from 13°C to 18°C. If the temperature does not drop, bring your orchid inside for the night to keep it cool.
Your difficult-to-grow orchids will need to be properly nourished to thrive. When orchids are actively producing leaves and roots, they require very little fertilizer. Coffee grinds are a great fertilizer for orchids in particular.
If an orchid doesn’t have holes through which the water may drain, it can’t be adequately watered. The roots will rot if there is water in the pot, thus it must be allowed to drain through the bottom.
How About This: How To Grow Salvia In Pots.
So put your orchid in a room with a window that gets a little chilly—and then put your orchid in the window. When the sun sets, the temperature drops and the cold stimulates the plant to re-bloom.
Orchids can and do grow in the absence of soil. They require only a small quantity of soil to germinate, but as they grow older, they require less and less soil. Orchids are air plants in their natural habitat. This means they only root in a small amount of soil, generally on tree limbs, and obtain the majority of their nutrients from the air.
Because sunlight can enter the pot and orchid roots can assist in photosynthesis alongside the leaves, clear plastic is the most popular material for orchids. Clear plastic is beneficial to both the orchid and the gardener. The leaves of most houseplants can be used to identify the orchid.
Epsom salt is incredibly beneficial to the health and nutrition of your orchid. It not only aids in the creation of chlorophyll, but it also aids in cell development, correct hydration, and flushes salt residue from the orchid.
While your orchid is in bloom, you can fertilize it, although it isn’t necessary. This procedure should be done during the resting phase of your orchid’s life to provide extra nutrients for re-blooming.
Banana peels are a natural way to deliver potassium, potash, phosphorus, nitrogen, and magnesium to your orchids, though not in large amounts. To give your orchids an extra nutritional boost, use the peels in between fertilizer treatments.
Water once a week throughout the winter and twice a week after the weather warms up and becomes dry. Regardless of weather circumstances, the size of your orchid container has a role in determining how often you should water it. A 6-inch pot needs water every 7 days, while a 4-inch pot requires water every 5 to 6 days.
Make careful to spray your outside orchids regularly. Every 3 weeks or so, add horticultural oil or neem oil with a few drops of liquid dishwashing soap in the water to kill some little bugs. Also, make sure your orchids are raised above the ground so that pests can’t get into the pots easily.
Many orchids bloom only once a year, whereas others bloom twice or even three times. Some flowers bloom for weeks or months, while others just endure a few days. A little basic investigation into the orchid’s species will reveal what to expect. Phalaenopsis orchids, for example, only bloom once a year and the blooms might linger for months.
Dead flowers not only detract from the aesthetic of your plant, but they can also spread disease to other sections of the plant or surrounding plants. It’s time to remove the flower spike if it’s drooping and discoloured, and the edges have become brownish. On a stem-like spike, many orchids have several blooms.
Dormancy – Many orchids require a time of dormancy—or rest—during the winter months. Plants develop their root systems, grow leaves, and store energy for their next growth spurt and bloom at this time when you should minimize or cease fertilizing. An orchid can re-bloom every 8 to 12 months on average.
An orchid, like any other plant, can wilt. For a variety of causes, they can wilt. It could be due to a lack of water, fertilizer, or light, among other things. Plants that are overwatered will wilt and die.
Orchids prefer temperatures of 24°C or higher during the day and 18°C or higher at night. It is not always possible to achieve temperatures this warm in the winter; therefore, efforts should be taken to avoid exposing flowering orchids to temperatures substantially cooler than this.
Withhold the water and allow the potting medium to dry.
Place the orchid in a moist setting, such as a clear plastic bag.
Keep the orchid away from sources of high heat, such as heaters, vents, and wood stoves.
It’s possible that your orchid’s leaves have wilted and drooped because it’s not getting enough water or humidity. Keep in mind that an orchid’s natural habitat is a humid one; therefore your plant will require moisture. To avoid this problem, we recommend watering your orchid with three ice cubes once a week.
Under watering, extreme temperatures, damaged roots, or nutritional deficiencies can all cause wrinkled orchid leaves. Re-pot the plant with a new potting mix, set it in a bright indirect light spot, and only water it once a week when the top 1 to 2 inches of topsoil are dry.
Overwatering your orchid can cause root rot, which can cause yellowing of the leaves. If your orchid has root rot, re-potting it in fresh new potting material will help it recover.
Orchid pests can also be controlled by rubbing alcohol and re-potting. In this situation, you’ll also need 70% isopropyl rubbing alcohol. If you already have mealy bugs, use a misting bottle or a pump sprayer to spray your alcohol solution directly on them.
Slugs and snails consume orchid leaves, young stems, blooms, roots, and pseudo-bulbs, leaving behind silvery slime trails. Only because it is more difficult for slugs and snails to access orchids cultivated in homes, outdoor orchids and those grown in greenhouses are the most usually attacked.
Acephate, carbaryl, diazinon, and malathion are some of the chemicals you can apply to your orchid. Keep your orchids out of direct sunshine and extreme heat during and after spraying them with insecticide, just as you would while coating them with oil or soap.
Mites feed on the underside of the leaves and are little, red to brown pests that can be found under the leaves.
Symptoms: These mollusks will chew off the growing ends and create holes and notches in the leaves, flowers, and roots. Buds may also have chewed portions.
To treat orchid root illnesses, the plant must be removed from its medium, and affected material must be cut away using a sterile knife. Then treat the roots with a fungicide and sanitize the growth area with a 10% bleach solution. The plant’s health may be restored if enough roots survive.
Baking soda, blended at a rate of 4 tablespoons per gallon of water, can be used to treat diseases. Add 2 teaspoons of refined horticultural oil or insecticidal soap to the mix as well. Every two weeks, apply the solution to the affected regions. Try copper fungicide if that doesn’t work.


