
Welcome to Modern Agriculture!

Introduction on how to start plumeria gardening for beginners, planting tips, ideas, techniques, questions and answers (FAQs): Hello gardeners, we are here with an interesting topic today and the topic is all about plumeria gardening for beginners. Do you want to grow a plumeria plant and do you want to know all the growing requirements of plumeria? Well and then you will need to follow today’s article. In this article, we are going to discuss some frequently asked questions about plumeria gardening.
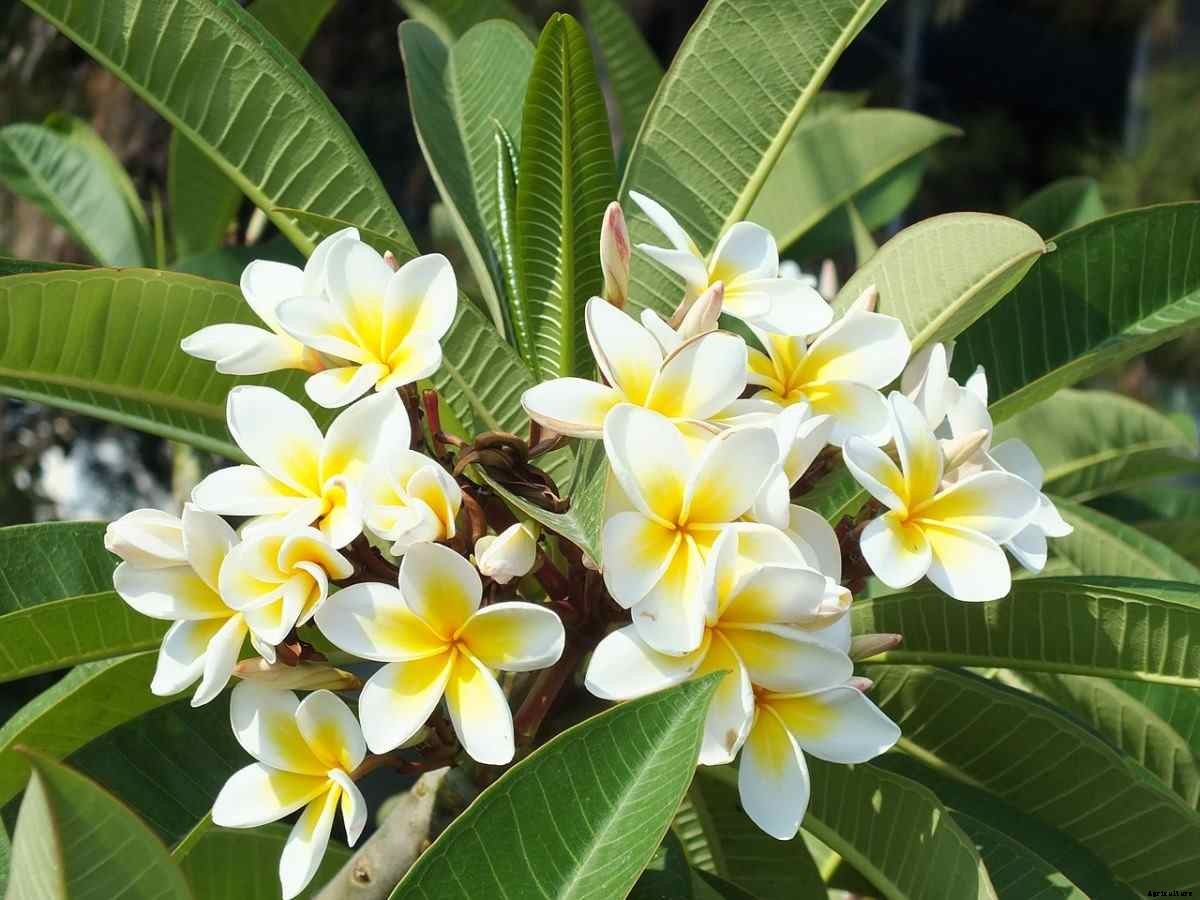
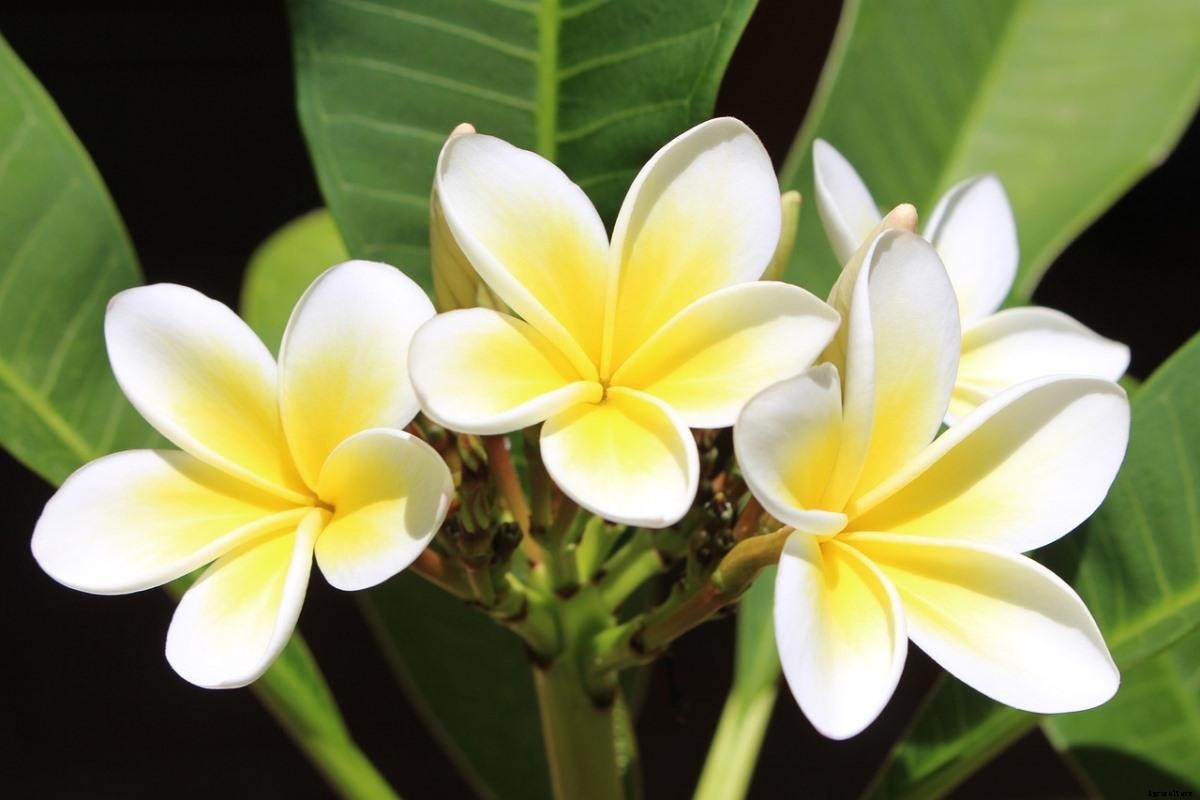
Plumeria is a flowering plant genus in the Apocynaceae family. The majority of the species are tiny trees or shrubs with deciduous leaves. The species are native to Mexico, Central America, and the Caribbean, and can be found as far south as Brazil and as far north as Florida, although they are also planted as global ornamentals in warm climates.
It’s simple to grow plumeria from cuttings. You should harden off your cuttings about a week before you plan to plant them. You can do this by taking cuttings from the plant or just cutting a deep notch in the area where you want to make your cut. Cuttings from plumeria plants should be 12 to 18 inches or 31 to 46cm in length. In either case, you should wait a week before planting after this procedure. This allows the freshly cut ends to callus, or harden, preventing infection and encouraging new root growth. If you remove the cuttings from the plant right away, keep them in a shady, well-ventilated area for a week.
It’s time to sow your plumeria plant cuttings a week later. Fill a big container with a mixture of 2/3 perlite and 1/3 potting soil. (If you live in a hot area, you can also plant them directly in the ground.)
Dip the cut end of your cuttings in a rooting hormone and submerge them halfway in the potting mix. For support, you may need to connect the cuttings to stakes. Water your cuttings as soon as you plant them, and then wait several weeks for them to dry out. If you water them too much at this point, they will rot.
Place the containers in a location that gets plenty of sunlight or just a little shade. In 60 to 90 days, roots should appear.
Now, let us discuss some frequently asked questions about plumeria gardening;
Plumeria bloom best in full light, with at least a half-worth days of exposure. They thrive when planted in a pot that is the right size for the tree and filled with well-drained soil. The suitable sized container serves as a weight for the tree, preventing it from blowing over in the wind.
Fill a big container with a mixture of 2/3 perlite and 1/3 potting soil. Dip the cut end of your cuttings in a rooting hormone and submerge them halfway in the potting mix.
In case if you miss this: How To Start Microgreens Gardening.
Plumerias can be grown in direct sunlight in coastal areas without danger. Plants should be placed in a semi-protected location for inland areas. A little shade will avoid scorching of the leaves and stems, as well as sun scalding on the stems. Plumerias can thrive in dry conditions.
The evening before planting the plumeria cuttings, water the planting place to a 5-inch depth so the earth is saturated but not soggy. Insert the angled end of the cutting into a 2 or 3-inch deep hole.
Coffee grounds are supposed to have an acidifying effect, while Plumeria usually loves acidic soils. As a result, coffee grounds are beneficial for your plumeria plant, especially if it lives in an alkaline environment because coffee beans‘ acidic nature lowers the pH.
The Bloom Booster Flower Food from the Miracle-Gro family of fertilisers is the finest option for plumerias. 1 tablespoon Miracle-Gro per gallon of water is the recommended application for outdoor plants.
Plumeria roots are rather shallow in comparison to the plant’s height. Because the root system is tiny and fibrous, the plant is easy to move when transplanted. However, if the roots are allowed to grow too long, they might girdle and loop around the bottom of the container, resulting in reduced growth when transplanted.
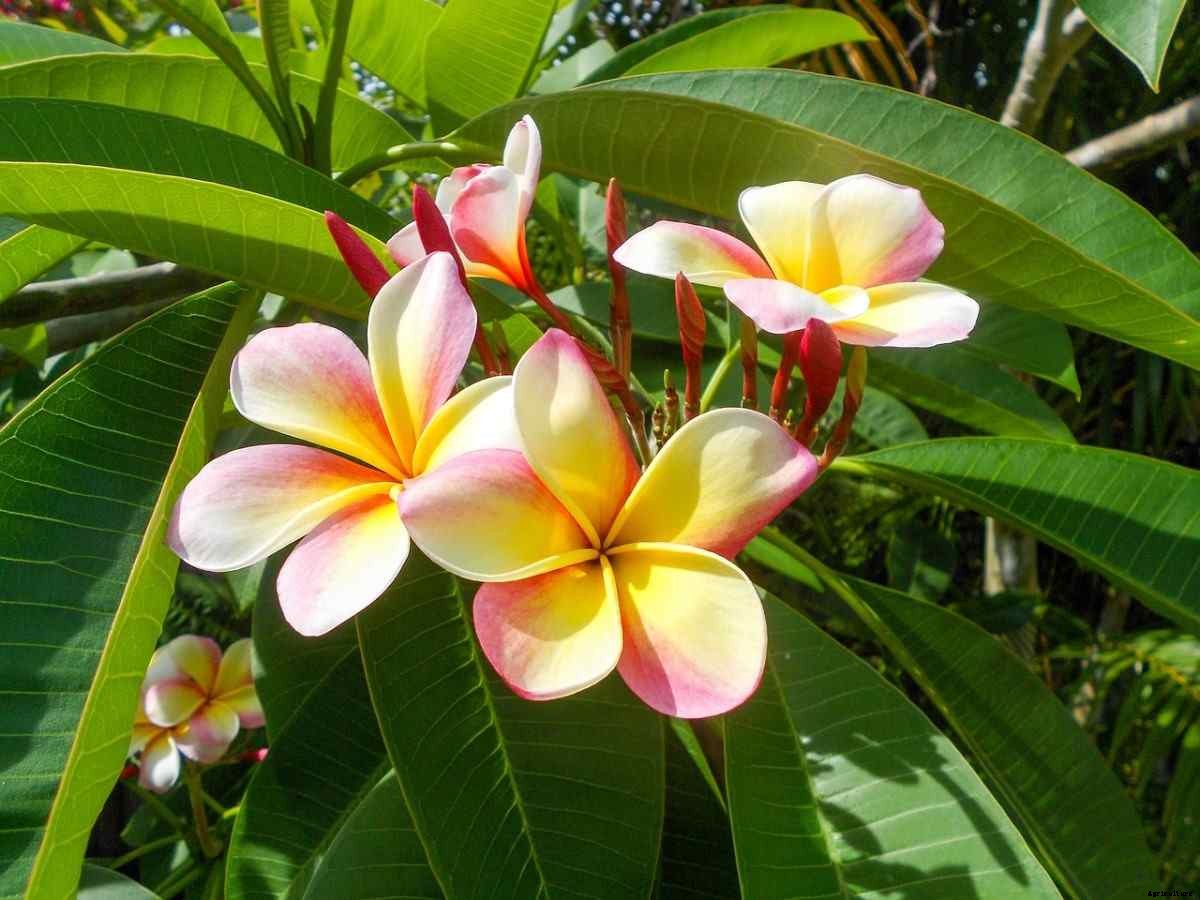
Red plumeria grows 12 to 24 inches per year in ideal conditions, and white plumeria grows 24 to 36 inches per year. The length of the leaves might help you recognise each species when they aren’t in flower during the growing season.
For a summer vacation, you can take your plumeria outside. After all dangers of frost have gone, acclimatise the plumeria by placing it outside in the dappled or partial shade, then gradually moving it to full light. Plumeria flowers best when they get at least six hours of direct sunlight each day.
Consider the words “warm and dry.” During the winter hibernation, most Plumeria will lose their leaves. Water is no longer required by the plant as a result of this procedure. Remember, if there aren’t any leaves, there won’t be any water. This prevents new delicate growth from sprouting late in the season when it would be more vulnerable to winter harm.
Plumeria Fertilization – Plumeria should be fertilised with a high Phosphate fertiliser (middle number), such as Peters “Super Blossom Booster 10-50-10.” If you apply a nitrogen-rich fertiliser, you’ll get a plumeria that’s healthy but tall and leggy.
Calcium is abundant in eggshells. Plants may produce distorted flowers if there isn’t enough calcium in the soil. You could buy lime to avoid this problem, but eggshells work just as well.
Cuttings or severed branches from a mature plumeria plant can be used to start your own plumeria plant. You’ll need to cut the branch, remove most of its leaves, and dry it before planting it in the appropriate potting material.
You just need to water every 2 to 3 weeks until you get leaves that are 2 to 3 inches long. Once they’ve rooted and leafed out, they can be watered normally. Remove your plant from the delivery box as soon as it arrives from Roberta’s. Until you’re ready to plant, keep the cuttings dry and clear of moisture.
Start winterizing large in-ground plumeria plants in the fall by discontinuing fertiliser to prevent new delicate growth that is vulnerable to cold damage. Wrap pipe insulation around the tips and base of each tree before it gets cold.
Plumeria can also be grown from seed, but blooming takes three to five years.
Trimming the top of the tree reduces the tree’s height and stimulates new branches to sprout at the tree’s sides, giving it a fuller form. Although potted plumerias grow more slowly than trees in the garden, they will benefit from yearly pruning to keep their size down.
Plumeria cuttings are best propagated in the spring and summer. On the mother plant, locate a healthy branch. Choose a brown or grey branch that is 12 to 18 inches long and solid along the entire length.
If your Frangipani isn’t flowering, there are three basic reasons. It can affect blooming if the fertiliser is not the proper type and is not applied at the right time. During the spring and summer, fertilise your Plumeria plants. Another reason a Frangipani does not flower is that the stems are too young.
How about this: How To Grow Organic Lettuce.
Early summer is when a robust and productive plumeria begins to bloom, and it usually lasts until early October. Some kinds grown in consistently warm areas, on the other hand, can bloom virtually all year. Flower clusters usually endure over a week after blooming.
Plumeria cuttings can be stored for months if kept warm and dry. Plumeria cuttings have been discovered on a shelf after two years of storage and have grown when planted.
Pruning plumeria trees can help keep them smaller and remove dead or damaged limbs. Pruning a healthy tree to preserve its size should only be done in the winter or early spring to prevent disrupting the blooming cycle.
Allow 1-gallon pot size for each foot of plumeria branch/trunk length as a basic rule of thumb. By choosing a large enough pot, you give the plant more room to establish roots, which leads to improved moisture and nutrient uptake.
Plumerias should be planted in well-drained soil. As a soil medium, the cactus mix is simple and effective. Root rot is a problem for plumerias grown in heavy soils. To give oxygenation and acidity to this heavy soil, peat moss and perlite should be added.
Coleosporium plumeria is the fungus that causes it. Plumeria rust only damages the plant’s foliage, not the stems or blossoms. Curling, twisted, brown-grey leaves that fall off the plant are all possibilities. Rust on plumeria leaves can defoliate the entire tree in less than two months if left untreated.
Plumeria leaves that have been overwatered become yellow at first. If the wrinkled, yellow leaves are left in wet circumstances for too long, they will turn brown. If your Plumeria receives too much water, the leaves may droop and wilt. Root rot/stem rot is caused by prolonged exposure to such circumstances.
Leaf wilt and leaf spotting are possible symptoms. The rotten stem shrivels, acquires a dull dark brown to black colour, and eventually falls over in its pot. Plumerias in full bloom: Although stem rot and/or freeze damage are uncommon, mature plants can lose a branch or two due to stem rot and/or freeze damage. Freeze damage resembles Stem Rot in appearance.
Spider mites, whiteflies, and mealybugs are the most common bugs seen on plumeria leaves. Infested leaves will wilt, droop, or change colour from green to yellow or gold. A spider mite infestation can be identified by small white bugs and delicate webbing on the underside of the plumeria leaves.
While some plumeria loses their leaves when the weather cools, distorted growth, leaf curl, and yellowing are symptoms of a sap-sucking insect infestation such as mealybugs, spider mites, or thrips. Water them thoroughly to assist the plumeria to cope with stress, which can result in a decreased resilience to pests.
Powdery mildew, a type of mould, is sensitive to plumeria that grows in crowded, humid, or shady circumstances. Powdery mildew is identified by white or grey powdery patches on the upper sides of plumeria leaves. Flowers, buds, the undersides of leaves, and young shoots are all susceptible to the spots.
To keep your plumeria tree in good health, prune out any broken or diseased branches, as well as any branches that grow over each other. Make cuts just beyond a branch collar — the swelling area where the branch joins the tree trunk — with clean clippers, loppers, or a large-toothed pruning saw.


