Welcome to Modern Agriculture!

Keeping a Kohler carburetor in top condition is essential for reliable engine performance and longevity. If your engine feels rough, stalls, or has trouble starting, it may be time to fine‑tune the carburetor. This guide, based on hands‑on experience and manufacturer recommendations, walks you through every step of the adjustment process with clear, actionable instructions.
Before you begin, gather the tools you’ll need: a socket wrench, a flat‑head screwdriver, and any optional electric socket set for quicker nut removal. Personal protective equipment—gloves and safety goggles—will shield you from hot surfaces and debris. Work in a well‑ventilated area and clear the workspace of any loose items that could interfere with your adjustments.

Typically, the carburetor sits inside the air‑filter housing. Unscrew the outer housing—most use counter‑clockwise threaded nuts or bolts. Once the housing is removed, you’ll see the filter foam and screen. Carefully pull the filter screen away and set it aside. If there’s an inner housing, remove its nuts and bolts with a socket wrench and set them aside as well. With all fasteners removed, lift the carburetor onto a clean, flat surface.
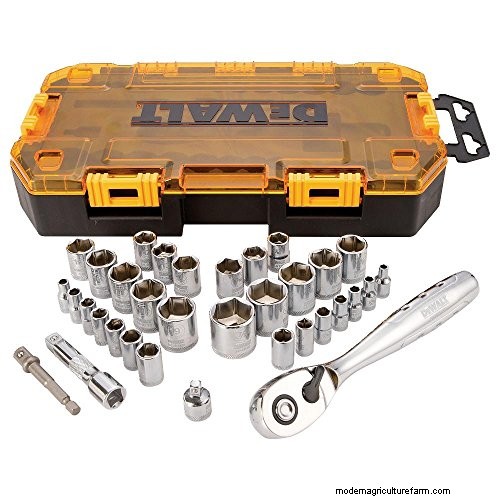
For a quick reference, this Dewalt socket wrench set can make the nut‑removal process smoother.
After the carburetor is exposed, you’ll notice the fuel mixture screws: a main screw on top and an idle screw on the lower left near the throttle plate.

Similarly, this cordless electric wrench can save time when handling stubborn bolts.
Both the main and idle fuel‑mixture screws influence engine smoothness. Use a flat‑head screwdriver to adjust them. Turn the screw clockwise until resistance is felt, then back it off 1½ turns counter‑clockwise. Repeat this procedure for the idle screw, paying special attention not to overtighten.
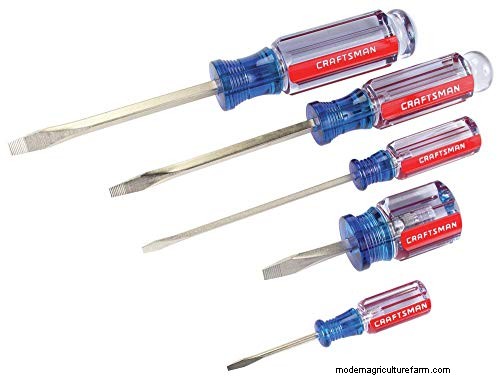
This flat‑head screwdriver set provides the precision required for subtle adjustments.
With the carburetor in place, ignite the engine and bring the throttle to the mid‑position. Listening for a steady idle will give you an immediate baseline for further tweaks.

Run the engine at full throttle before making any changes. Slowly turn the main adjustment screw clockwise, monitoring the engine’s speed. Mark the point where the engine begins to lose power. Then reverse the screw counter‑clockwise until the engine’s speed drops again. The optimal setting lies midway between these two points.
From full throttle, bring the engine to idle and turn the idle screw clockwise until you notice a decrease in speed. Next, turn counter‑clockwise, noting the position where the engine starts to stall. The correct idle setting is the midpoint between these two positions.
Reassemble all components, prop up the propeller, and run the engine through its full RPM range. A well‑balanced carburetor will keep the engine running smoothly at all speeds.
For a visual reference, watch the instructional video: Kohler Carburetor Self‑Check.
Common symptoms mandating a carburetor readjustment include a rough idle, difficulty starting, or noticeable engine hesitation. Addressing these issues promptly can prevent further wear and extend engine life.
Using a tachometer allows precise control of engine RPM during adjustments. Follow these steps to fine‑tune the carburetor’s speed accurately.
Safety first—protect your hands from burns or electric shock with durable gloves.
This work gloves are a good choice for such tasks.
Access the carburetor by removing the air‑filter housing. The spark plug sits adjacent; keep it visible to simplify wiring.
Ignite the engine, set the throttle to a low setting, and keep a safe distance from hot components.
Adjust the tachometer’s range to match the engine’s expected RPM. This ensures accurate readings during tuning.

Consider this digital tachometer for reliable monitoring.
Attach the tachometer to the spark plug’s wires. Once connected, the display will reflect real‑time engine speed.
Using a flat‑head screwdriver, gently turn the limiter cap. Clockwise increases RPM; counter‑clockwise decreases it. Apply minimal force to avoid damage.
A rich mixture contains excess fuel, causing a dark, sooty exhaust and blackened spark plugs. A lean mixture has too much air, leading to poor acceleration, overheating, and white spark plugs. Adjusting the carburetor to the correct air‑fuel ratio is key to smooth engine operation.

Regular carburetor maintenance—locating the unit, fine‑tuning the fuel mixture, and testing—ensures your Kohler engine remains reliable and efficient. If you’re unsure about any step, consult a professional technician for guidance.
For more carburetor insights, explore these articles:
Written by
Andrea Garcia
Andrea is a passionate content writer with a background in electronics engineering, dedicated to delivering clear, expert guidance on all things mechanical.
Meet the GardenTabs team →

Editorial oversight by Steve Snedeker, a seasoned gardener with decades of landscaping experience.