Welcome to Modern Agriculture!

A fence is more than a boundary; it’s a statement of style, a protective barrier, and often a canvas ready for transformation.
Whether you’re planning a fresh coat of paint or a deep‑tissue stain, the foundation of a flawless finish is a clean, dry, and properly prepared surface.
Below, expert horticulturist Shane Desuasido walks you through mandatory preparatory steps that guarantee a durable, attractive result.
Cleaning not only eliminates dirt, debris, and mildew that compromise adhesion, but it also extends the life of the coating and boosts curb appeal.
Save now and instantly unlock today’s gardening deals!
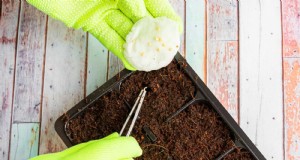
Collect the essential tools for a smooth and efficient fence clean‑up.
Essential items include:
These prop up dirt, debris, and old paint for easy removal.
Mix mild detergent with water or use a dedicated fence cleaner; follow the product’s dilution instructions.
Rinse the board after scrubbing.
Gently scrape off peeling paint or residual debris.
Start by inspecting the fence for loose nails, screws, or rot. Repair before cleaning to avoid future damage.
Sweep or brush away loose material. Use a leaf blower or soft‑bristle brush for stubborn spots—avoid harsh scrubbing that could damage the wood.
For wooden fences, a mild detergent or a propionic‑acid‑based cleaner works well. Let it sit for the mandated contact time (usually 5–10 minutes).
With a brush or sponge, scrub using long, even strokes. Keep pressure mild to preserve the surface.
Rinse from top to bottom, removing all residue. Let the fence dry before proceeding to the next step.
A properly prepared fence ensures superior adhesion and lasting color.
Ensure the wood moisture content is below 15% before finishing. Follow these steps:
Choose a period with at least 2–3 days of sunshine and no rain.
Re‑apply mild detergent solution to remove stains and mold.
Let the fence dry for a minimum of 48 hours.
Sand the fence to remove imperfections and create a smooth surface.
Use 80–120 grit for a balance of abrasion and finish.
Follow the wood grain to avoid scratches.
Remove all dust and debris to improve paint adhesion.
Wear long sleeves, gloves, goggles, and sturdy shoes. Read and follow each product’s safety data sheet.
Work outdoors or ensure good airflow. Prefer water‑based paints to reduce fumes.
Keep cords away from water, unplug before cleaning, and secure ladders on level ground with a 4:1 foot-to‑height ratio.
Apply a bleach solution (water + bleach) to affected areas, let it dry, and rinse. This prevents future damage.
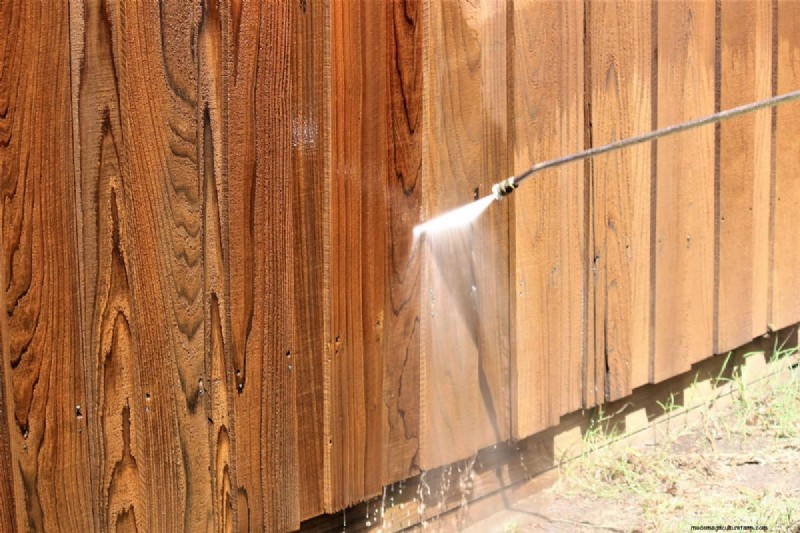
Use a pressure washer or high‑pressure hose. Adjust pressure to avoid damaging the board.
Secure or replace them before cleaning to maintain a uniform surface.
Scrape or sand the old finish, then clean the wet surface to ensure a flawless finish.
Addressing these issues yields a smoother, more durable finish.
Proper tools accelerate the cleaning process and improve the final result. A clean, well‑prepared fence is the key to a professional, long‑lasting coating.
Explore more painting insights:
What Kind Of Paint To Use On A Hummingbird Feeder? [Safe & Weather Resistant Options]
What Is A Safe Paint For Metal Bird Baths? [3 Great Options To Choose From]
Written by
Shane Desuasido
Shane Desuasido is a seasoned content and copywriter with over a decade of experience in gardening, technical writing, e‑commerce, and social media. She champions animal welfare and sustainability, guiding readers toward eco‑friendly practices.
Meet the GardenTabs team →

Editorial oversight
GardenTabs content is reviewed by Steve Snedeker, a veteran gardener with decades of hands‑on experience.