
Welcome to Modern Agriculture!

Introduction to growing Chives in pots
Grow Chives (Allium schoenoprasum) in pots on the patio, in the garden, or right on the kitchen windowsill. This tender green herb is best fresh right from the home garden. Grow Chives in a sunny spot or in a partly shaded area. Growing Chives is easy to grow a culinary herb that you can enjoy all year round. Select a spot in sun or part shade that is not too dry for planting Chives.
In this article we also discuss below topics;
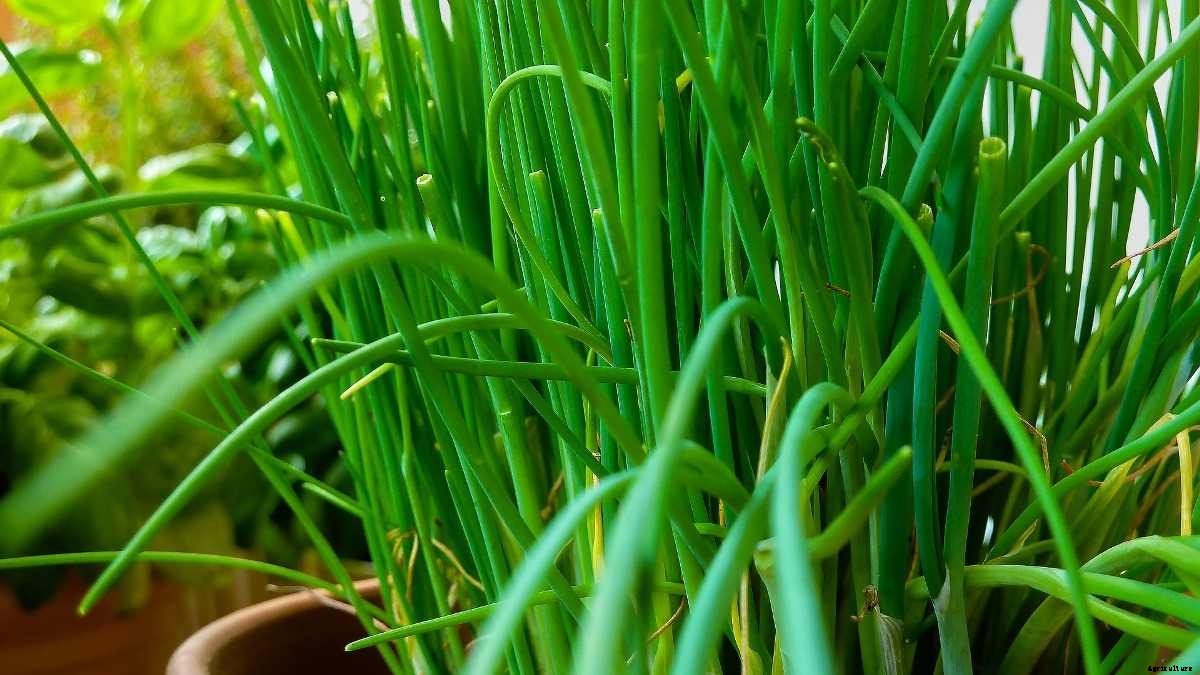
You can grow Chives from seeds or get the young Chive plants from the nursery. Once the plants are well established, then you can multiply them by division. Indoor Chives thrive on a south-facing window that receives at least 4 to 6 hours of sunlight per day. Alternatively, you can grow plants under grow lights. Chives are an herbaceous perennial species in the lily family (Liliaceae) and also related to onion, leeks, and garlic. Chives grow in an upright clump of hollow plant leaves that reach about a foot high.
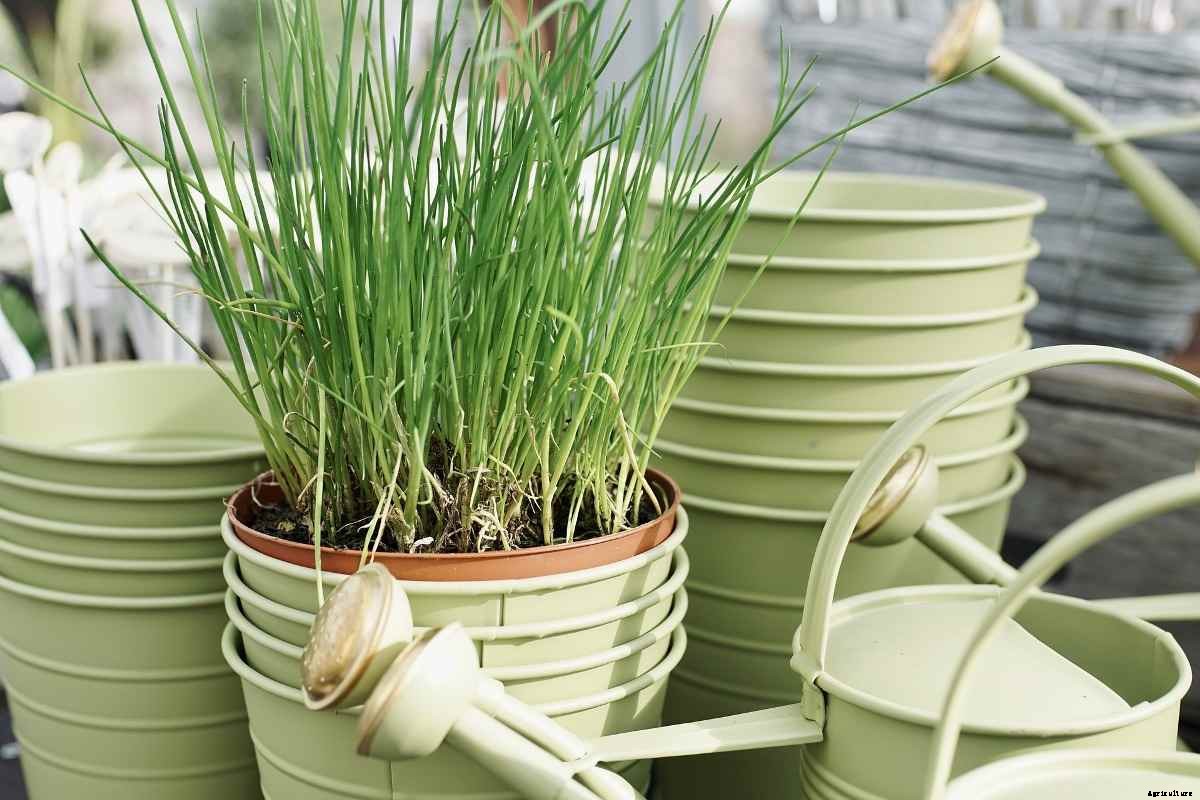
Choose a pot that is at least 8 inches wide and deep. You can grow several Chives plants in such pot, generally 5 to 6 young plants together. This will form a small clump; this will become bushier after some time. Once you see your pot is overcrowded, split the Chive plants to multiply them. Grow Chives in 3 to 4 pots, so that rotate the harvest and have this herb successively, fresh and flavorful.
At least 6 hours of sun a day is required for optimum growth, so place it at a sunny spot. When growing Chives indoors, then keep the pot in a south-facing window. Chives can grow well in part sun, receiving 4 to 6 hours of direct sunlight, especially in hot tropical climates.
Use light and porous potting soil for growing Chive plants. You can treat it with aged manure or compost, mixing about 1/4 of it at the time of transplanting would be fine. This will improve the texture and nutritional value of the potting soil. Grow Chive plants in well-drained, sandy-loam, a soil rich in organic matter. Prepare planting beds in advance with aged compost and Chives prefer a soil pH level of 6.0 to 7.0. Avoid planting in wet soil that can encourage plant stem and bulb diseases.
Chives can be grown from seed. Start them indoors about 8 to 10 weeks before the first frost if you plan to move your pots outside, or any time for an indoor herb garden.
Sow Chive seeds indoors from late winter until early summer; sow seeds in flats Seeds need darkness to germinate. Then, cover seed trays or pots with a piece of newspaper or cardboard to aid germination. Seeds must germinate in about 14 days at 21°C. After seed germination, as seedlings begin to grow, remove the covering and place the seedlings under a fluorescent light or in a bright window. Let them grow on until they are 4 to 6 inches tall and then ready for transplanting.
If you’re eager to enjoy harvest right away, keep in mind that this won’t be your best option. It can take up to a full year for seed-grown plants to reach a mature enough stature that they’re ready to harvest.
Chive seeds will germinate in the soil in about 15 to 21 days but can germinate in as few as 10 to 14 days in dedicated propagation media such as Oasis Root cubes, Rapid Rooters, or Grodan Stonewool.
To begin growing Chives indoors, first fill a 6-inch clay pot with a well-draining potting medium that you have pre-moistened. The soil must form a ball when squeezed, but not be soggy or dripping water. Keep the soil moist and Chives grow best when watered frequently, as long as there is proper soil drainage. Water regularly to the plant, being careful not to overwater. Allow soil to go almost dry between watering, and then soak thoroughly.
In case if you miss this: Growing Black Pepper from Seed, Cuttings.
Water the potted Chives when the soil surface begins to feel dry, then providing water until the excess moisture drains from the bottom of the pot. Water the Chives once a week, providing about 1 inch of water each week. Cut off the purple flowers on the plants after blooming to prevent self-seeding. Use clean shears for pruning and harvesting. Removing old blooms also keeps the plants attractive.
Broadcast Chive seeds over the pre-moistened medium and cover with a fine layer of the pre-moistened soil, about ¼ inch deep. Place in the lighted area and seeds may be kept moist until germination with a mist of water, weak plant food, or weak compost tea. Chives germinate within 2 weeks, often more quickly. Growing Chives indoors offers a handy and easy way to season your food and also brighten your space.
This method of propagation is common, easy, and requires division of clumps;
Pests – Chives plants are generally pest-free. Onion thrips can attack Chives growing in a commercial onion producing region, but thrips are unlikely to bother plants that are regularly watered.
Diseases – Chives have no serious disease problems; however, in high humidity, if Chives plants are crowded fungal diseases can develop.
Your new Chives plant will begin to grow in a few weeks after transplanting. Allow the plant to adapt for about 4-weeks before harvesting then it can adjust to the new environment.
Once the plant is established, begin harvesting by trimming foliage, leaving at least 2 inches of plant growth above the soil. The Chives plant will continue to grow and produce more Chive foliage. When spring rolls around, harden off Chive plants and transplant to larger pots or in the garden.
Pruning isn’t required in order to grow and harvest fresh Chives. But, it is beneficial to the plant. Thus, it’s a good idea to get into the habit of trimming Chives regularly. Below are a few reasons why it’s important to prune Chives;
Promotes new growth – Trimming back Chives will help to promote new plant growth. The tender new growth is the stuff that tastes the best.
Keeps the plant looking nice – If you don’t prune Chives, the Chives plant can become overgrown, woody, and flop to the ground. Also, cutting Chives back in the fall will keep the garden looking tidy.
Prevents Chives from spreading – Chives are aggressive re-seeders. Then, if you don’t remove the flowers before they set seed, you will find tiny plants growing all around your garden.
When it comes to both pruning and deadheading Chives, it’s very important to get the timing right. But don’t worry, Chives plants are very forgiving. So, you don’t have to worry too much about it. Here’s how to know when to trim Chives plants;
When to cut back Chives – Chives are extremely cold hardy and start growing in late winter or early spring. Thus, it’s best to cut them down to the ground in late fall. You can also cut them back again after they’re done blooming to promote plant growth.
When to deadhead Chives – You can start deadheading Chives as soon as the flowers begin to fade in the early summer season. Once the flowers turn brown, the Chives seeds will be viable. Thus, don’t wait too long to deadhead them, or the seeds will start to scatter.
You may also check this: Growing Dragon Fruit from Cuttings and Seed.
Chives are hardy perennials that are very attractive, tasty, and easy to grow. In spring and summer, Chives boast globelike flowers that are very popular as edible garnishes. Generally, use Chives as a perennial edging or border plant in a flower bed or herb garden.
Sow Chives in the garden or set out divisions as early as about 4 to 6 weeks before the last frost in spring. The seed will germinate in about 2 to 3 weeks at 15°C.
You can start deadheading Chives as soon as the plant flowers begin to fade in early summer. Once the flowers turn brown, the Chives seeds will be viable. Thus, don’t wait too long to deadhead them, or the seeds will start to scatter.
To collect Chive seeds, shake the flower heads over a container. You could clip the flower heads off the plant and drop them into a paper bag. Then fold over the top of the bag and then shake it to release the Chive seeds from the flower heads.
Chives continue to proliferate as they grow, with their purple flowers producing seeds that wind scatters, the plants need to be divided every 3 to 4 years. When a plant runs out of growing space or some of its leaves get old, those leaves may yellow at the tips and die.
Cut back Chives 30 days after transplanting them to the garden, or about 60 days after the Chives seeds germinate. Select plants that have grown about 6 inches or taller but haven’t yet flowered.
Chives gardening is wonderful and you can easily grow this herb right from your balcony, kitchen, terrace even in backyards. The above information may be used even for growing chives herb in Polyhouse. You may also like Medicinal Plants Contract farming and Advantages.


